Saturday, May 17, 2025

Choosing the Right Partitioning Scheme: MBR vs. GPT on Linux Systems


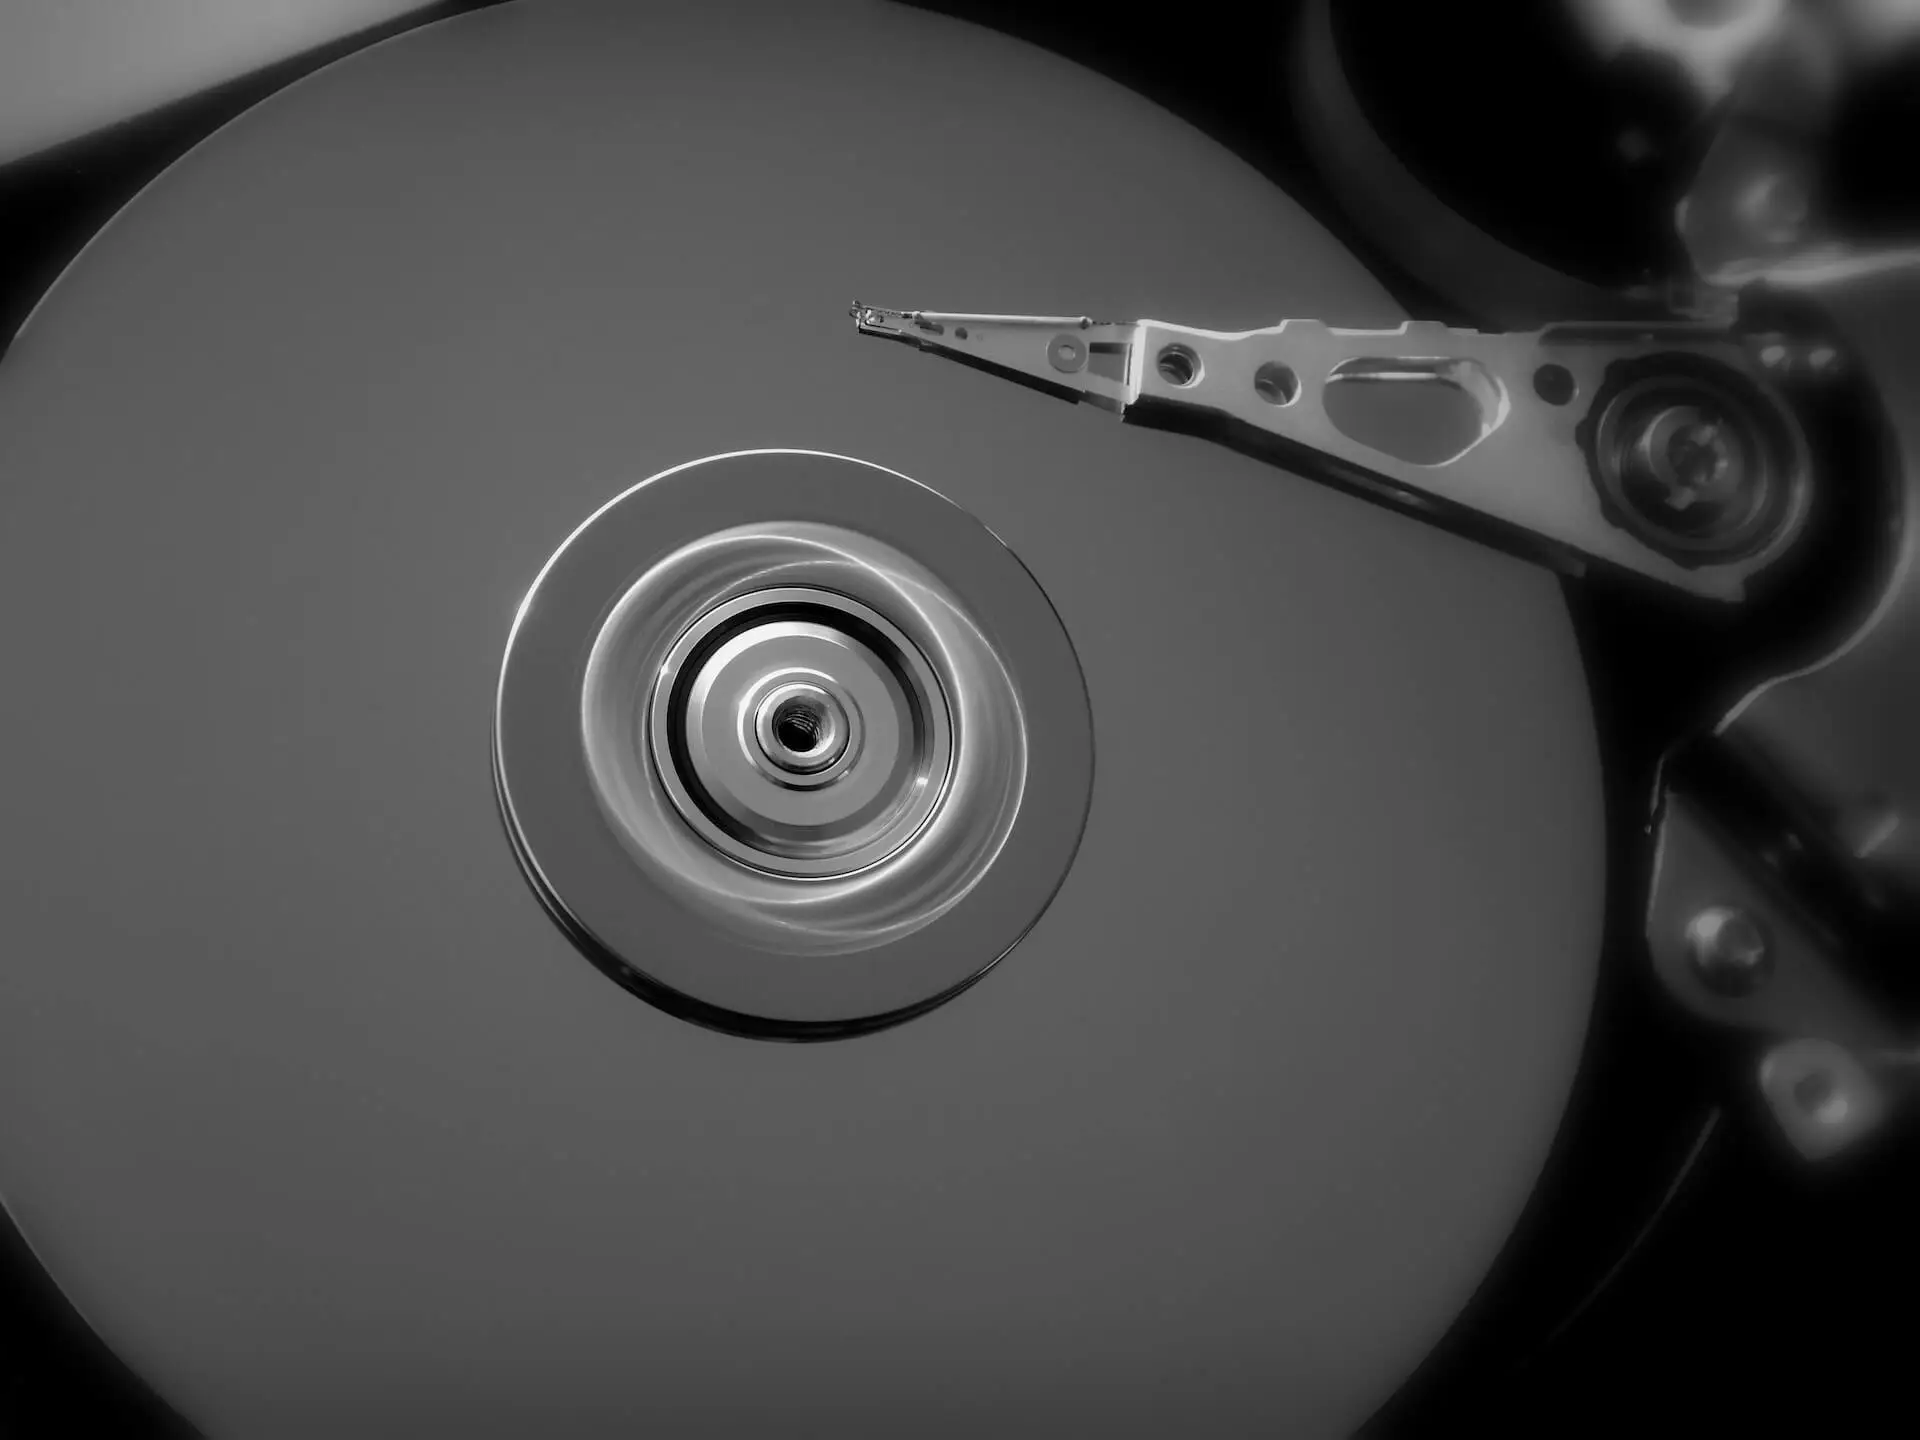
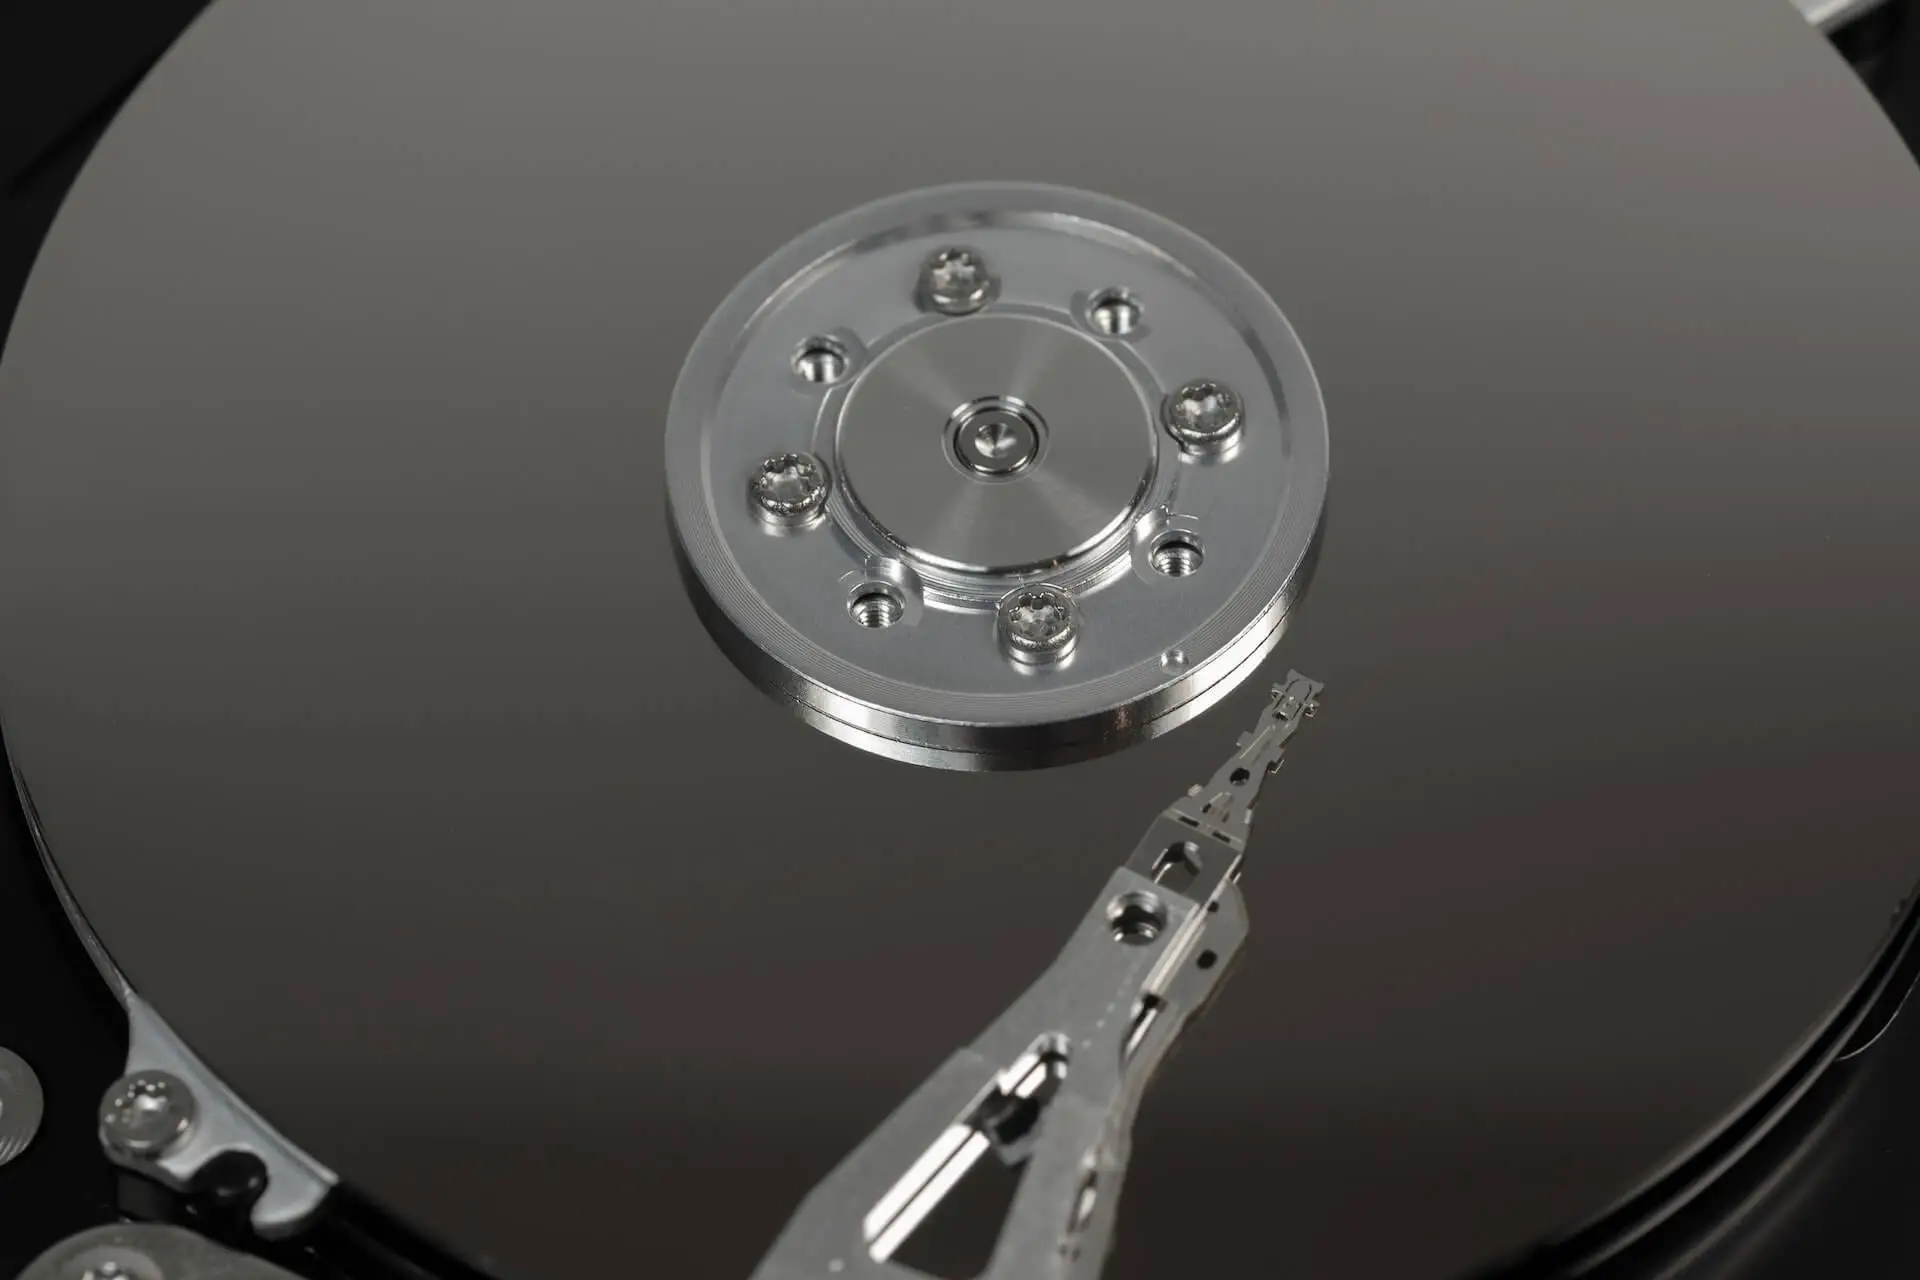
Introduction: The Divide Between MBR and GPT

When it comes to partitioning your storage devices, the choice between MBR and GPT holds significant implications. MBR, the older of the two schemes, has been a longstanding choice for organizing partitions on hard drives. GPT, on the other hand, is a newer and more versatile approach that accommodates the demands of modern computing environments. Let’s delve into the key distinctions between these two schemes and their implications for Linux systems.

MBR and GPT

Photo by Pixabay from Pexels

MBR: The Classic Contender

Master Boot Record (MBR) partitions have a legacy that stretches back to the dawn of computing. MBR divides storage devices into four primary partitions, offering limited flexibility for larger drives. This scheme relies on a 32-bit field for storing partition information, which restricts the maximum partition size to 2.2TB. While MBR has served admirably for years, it struggles to keep pace with the vast capacities of today’s storage devices.

GPT: The Modern Marvel

GUID Partition Table (GPT) emerged as a modern solution to the limitations of MBR. GPT not only supports larger partition sizes, but it also allows for an almost limitless number of partitions, theoretically reaching up to 128 partitions. This is achieved through a 64-bit addressing scheme, enabling GPT to manage drives up to 9.4 zettabytes in size. Moreover, GPT provides inherent data redundancy through its protective MBR, making it a more robust choice for critical systems.

Compatibility: The Tug of War

One key factor to consider when choosing between MBR and GPT is compatibility. MBR has the advantage of broader compatibility with older systems, making it a pragmatic choice when dealing with legacy hardware and operating systems. However, GPT is quickly gaining support across modern platforms, including newer versions of Linux, Windows, and macOS. Additionally, most modern motherboards and UEFI firmware support GPT, making it a viable choice for forward-looking IT setups.

Security and Resilience: GPT Takes the Lead

GPT’s superiority becomes particularly evident in terms of data security and resilience. The redundant protective MBR in GPT ensures that even if a legacy system attempts to overwrite the partition table, GPT’s primary data structures remain unscathed. This built-in redundancy enhances data integrity and minimizes the risk of catastrophic failures. For systems where data protection is paramount, GPT emerges as the frontrunner.

Making the Right Choice: Factors to Consider

When deciding between MBR and GPT for your Linux system, consider these factors:

  • Capacity: If you’re dealing with large storage devices, GPT is the clear choice due to its support for higher capacities.
  • Compatibility: MBR offers broader compatibility with older systems, which might be crucial for certain legacy setups.
  • Redundancy: For data-critical environments, GPT’s protective features offer greater resilience against data loss.
  • Future-Proofing: GPT is the way forward for modern systems, ensuring compatibility with evolving hardware and software.

Creating GPT partitions in Linux


Introduction

In the ever-evolving landscape of information technology, efficient data management and storage are critical components for any system’s success. Partitions play a pivotal role in optimizing storage utilization, organization, and data security. Among the various partitioning schemes available, the GUID Partition Table (GPT) has emerged as a modern and robust method for partitioning storage devices in Linux systems. This article will delve into the significance of GPT partitions, their history, and provide IT professionals with a step-by-step guide on how to create GPT partitions on Linux systems.

Creating GPT partitions in Linux

Photo by Pixabay from Pexels

Brief History

Traditionally, the Master Boot Record (MBR) partitioning scheme was widely used in computers to organize and manage storage. However, with the advancement of technology and the need for larger storage capacities, MBR’s limitations became apparent. This paved the way for GPT, which was introduced as a modern replacement for MBR in the late 2000s.

MBR versus GPT

GPT offers several advantages over MBR, making it highly significant in today’s IT landscape:

  1. Support for Larger Drives: MBR can only support up to 2TB drives, while GPT can handle drives of up to 9.4 zettabytes, ensuring compatibility with modern high-capacity drives.

  2. Flexible Partitioning: GPT allows for an almost unlimited number of partitions, facilitating better organization and utilization of storage resources.

  3. Data Integrity: GPT incorporates redundancy checks to prevent data corruption and improve data recovery processes.

  4. Modern Features: GPT supports modern features like Secure Boot, which enhances system security by only allowing trusted software to run during boot-up.

  5. GUIDs for Identification: Each partition in GPT is assigned a unique GUID (Globally Unique Identifier), making it easier to distinguish partitions even across different systems.

Creating GPT Partitions: Using Gdisk

Before proceeding with the creation of GPT partitions, ensure you have the necessary permissions and backup your important data. Here’s a comprehensive step-by-step guide to creating GPT partitions on a Linux system.

Identify the Disk

Begin by identifying the disk you want to partition. You can use the lsblk or fdisk -l command to list the available disks.

# lsblk

Create Partitions

Use the gdisk utility to create GPT partitions on the selected disk. Replace /dev/sdX or /dev/vdX (baremetal server or virtual machine) with the appropriate disk identifier.

Interactive Partitioning

Within the gdisk interface, use the following commands to create partitions:

  • Type n to create a new partition.
  • Specify the partition number.
  • Choose the starting and ending sectors.
  • Assign a partition type (Linux filesystem, swap, etc.).
  • Repeat these steps for each partition you want to create.

Write Changes

After creating partitions, type w to write the changes to the disk.

Format Partitions

Use appropriate commands to format the newly created partitions. For example, to format a partition as ext4:

# mkfs.ext4 /dev/sdX1 or mkfs.ext4 /dev/vdX1

Creating GPT Partitions: Using Parted

In previous sections, we reviewed how to identify a disk and create partitions using fdisk and gdisk. Partitioning a disk using parted is similar: 

# parted /dev/sdX or /dev/vdX

Create Partitions

Inside the parted utility, follow these steps to create partitions:

  1. Use the mklabel gpt command to create an GPT partition table on the disk.
  2. Create a partition using the mkpart command. Specify the partition name (primary).
  3. Set the partition’s start and end points using percentages or sizes.
  4. Repeat the process for additional partitions.
# parted /dev/vdb mkpart primary 2048s 2GiB
Information: You may need to update /etc/fstab.

# lsblk
NAME          MAJ:MIN RM SIZE RO TYPE MOUNTPOINTS
vda           252:0    0  50G  0 disk
├─vda1        252:1    0   2G  0 part /boot
└─vda2        252:2    0  48G  0 part
  ├─vg00-root 253:0    0  15G  0 lvm  /
  ├─vg00-swap 253:1    0   4G  0 lvm  [SWAP]
  └─vg00-home 253:2    0  10G  0 lvm  /home
vdb           252:16   0  25G  0 disk
└─vdb1        252:17   0   2G  0 part
vdc           252:32   0  25G  0 disk

The example (above) assumes the block device is /dev/vdb. Furthermore, it illustrates the creation of a 2GiB GPT partition.

Quit, Save, Format

Exit the parted interface and save the changes.

(parted) quit or (parted) q

To format the partition use the mkfs.[filesystem_type]. The example below formats /dev/vdb1 to ext4.

# mkfs.ext4 /dev/vdb1

Update /etc/fstab

To ensure the partitions are mounted at boot, update the /etc/fstab file with the appropriate entries. Use the UUID of each partition to reference them.

# blkid /dev/vdb1 | awk '{print $2}' >> /etc/fstab

# cat /etc/fstab
#
# /etc/fstab
# Created by anaconda on Sun Jun  5 00:54:27 2022
#
# Accessible filesystems, by reference, are maintained under '/dev/disk/'.
# See man pages fstab(5), findfs(8), mount(8) and/or blkid(8) for more info.
#
# After editing this file, run 'systemctl daemon-reload' to update systemd
# units generated from this file.
#
/dev/mapper/vg00-root   /                       xfs     defaults        0 0
UUID=e48e0a2a-53b0-4cfb-850e-897372dfae0b /boot                   xfs     defaults        0 0
/dev/mapper/vg00-home   /home                   xfs     defaults        0 0
/dev/mapper/vg00-swap   none                    swap    defaults        0 0

UUID="964c20d2-cc37-4562-b265-dbc3eee1bb9b"

Edit the /etc/fstab file using your favorite text editor.

# vim /etc/fstab

Include the directory path, filesystem type and defaults entries. Also, ensure the /datastore directory exists before rebooting the machine.

UUID="964c20d2-cc37-4562-b265-dbc3eee1bb9b"  /datastore   ext4  defaults 0 0

HTTP Appache Server LAB 7

 Apache HTTP Server (httpd) Configuration,