VirtualBox is an open-source cross-platform virtualization software, that can be installed on any operating system to run multiple guest virtual machines on the same computer.
For example, if you install it on your Linux system, you can run Windows operating system under it as a Guest OS or run Linux OS on your Windows system, and so on. This way, you can install and run as many guest operating systems (virtual machines) as you like, the only limit is disk space and memory.
Recently Oracle released the major stable version of Virtualbox 7.0, the newest version of VirtualBox comes with so many major changes and new features added to it.
You can see the complete new changelog details about VirtualBox 7.0 on their Official Changelog Page.
This guide explains how to install VirtualBox 7.0 on RHEL-based distributions such as RHEL, Fedora, Rocky Linux, AlmaLinux, and CentOS Stream using VirtualBox’s own repository with YUM and DNF commands.
This guide also explains how to install VirtualBox 7.0 on Debian-based distributions such as Debian, Ubuntu, and Linux Mint systems using VirtualBox’s own repository with APT-GET or APT commands.
On this page:
- How to Install Latest VirtualBox in CentOS, RHEL, and Fedora
- How to Install Latest VirtualBox in Debian, Ubuntu, and Mint
- How to Install VirtualBox Extension Pack in Linux
Installing VirtualBox 7.0 in RHEL-based Systems
To install the latest stable version of VirtualBox, you need to first download the virtualbox.repo configuration file using the following wget command and then import the public key using the rpm command.
Next, enable the EPEL repository to install build tools and dependencies on the system.
Install Dependency Packages for VirtualBox
VirtualBox uses the vboxdrv kernel module to control and allocate physical memory for the execution of guest operating systems. Without this module, you can still use VirtualBox to create and configure virtual machines, but they will not work.
So, to make VirtualBox fully functional you will need to update your system first, then install some additional modules like DKMS, kernel-headers, kernel-devel, and some dependency packages.
Install VirtualBox 7.0 in RHEL-based Systems
Once you’ve installed all the needed dependency packages, you can install the latest version of VirtualBox using the following command.
At this point, you are ready to start using VirtualBox by running the following command on the terminal.
If you get the following error during the Virtualbox installation, it means there is a conflict between the two Kernel versions.
To resolve the issue, first, check your installed kernel and then update the Linux kernel by running the command:
When the update is complete, reboot your system and select the latest kernel from the grub boot menu, this entry is usually the first entry as you can see.
Once the system is done with booting, log in and once again confirm that the kernel-devel version now matches the version of the Linux kernel.
Then, re-start the build set-up process and confirm that your VirtualBox installation was successful by running:
Troubleshooting
If you get any error message like KERN_DIR or if your kernel source directory is not detected automatically by the build process, you can set it by using the following command. Make sure you change the kernel version according to your system as shown in red color.
Installing VirtualBox 7.0 in Debian, Ubuntu, and Linux Mint
To install the latest stable version of VirtualBox, you need to add the official Virtualbox repository using the following command.
Then, update the software package list and install the latest version of VirtualBox.
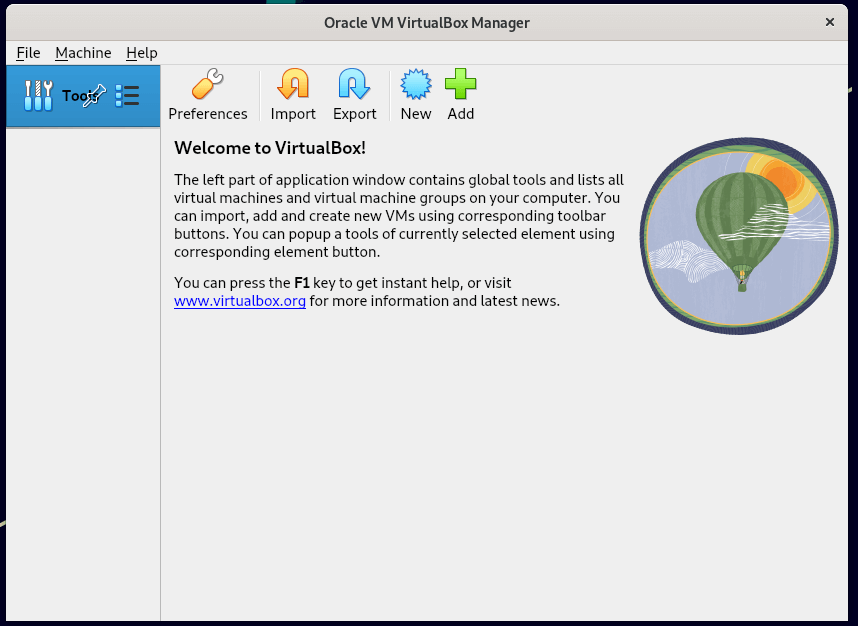
Simply execute the following command to start it from the terminal or use the launcher from the menu to start.
VirtualBox 7.0 Screenshot
Installing VirtualBox Extension Pack in Linux
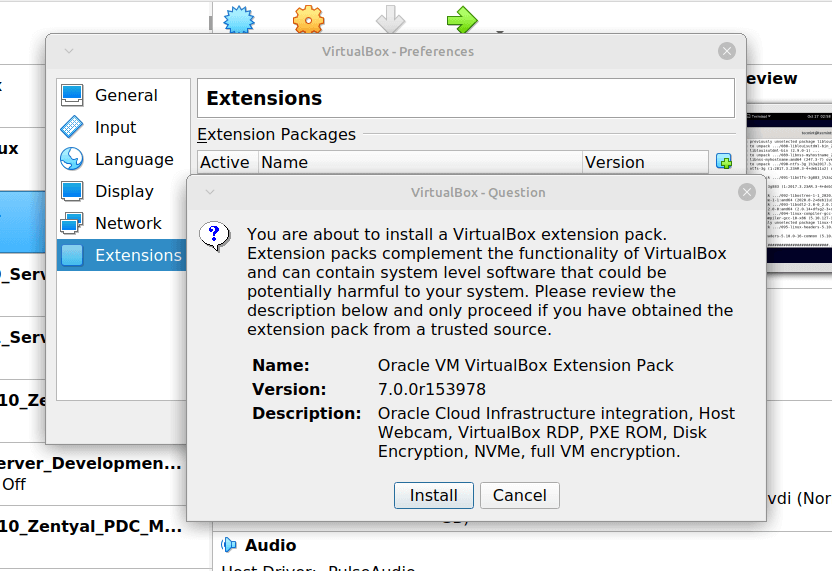
If you need some additional functionality such as VirtualBox RDP, PXE, ROM with E1000 support and USB 2.0 Host Controller support, etc. You need to download and install the VirtualBox Extension Pack using the following wget command.
To install the extension pack, you must have Virtualbox 7.0 installed, once you downloaded vbox-extpack open with Virtualbox as shown below.
If it doesn’t work out, then open Virtualbox –> File –> Preferences –> Tools –> Extension Manager and browse for the vbox-extpack to install it.
[ You might also like: How to Enable USB in VirtualBox ]
Updating VirtualBox in Linux Systems
If you want to update the VirtualBox with the latest version in the future, you can simply run the following command to update it.
On RHEL-based Systems
On Debian-based Systems
Remove VirtualBox from Linux Systems
If in case you want to remove VirtualBox completely, just use the following command to remove it completely from your system.
On RHEL-based Systems
On Debian-based Systems
You can also Download VirtualBox 7.0 for other Linux, Windows, and Mac OS X platforms.


No comments:
Post a Comment