Our Testing Environment
Setting Up a Network Repository Server on CentOS 7
As a first step, we will handle the installation and configuration of a CentOS 7 box as a repository server [IP address 192.168.0.17] and a CentOS 6.6 machine as client. The setup for openSUSE is almost identical.
For CentOS 7, follow the below articles that explains a step-by-step instructions of CentOS 7 installation and how to setup a static IP address.
- Installation of CentOS 7.0 with Screenshots
- How to Configure Network Static IP Address on CentOS 7
As for Ubuntu, there is a great article on this site that explains, step by step, how to set up your own, private repository.
- Setup Local Repositories with ‘apt-mirror’ in Ubuntu
Our first choice will be the way in which clients will access the repository server – FTP and HTTP are the most well used. We will choose the latter as the Apache installation was covered in Part 1 – Installing Apache of this LFCE series. This will also allow us to display the package listing using a web browser.
Next, we need to create directories to store the .rpm packages. We will create subdirectories within /var/www/html/repos accordingly. For our convenience, we may also want to create other subdirectories to host packages for different versions of each distribution (of course we can still add as many directories as needed later) and even different architectures.
Setting Up the Repository
An important thing to take into consideration when setting up your own repository is that you will need a considerable amount of available disk space (~20 GB). If you don’t, resize the filesystem where you’re planning on storing the repository’s contents, or even better add an extra dedicated storage device to host the repository.
That being said, we will begin by creating the directories that we will need to host the repository:
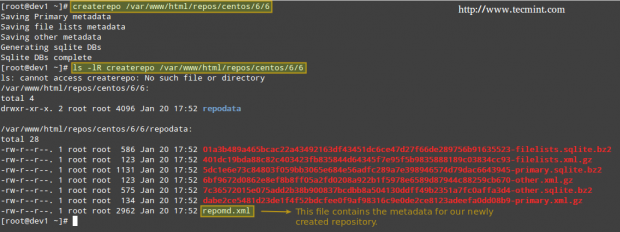
After we have created the directory structure for our repository server, we will initialize in /var/www/html/repos/centos/6/6 the database that keeps tracks of packages and their corresponding dependencies using createrepo.
Install createrepo if you haven’t already done so:
Then initialize the database,
Updating the Repository
Assuming that the repository server has access to the Internet, we will pull an online repository to get the latest updates of packages. If that is not the case, you can still copy the entire contents of the Packages directory from a CentOS 6.6 installation DVD.
In this tutorial we will assume the first case. In order to optimize our download speed, we will choose a CentOS 6.6 mirror from a location near us. Go to CentOS download mirrorand pick the one that is closer to your location (Argentina in my case):
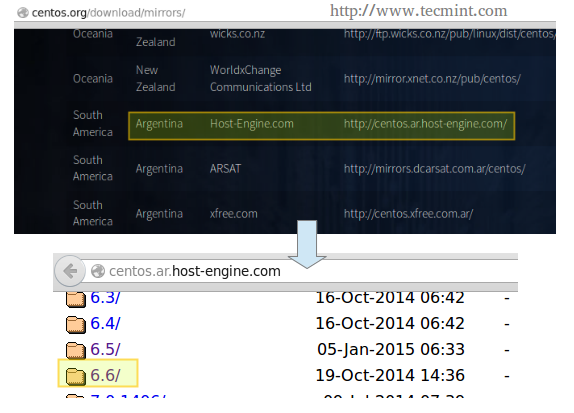
Then, navigate to the os directory inside the highlighted link and then choose the appropriate architecture. Once there, copy the link in the address bar and download the contents to the dedicated directory in the repository server:
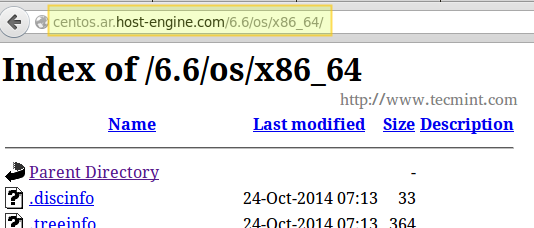
In case that the chosen repository turns out to be offline for some reason, go back and choose a different one. No big deal.
Now is the time when you may want to relax and maybe watch an episode of your favourite TV show, because mirroring the online repository may take quite a while.
Once the download has completed, you can verify the usage of disk space with:
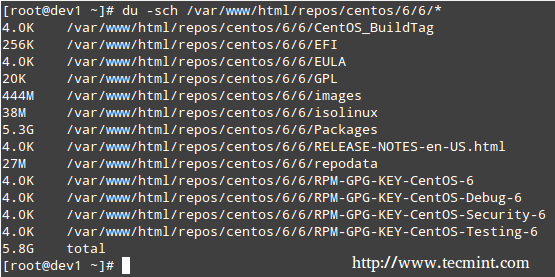
Finally, update the repository’s database.
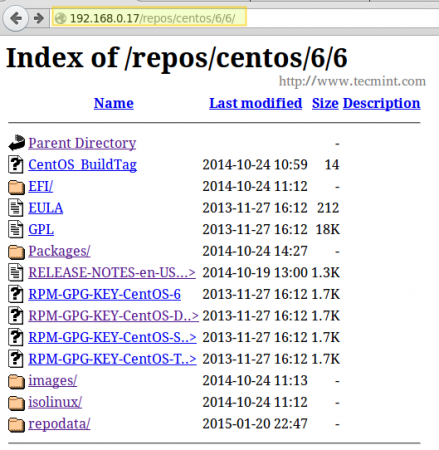
You may also want to launch your web browser and navigate to the repos/centos/6/6 directory so as to verify that you can see the contents:


No comments:
Post a Comment