Introduction
AlmaLinux 9.5 is an enterprise-grade Linux distribution that is highly compatible with Red Hat Enterprise Linux (RHEL). It’s a powerful choice for servers, workstations, and cloud environments. The open-source nature of AlmaLinux makes it a great alternative to other popular distributions. This blog post will walk you through the step-by-step process to install AlmaLinux 9.5 on your machine, ensuring that you can get up and running in no time.
Why Choose AlmaLinux?
Before diving into the installation process, let’s briefly discuss why you should consider AlmaLinux for your next server or workstation setup:
| Reason | Description |
|---|---|
| RHEL Compatibility | AlmaLinux is 1:1 binary compatible with RHEL, making it ideal for users migrating from CentOS, which shifted to CentOS Stream. |
| Open-Source | AlmaLinux is completely free and open-source, with no licensing costs or hidden fees. |
| Enterprise-Grade Stability | Built with long-term stability and security in mind, AlmaLinux is perfect for mission-critical applications, just like RHEL. |
| Active Community | AlmaLinux has a vibrant community that can provide support and help solve any issues you may encounter. |
Prerequisites
Before we begin, ensure that you meet the following requirements:
| Prerequisite | Description |
|---|---|
| Dedicated Machine or VM | A dedicated physical machine or a virtual machine (VM) to install AlmaLinux 9.5. |
| RAM | Minimum of 2GB RAM, though 4GB is recommended for optimal performance. |
| Storage Space | Minimum of 10GB of storage, though 20GB is preferable for a comfortable setup. |
| Internet Access | Required for downloading packages during the installation process. |
| Bootable USB or Virtual Disk | A bootable USB drive or a virtual disk image is needed if installing on a VM. |
| Basic Linux Knowledge | Basic understanding of Linux and command-line operations is recommended. |
Install AlmaLinux 9.5 in 12 Easy Steps: Step-by-Step Instructions
Step 1: Download AlmaLinux 9.5 ISO |
Start by downloading the AlmaLinux 9.5 ISO (i.e. Head to the Official AlmaLinux website to grab the latest release):
- Visit: https://almalinux.org/download/
- Select the appropriate version (typically the x86_64 architecture unless you are using a different hardware architecture).
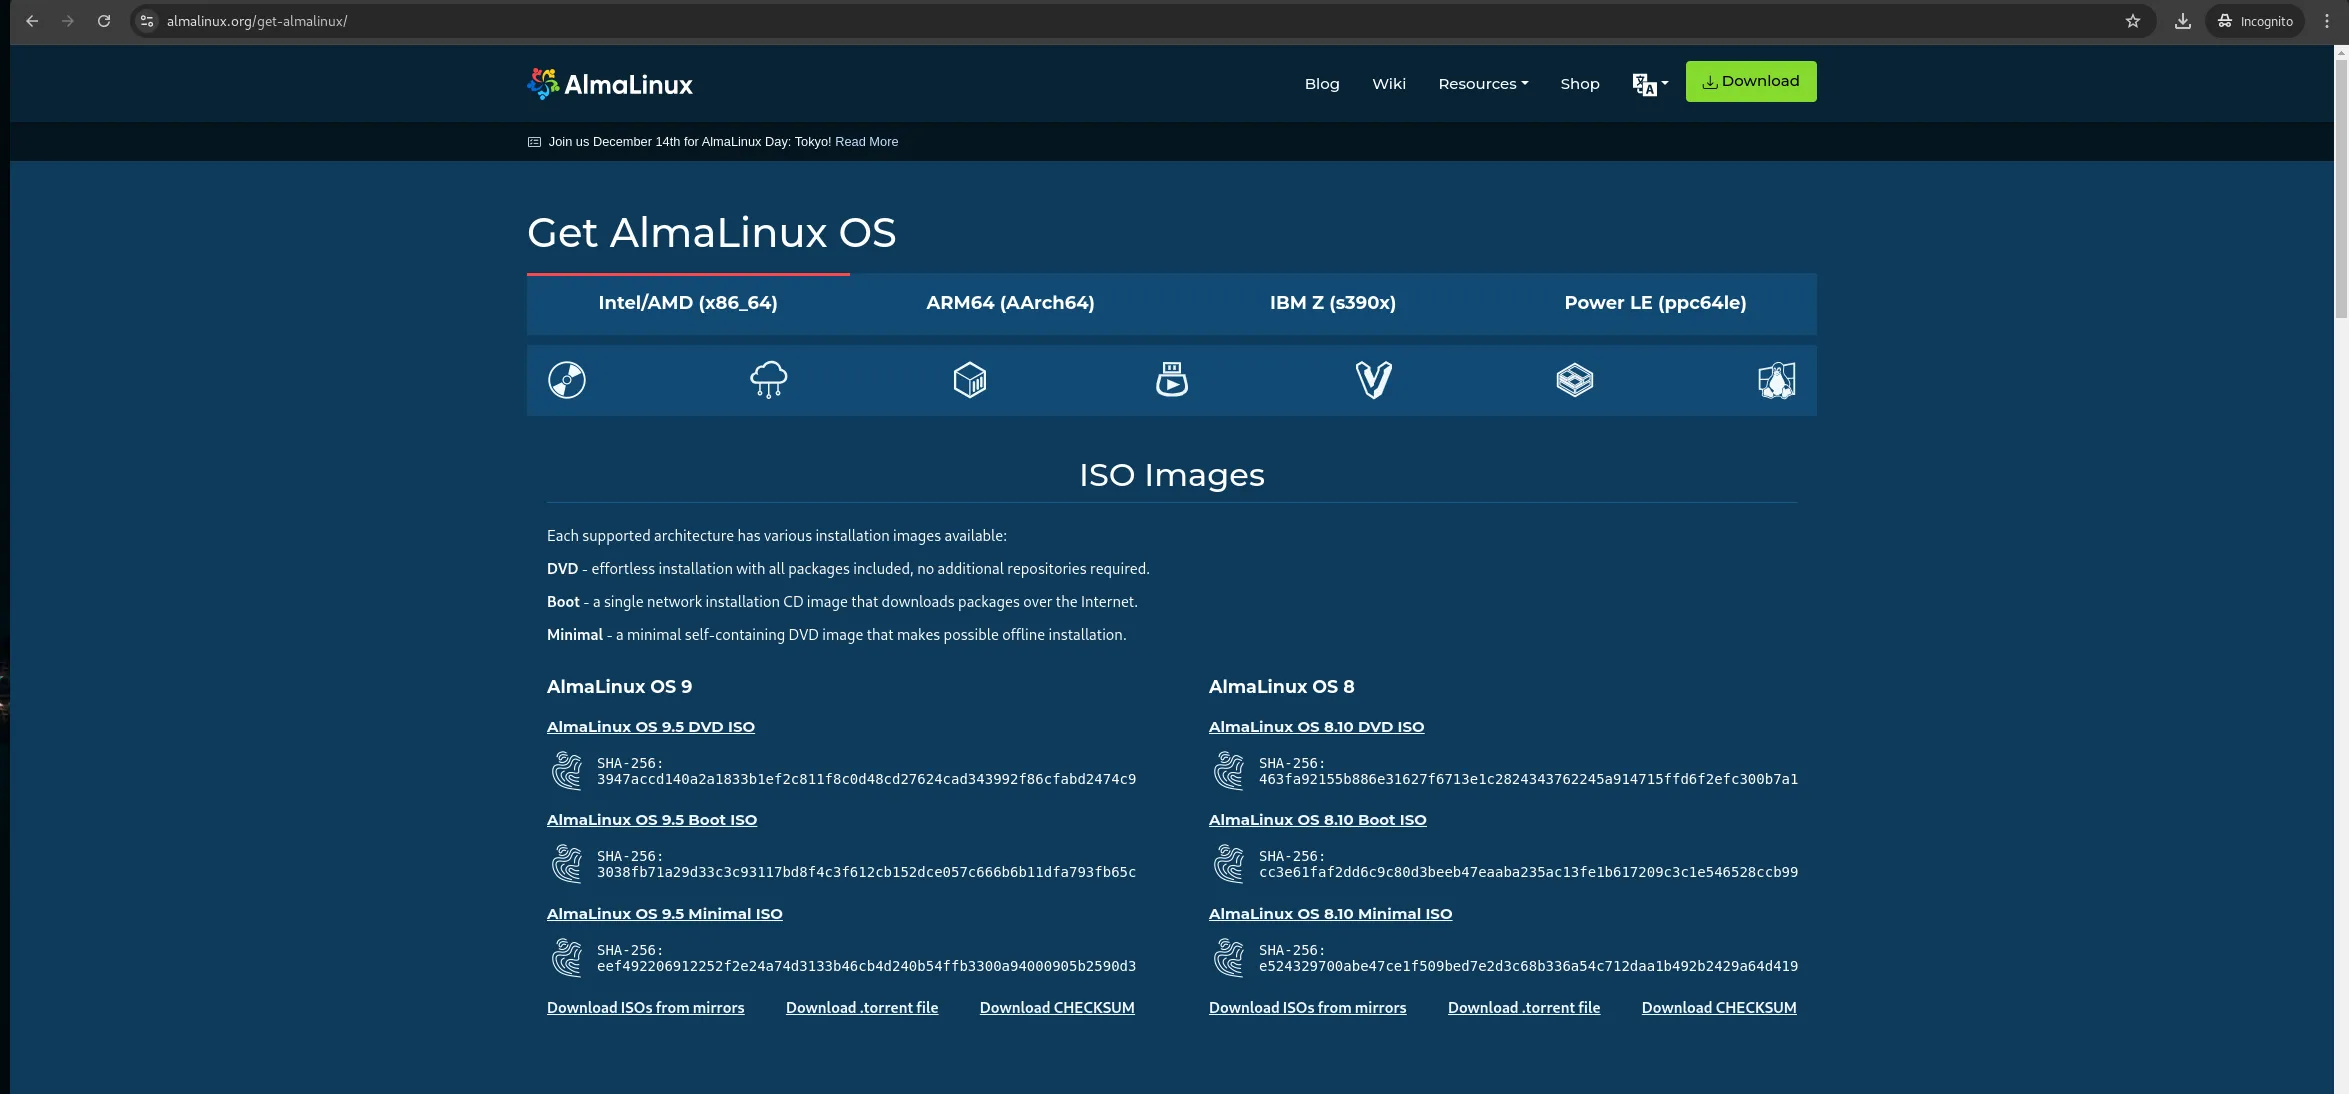
Photo by admingeek from Infotechys
Step 2: Create a Bootable USB Drive |
To install AlmaLinux 9.5, you’ll need to create a bootable USB drive. Here’s how you can do it:
For demonstration purposes, we initially downloaded the AlmaLinux 9.4 ISO and performed an upgrade to version 9.5 after installation.
On Windows: |
- Download: Rufus, a free tool for creating bootable USB drives.
- Insert your USB drive into your computer.
- Launch Rufus and select the downloaded AlmaLinux ISO as the source.
- Click Start, and Rufus will create a bootable USB drive.
On Linux or macOS: |
Use the dd command to create a bootable USB. Run the following commands:
sudo dd if=AlmaLinux-9.5-x86_64.iso of=/dev/sdX bs=4M status=progress && syncReplace /dev/sdX with the correct device path (e.g., /dev/sdb ).
Step 3: Boot From USB |
Insert the bootable USB drive into your machine. Reboot the system and press the required key (usually function keys: F2, F12, ESC, or Del) to enter the BIOS/UEFI menu.
- In the boot options, select your USB drive as the boot device.
- Press Enter to boot from the USB.
Step 4: Begin AlmaLinux 9.5 Installation |
Once AlmaLinux boots up, you’ll be presented with a few options. Choose Install AlmaLinux <release_version> and press Enter.
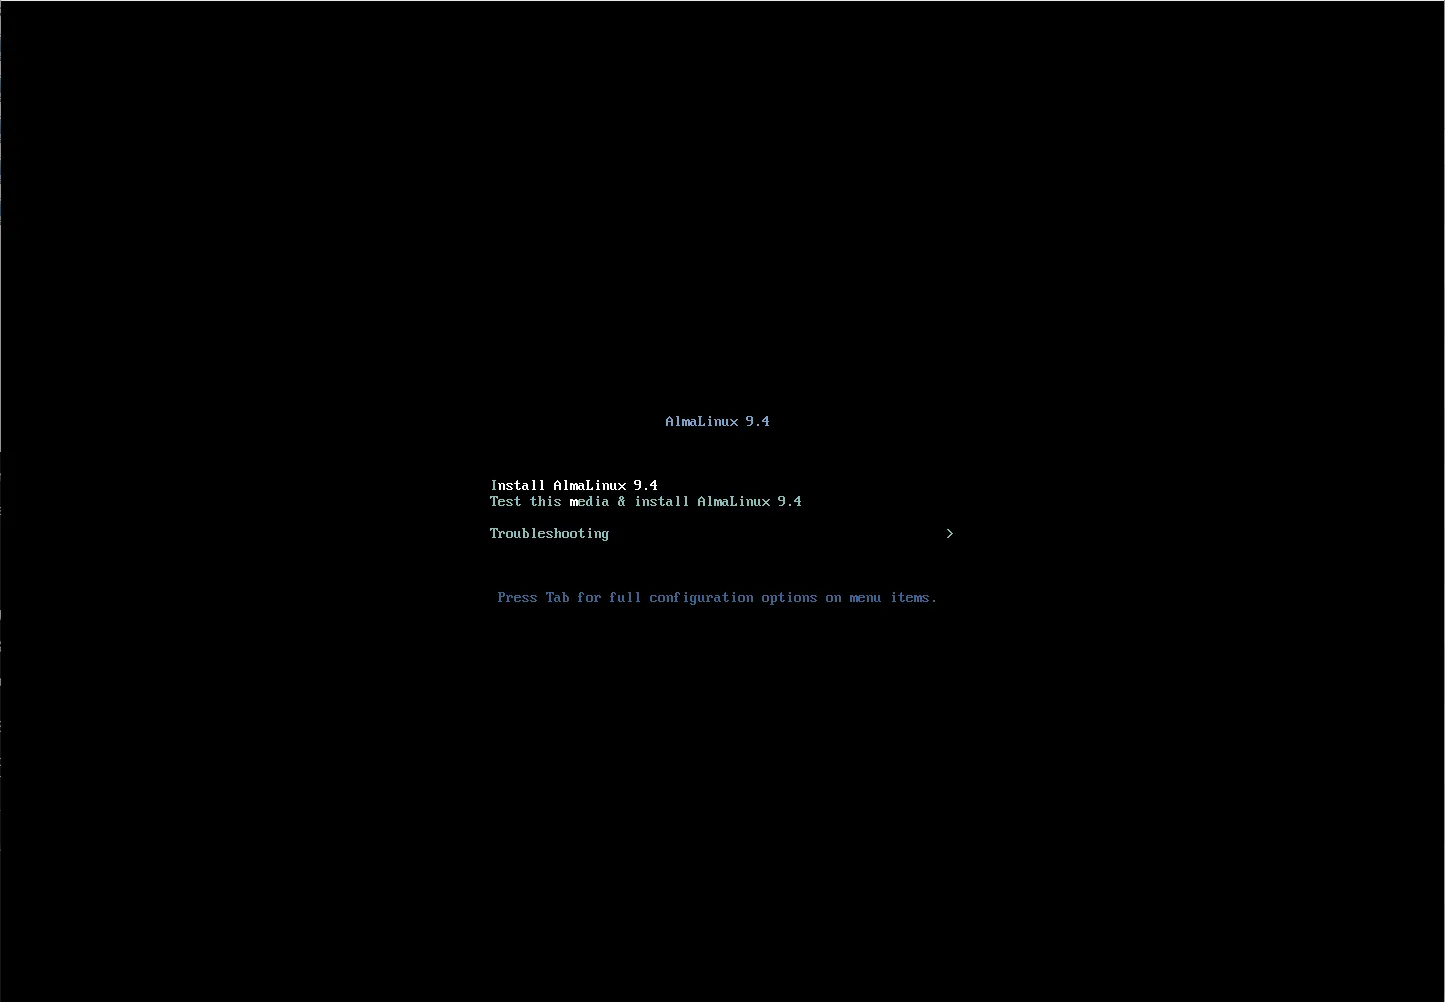
Photo by admingeek from Infotechys
Step 5: Select Language and Keyboard Layout |
The installer will prompt you to select the language and keyboard layout.
- Choose your Language (e.g., English).
- Select your Keyboard layout.
- Click Continue to proceed
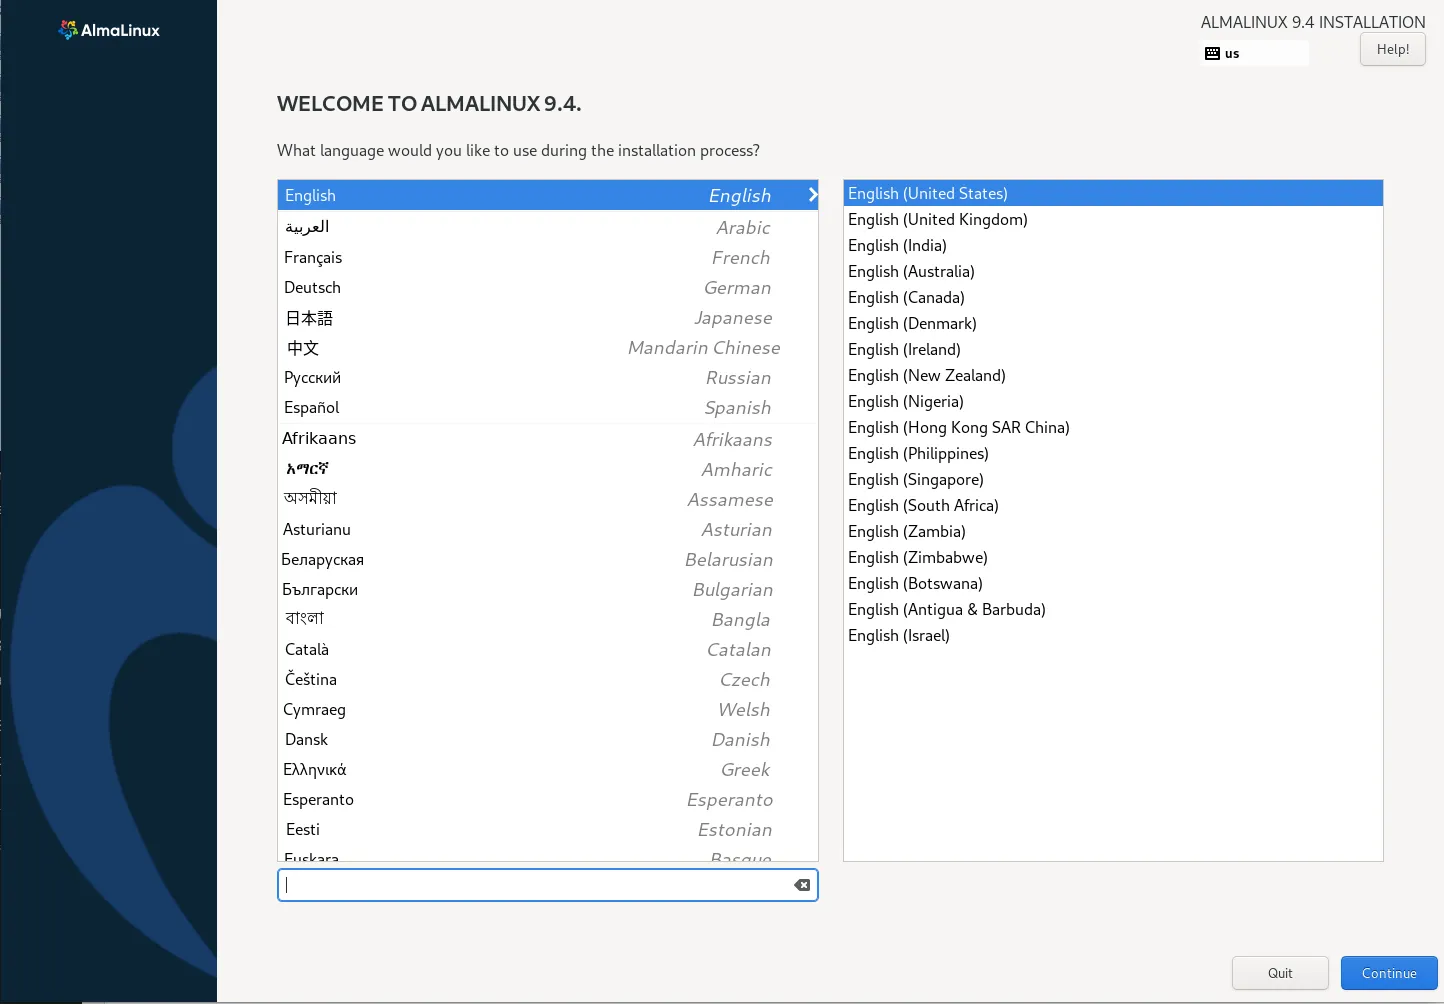
Photo by admingeek from Infotechys
Step 6: Disk Partitioning |
Now, you’ll need to configure the disk partitions for AlmaLinux. You can either choose automatic partitioning or manually configure your disk layout.
Automatic Partitioning: |
Choose Automatic and let the installer handle disk partitioning. This is recommended for most users, especially beginners.
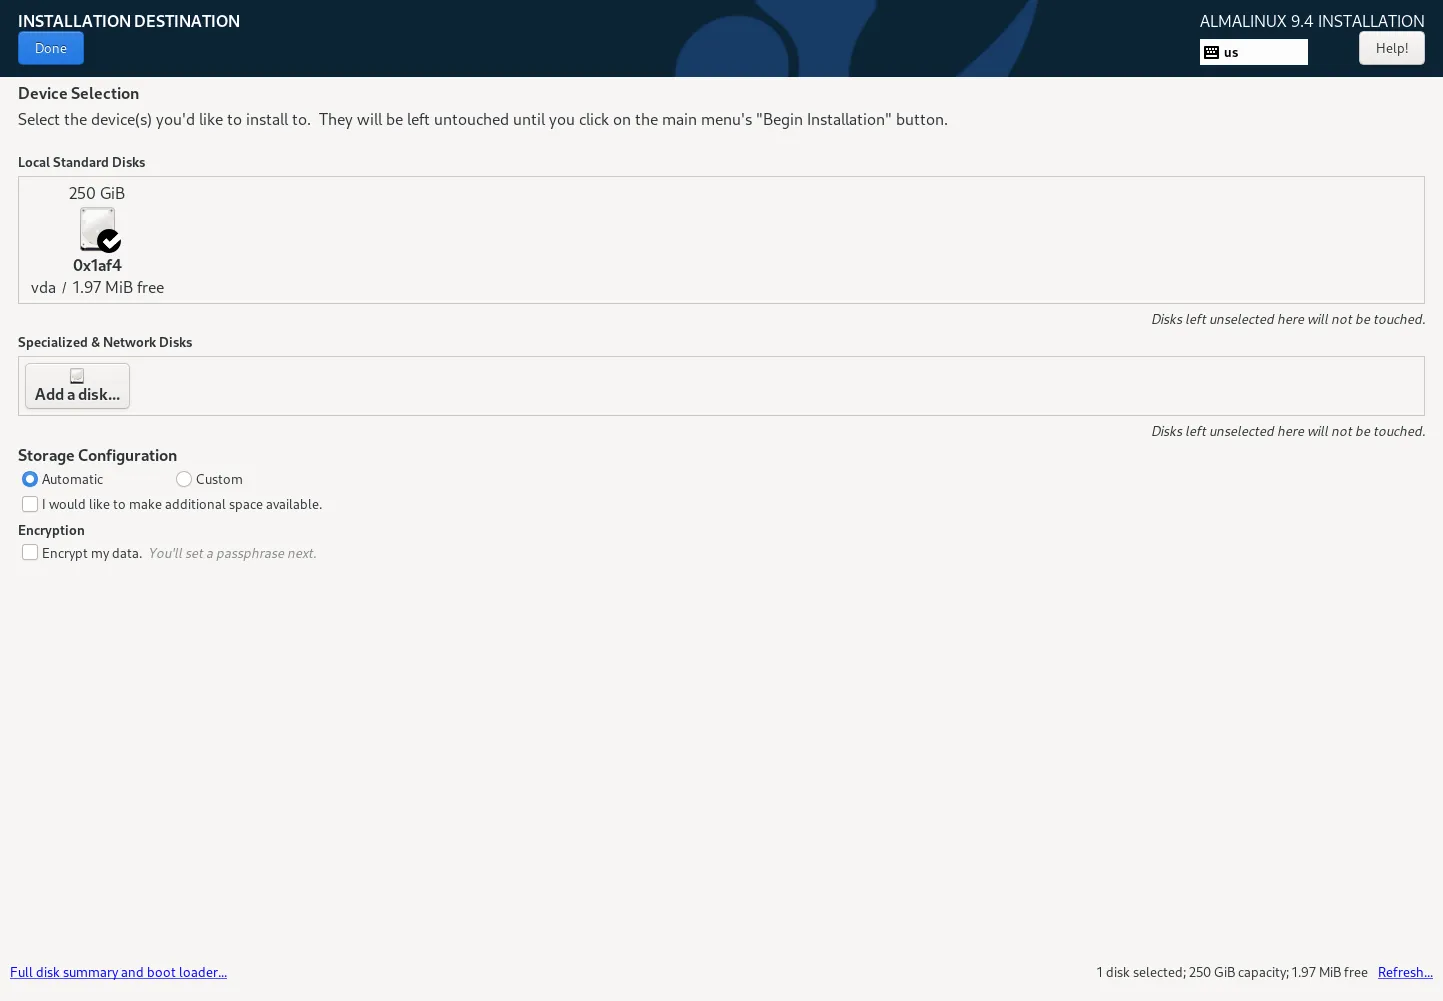
Photo by admingeek from Infotechys
Custom Partitioning: |
For advanced users, choose Custom partitioning to manually configure partitions for / , /home , /var , /boot , and swap.
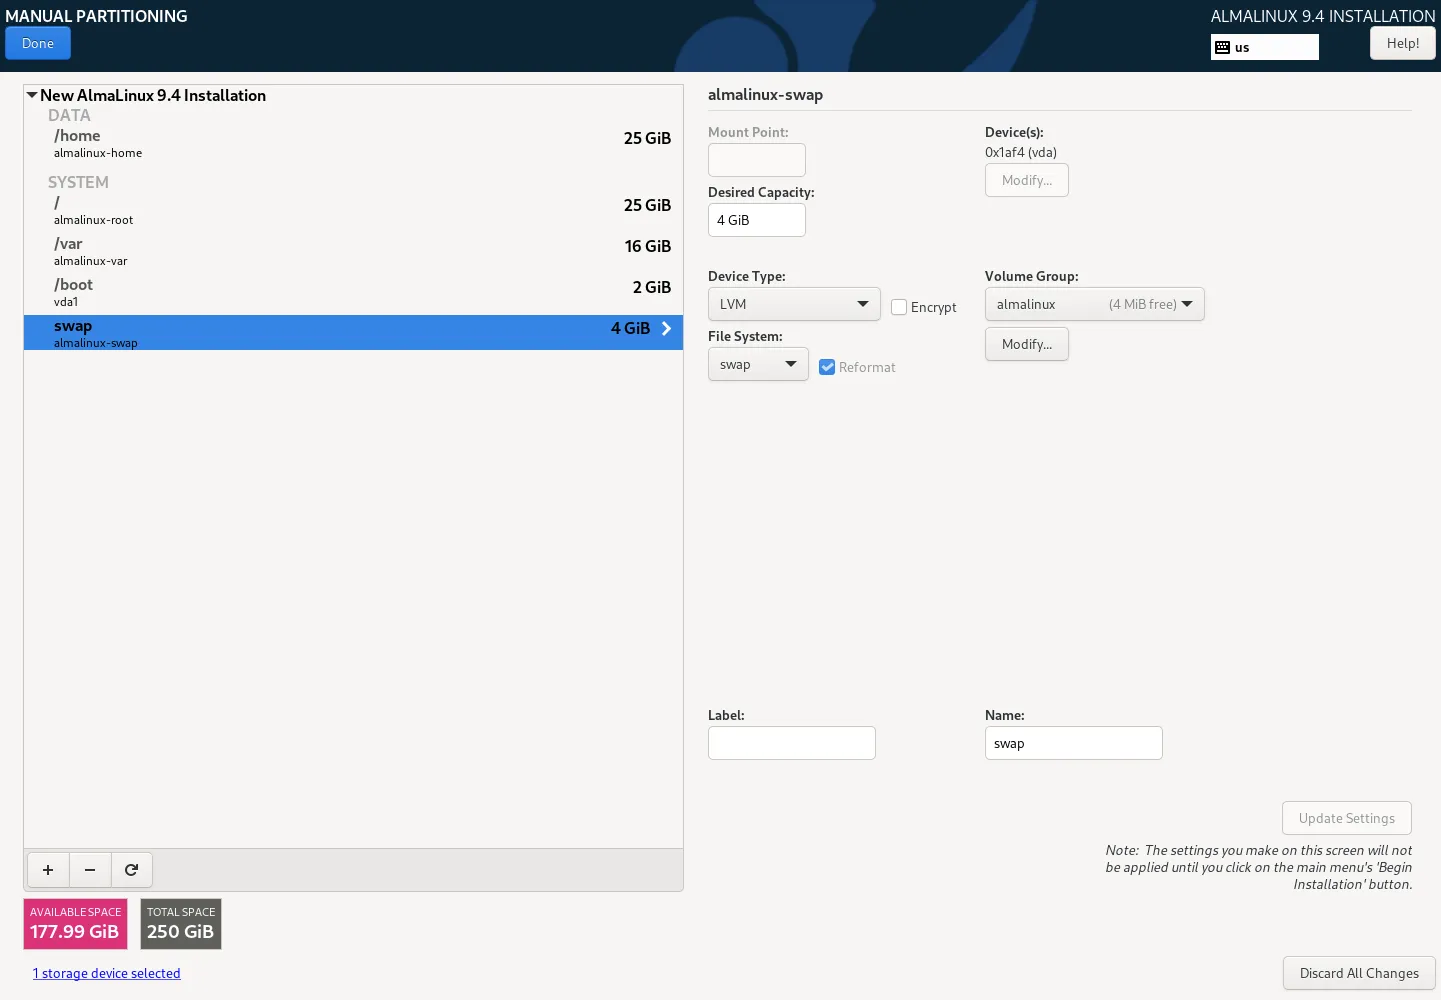
Photo by admingeek from Infotechys
Step 7: Network Configuration |
In this step, you’ll configure your network settings:
- Ethernet: If you’re using a wired connection, it should automatically be detected.
- Wi-Fi: If you’re using a wireless connection, click on the network icon, select your network, and enter the password.
- Click Done to save the settings.
Step 8: Set Hostname |
You’ll be asked to set a hostname for your system. This is essentially the name your system will be identified by on a network.
- Enter a hostname (e.g.,
my-server). - Click Done to continue.
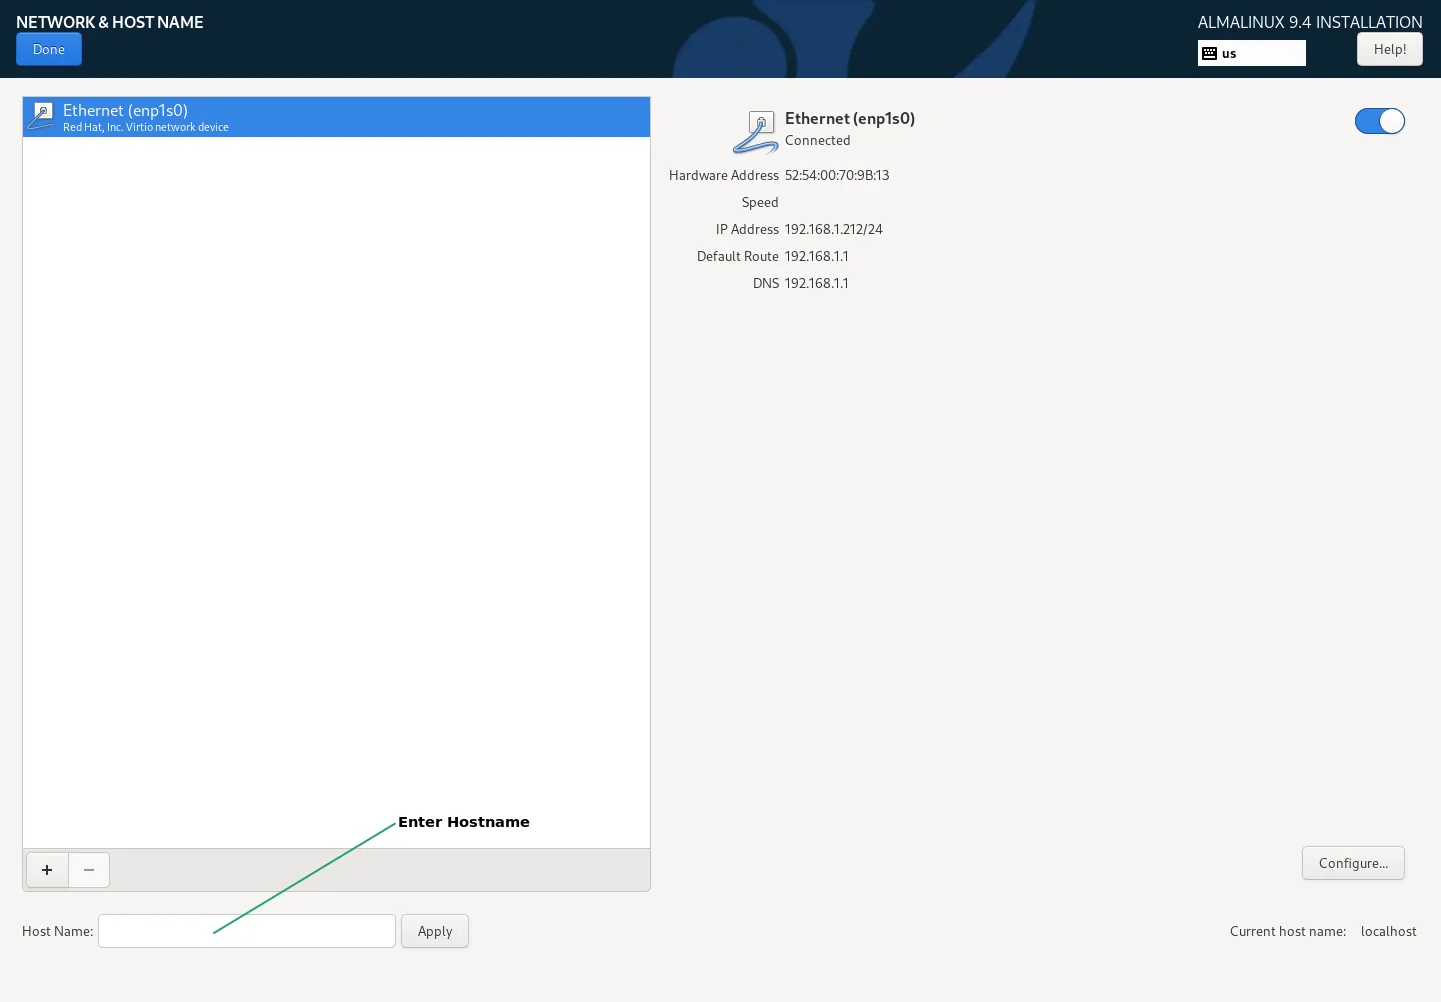
Photo by admingeek from Infotechys
Step 9: Set Time Zone |
Choose your time zone. The installer will attempt to auto-detect your location, but you can manually select it on the map.
- Click on the Time Zone option.
- Choose your city or region.
- Click Done.
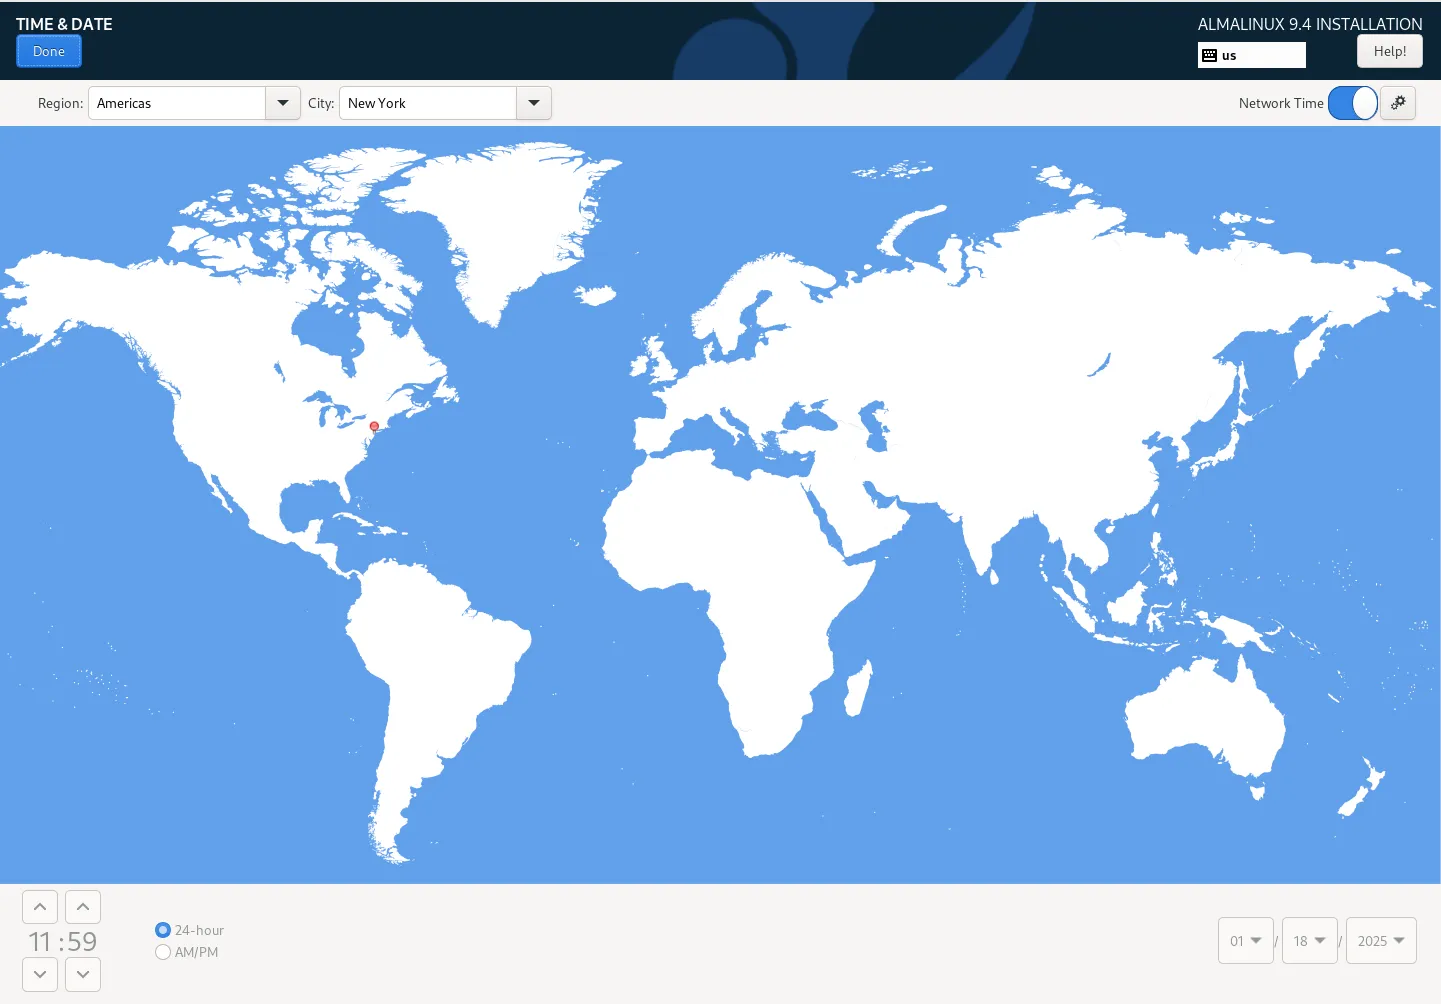
Photo by admingeek from Infotechys
Step 10: Set Root Password and Create User |
Now it’s time to set the root password and create a user.
- Set Root Password: Enter a secure password for the root user.
- Create User: Create a regular user with a strong password. This user will have sudo privileges.
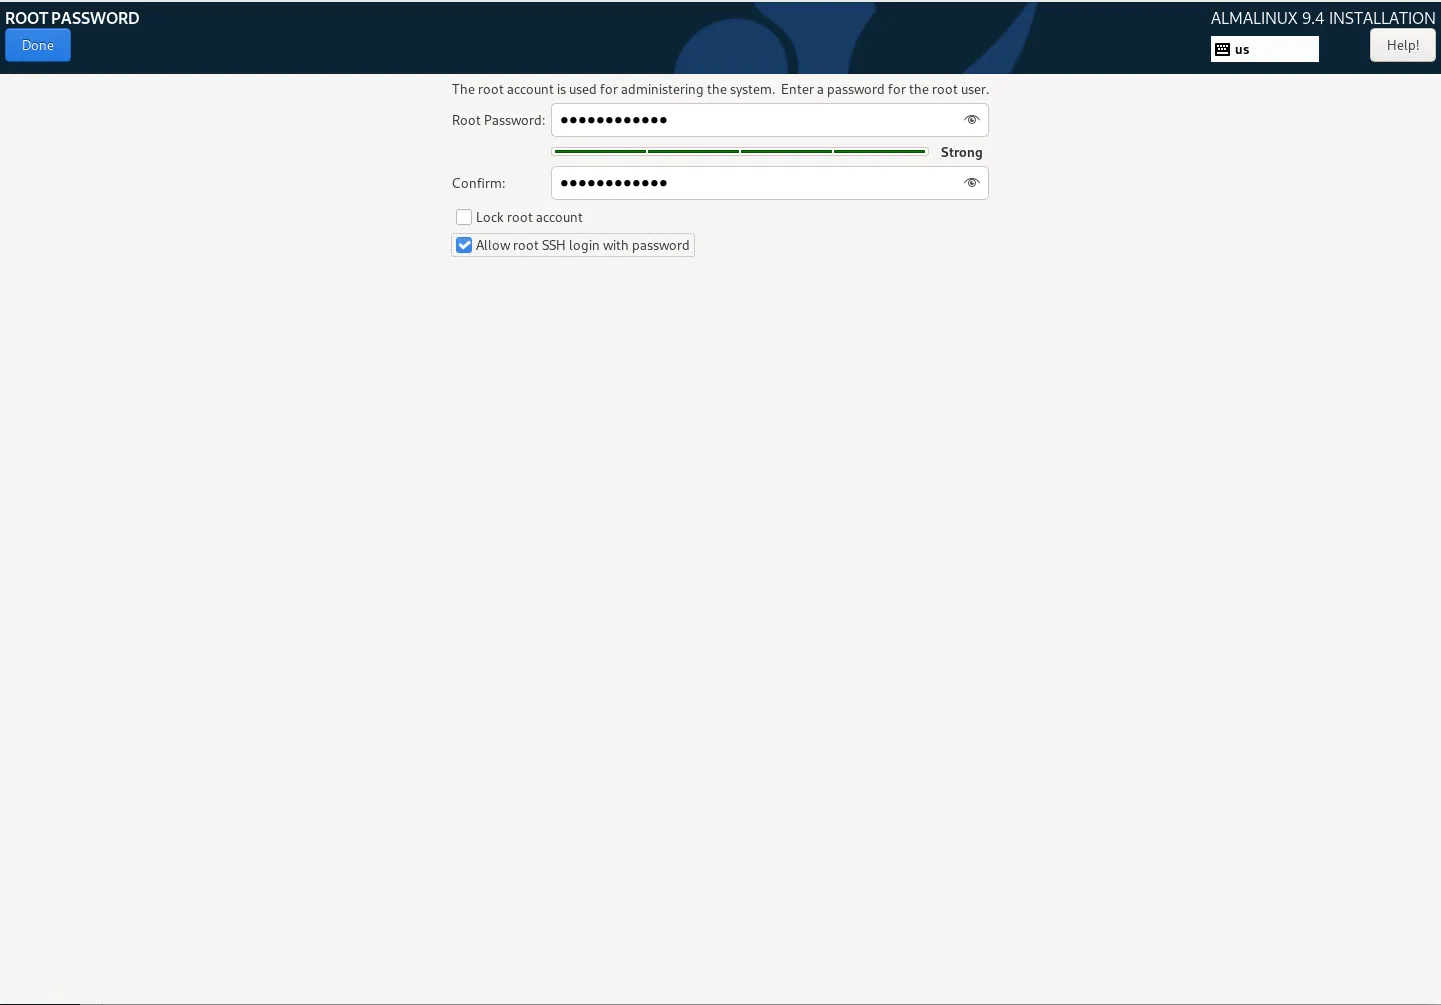
Photo by admingeek from Infotechys
- Enter Full Name, Username, and Password.
- Select the checkbox Make this user an administrator to grant sudo access.
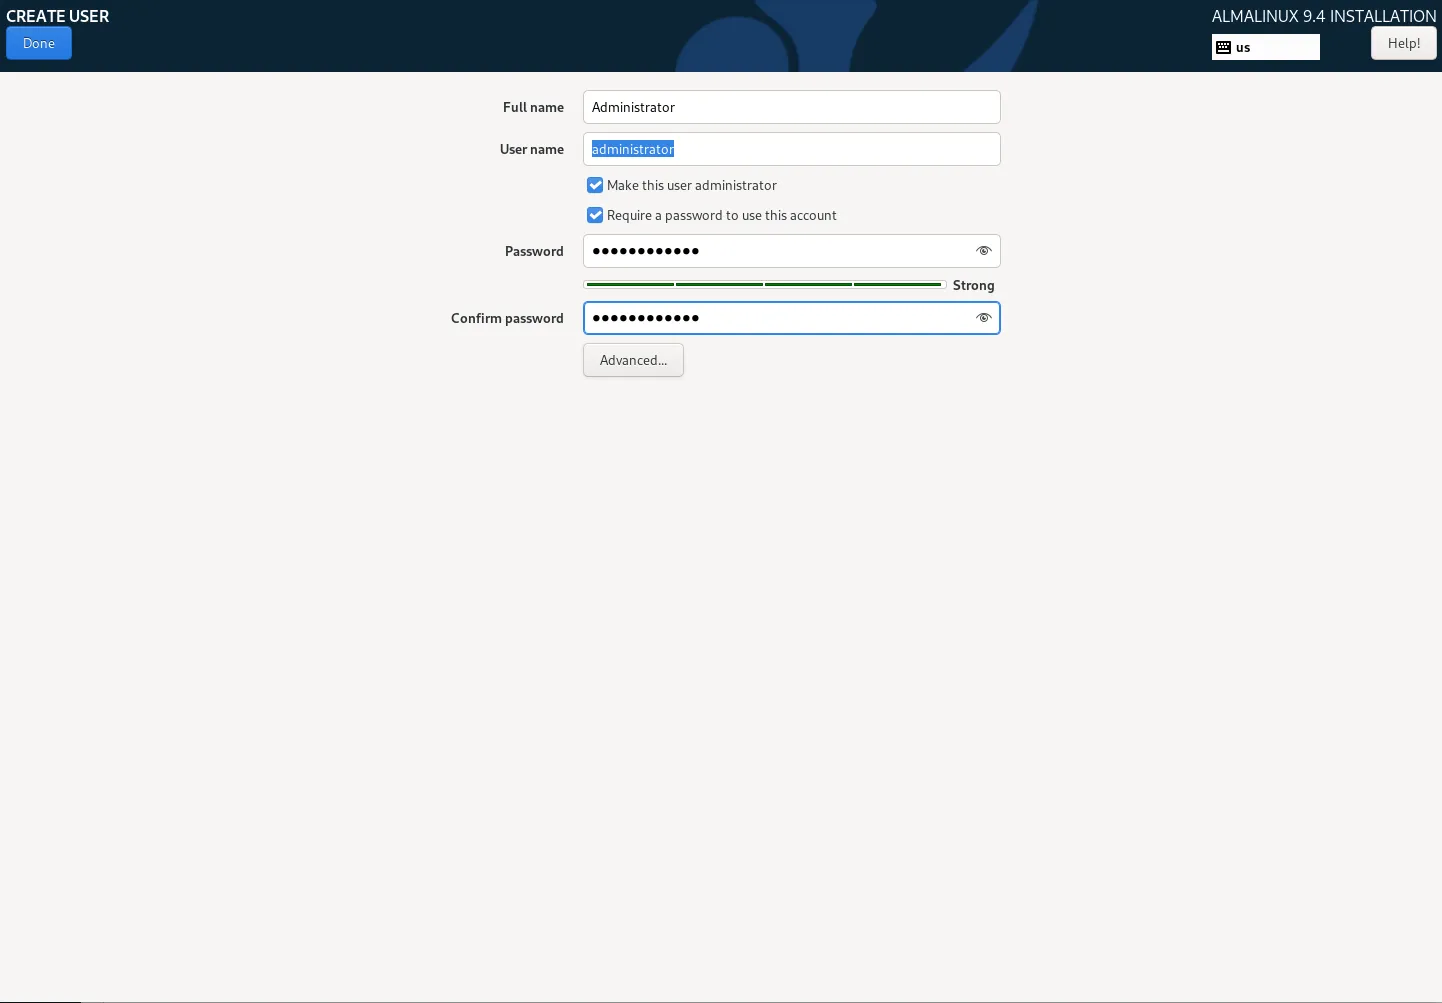
Photo by admingeek from Infotechys
Step 11: Begin Installation |
After completing all the configuration steps, you can begin the installation process:
- Click on Begin Installation.
- AlmaLinux will now start the installation process. The system will format the disk, create partitions, and install the required packages.
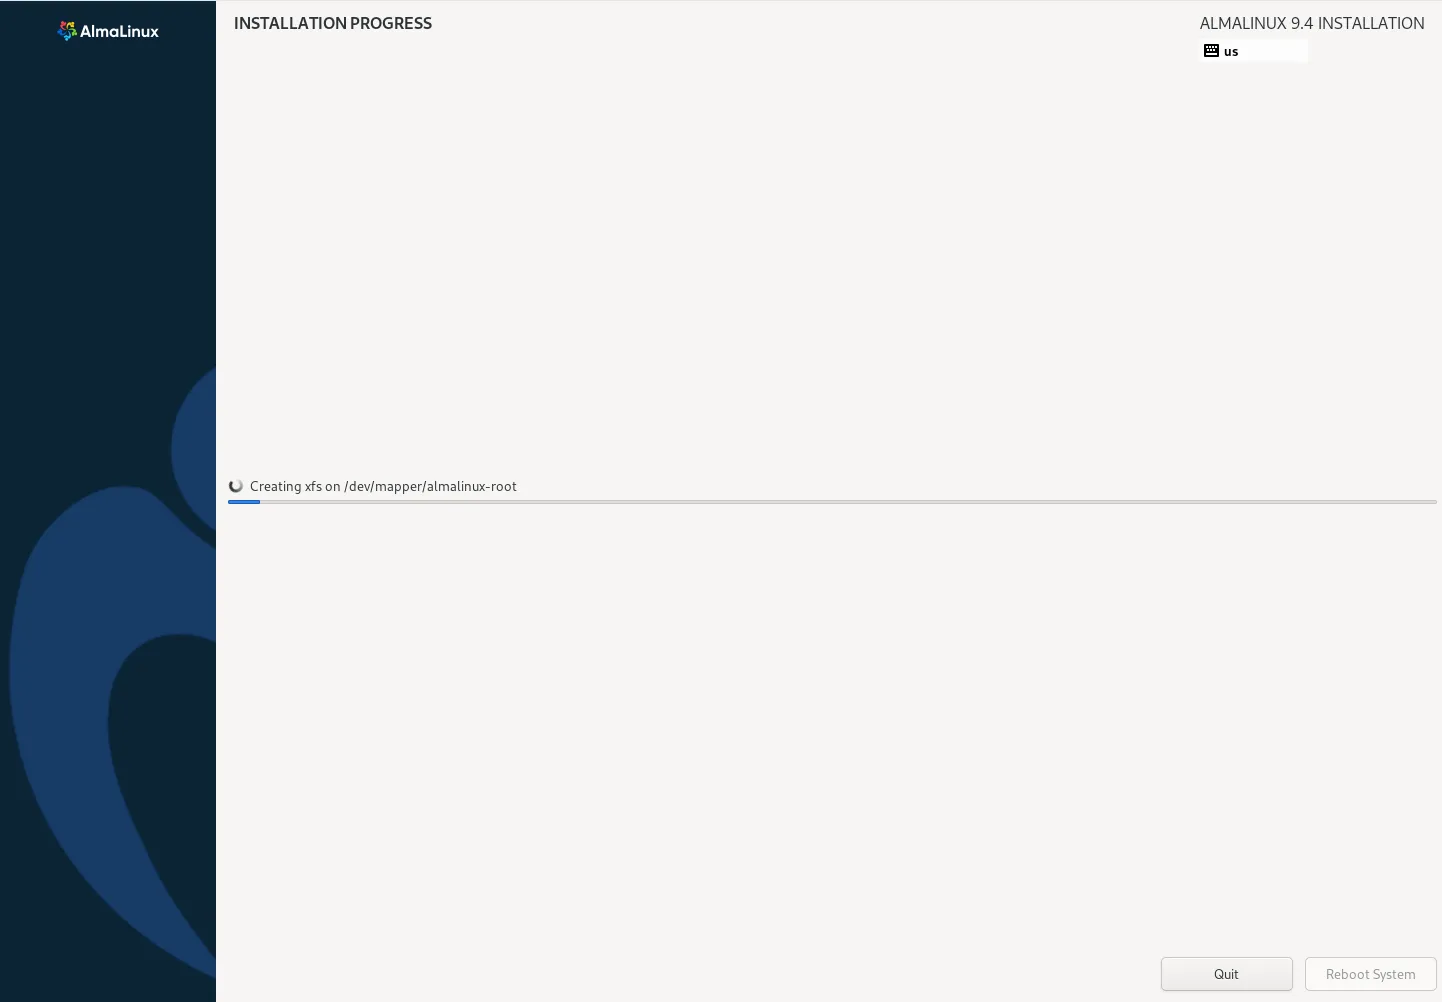
Photo by admingeek from Infotechys
This step may take some time depending on your hardware.
Step 12: Complete the Installation and Reboot |
Once the installation is complete, you’ll see a message stating Installation Complete. At this point:
- Remove the USB drive.
- Click Reboot to restart your system.
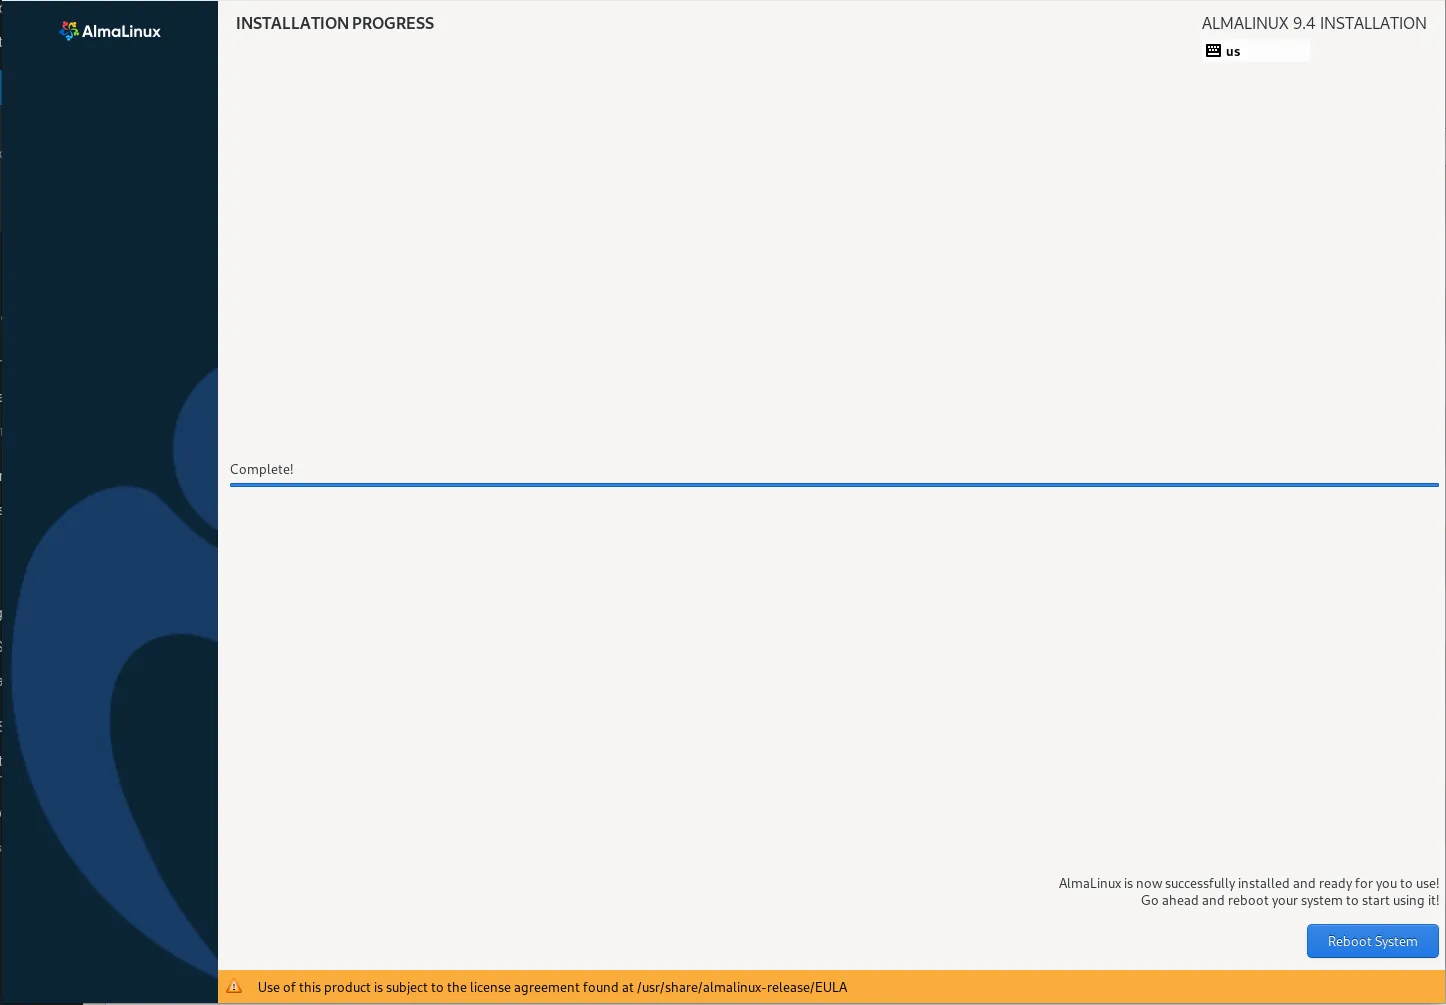
Photo by admingeek from Infotechys
- AlmaLinux will boot up, and you’ll be presented with the login screen.
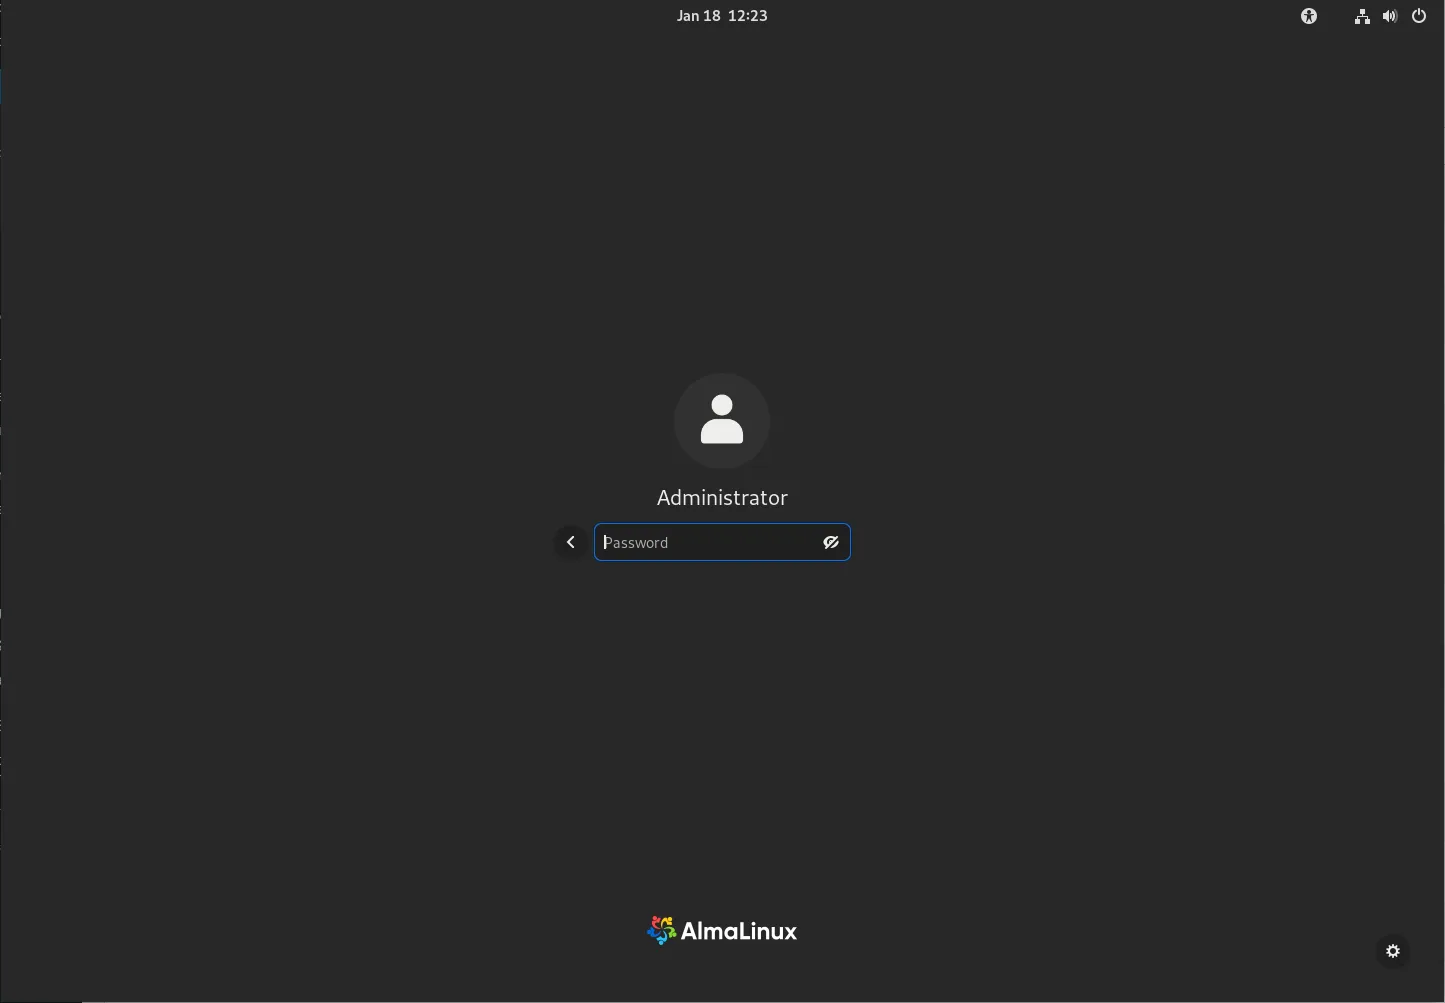
Photo by admingeek from Infotechys
Install AlmaLinux 9.5 in 12 Easy Steps: Post-Installation Setup
After the installation, there are a few post-setup steps to ensure your system is optimized and secure.
Step 1: Update the System |
Once you’re logged in, it’s important to update AlmaLinux to the latest packages and security patches. Then, reboot your machine:
sudo dnf update -y && sudo systemctl reboot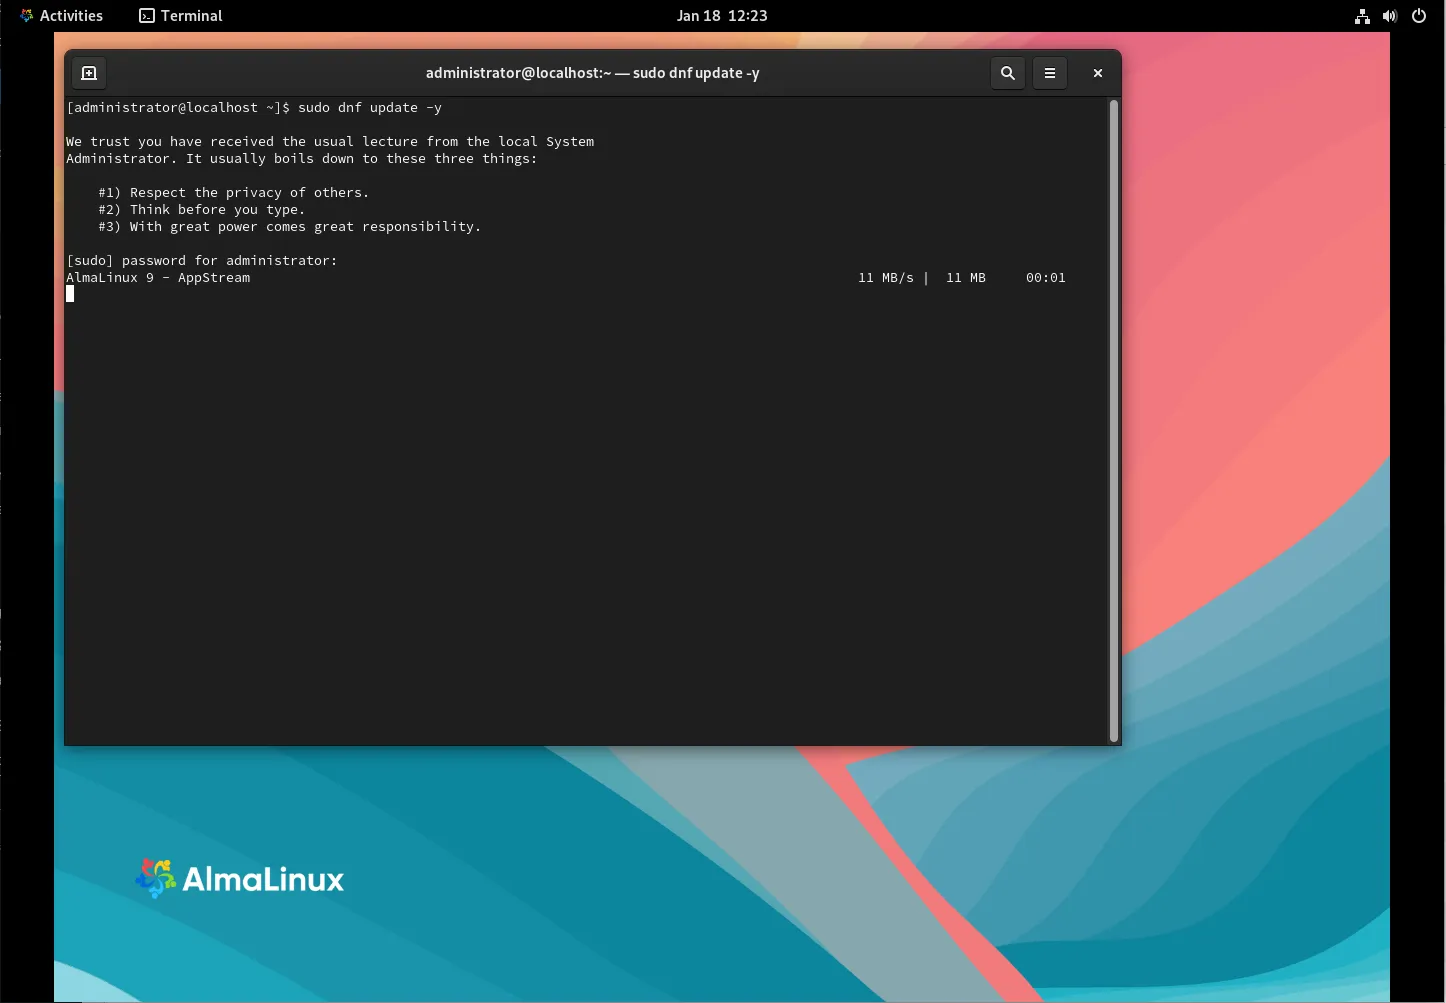
Photo by admingeek from Infotechys
In this instance, we updated our version of AlmaLinux from 9.4 to 9.5.
Step 2: Install Additional Software |
AlmaLinux comes with many software packages pre-installed, but you may want to install additional tools. For example:
- Web server: Install Apache HTTP server:
sudo dnf install httpd -y- Firewall: Enable the firewall and open necessary ports (e.g., HTTP and HTTPS):
sudo firewall-cmd --add-service=http --permanent; sudo firewall-cmd --add-service=https --permanent; sudo firewall-cmd --reloadStep 3: Enable and Start Services |
Enable and start services that are crucial for your setup. For instance, if you installed Apache HTTP server, enable and start the service:
sudo systemctl enable --now httpdUseful Commands for AlmaLinux
Here are some basic commands you may find useful after installation:
| Command | Description |
|---|---|
sudo dnf install <package> | Install a package |
sudo dnf update | Update all installed packages |
sudo systemctl status <service> | Check the status of a service (e.g., httpd) |
sudo systemctl start <service> | Start a service (e.g., httpd) |
sudo reboot | Reboot the system |


No comments:
Post a Comment