Introduction
Minikube is an essential tool for developers looking to set up a local Kubernetes environment. If you’re running Ubuntu 24.04, installing Minikube can be straightforward if you follow the right steps. This guide will help you install Minikube efficiently while ensuring that your setup is optimized for performance and usability.
What is Minikube?
Minikube is an open-source tool that makes it easy to run Kubernetes locally. It creates a single-node Kubernetes cluster on your machine, which is perfect for testing and development. With Minikube, you can experiment with Kubernetes features without the complexity of a full-scale cluster.
Prerequisites |
Before installing Minikube, ensure you have the following:
Ubuntu 24.04: You can check your version using:
lsb_release -aNo LSB modules are available.
Distributor ID: Ubuntu
Description: Ubuntu 24.04.1 LTS
Release: 24.04
Codename: nobleVirtualization Support: Ensure your CPU supports virtualization. You can check this with:
egrep -c '(vmx|svm)' /proc/cpuinfo4If virtualization is supported, the output should return a number greater than zero.
Hardware Requirements: A minimum of 2GB RAM is recommended for running Minikube comfortably.
Install Minikube on Ubuntu 24.04: Installing Virtualization Software
Minikube requires a hypervisor to run the virtual machine. The two most common options are KVM and VirtualBox.
Installing KVM |
Install Required Packages:
sudo apt update && sudo apt install -y qemu-kvm libvirt-daemon-system libvirt-clients bridge-utils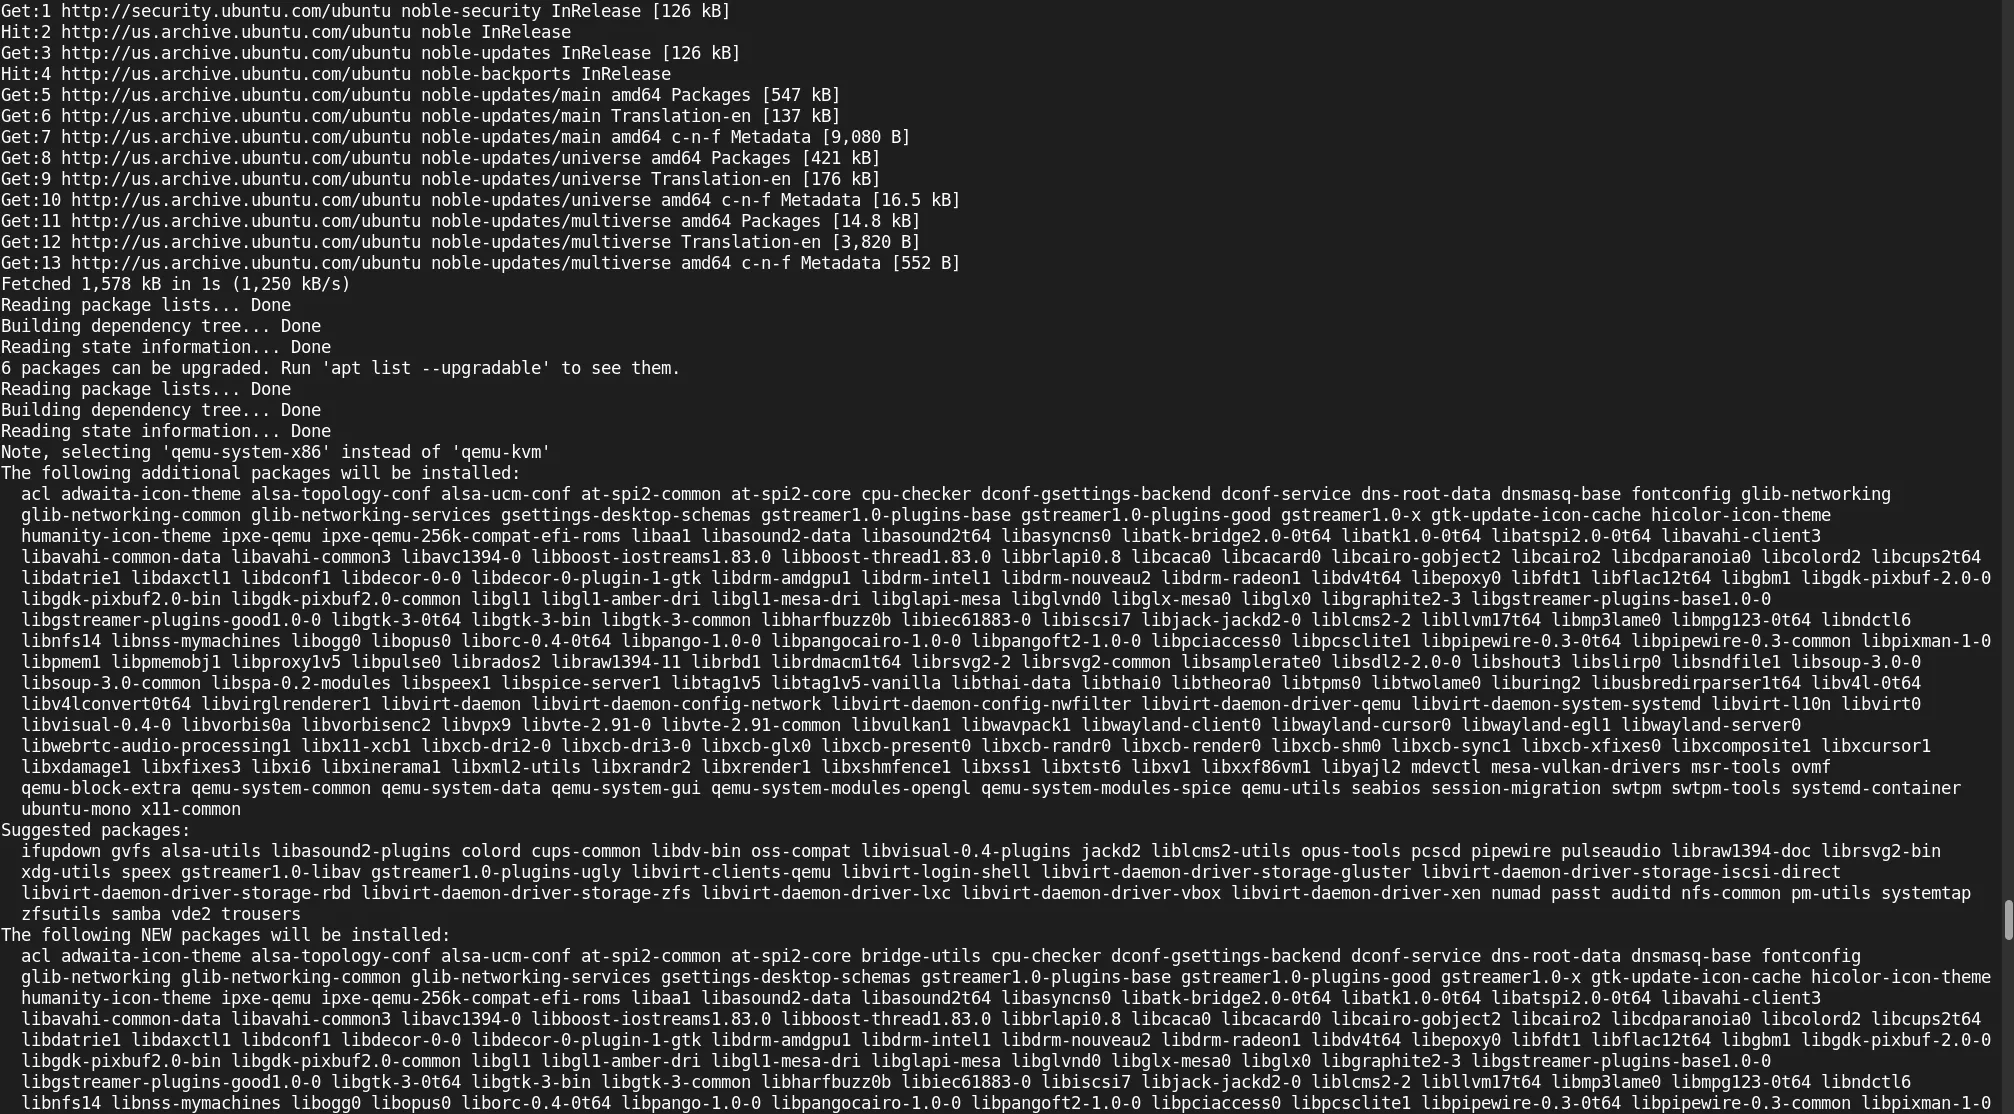
Photo by admingeek from Infotechys
Add Your User to the KVM Group: |
sudo adduser $(whoami) kvminfo: Adding user `admin' to group `kvm' ...Add Your User to the |
sudo usermod -aG libvirt $(whoami)Also, ensure that /var/run/libvirt/libvirt-sock is owned by your user.
sudo chown $(whoami): /var/run/libvirt/libvirt-sockVerify Installation: |
sudo systemctl status libvirtdinfo: Adding user `admin' to group `kvm' ...Installing VirtualBox (Alternative)
If you prefer VirtualBox, you can install it using the following commands:
Add VirtualBox Repository: |
sudo apt update && sudo apt install -y software-properties-common && sudo add-apt-repository -y multiverseHit:1 http://us.archive.ubuntu.com/ubuntu noble InRelease
Hit:2 http://us.archive.ubuntu.com/ubuntu noble-updates InRelease
Hit:3 http://security.ubuntu.com/ubuntu noble-security InRelease
Hit:4 http://us.archive.ubuntu.com/ubuntu noble-backports InRelease
Reading package lists... Done
Building dependency tree... Done
Reading state information... Done
6 packages can be upgraded. Run 'apt list --upgradable' to see them.
Reading package lists... Done
Building dependency tree... Done
Reading state information... Done
software-properties-common is already the newest version (0.99.48).
software-properties-common set to manually installed.
0 upgraded, 0 newly installed, 0 to remove and 6 not upgraded.
Adding component(s) 'multiverse' to all repositories.
Hit:1 http://us.archive.ubuntu.com/ubuntu noble InRelease
Hit:2 http://us.archive.ubuntu.com/ubuntu noble-updates InRelease
Hit:3 http://us.archive.ubuntu.com/ubuntu noble-backports InRelease
Hit:4 http://security.ubuntu.com/ubuntu noble-security InRelease
Reading package lists... DoneInstall VirtualBox: |
sudo apt update && sudo apt install -y virtualboxInstalling Minikube
Now that your virtualization software is set up, you can install Minikube.
Step 1: Download Minikube |
You can download the latest version of Minikube using curl (minikube version 1.34.0 as of the date of this publication):
curl -LO https://storage.googleapis.com/minikube/releases/latest/minikube-linux-amd64% Total % Received % Xferd Average Speed Time Time Time Current
Dload Upload Total Spent Left Speed
100 99.0M 100 99.0M 0 0 79.9M 0 0:00:01 0:00:01 --:--:-- 79.9MStep 2: Install Minikube |
Next, move the binary to a directory included in your system’s PATH:
sudo install minikube-linux-amd64 /usr/local/bin/minikubeStep 3: Verify Installation |
To confirm that Minikube is installed successfully, run:
minikube versionminikube version: v1.34.0
commit: 210b148df93a80eb872ecbeb7e35281b3c582c61You should see the installed version of Minikube.
Starting Minikube
Now it’s time to start Minikube. You can choose the driver based on your virtualization software.
Starting Minikube with KVM |
minikube start --driver=kvm2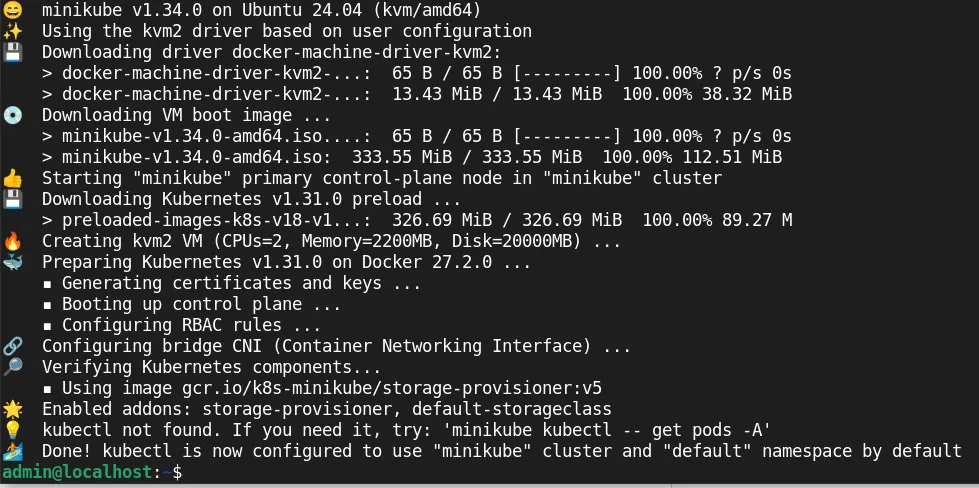
Photo by admingeek from Infotechys
Starting Minikube with VirtualBox |
minikube start --driver=virtualboxConfiguring Resource Allocation |
You can also specify the number of CPUs and the amount of memory:
minikube start --cpus=2 --memory=2048 --driver=kvm2Using kubectl
Minikube includes kubectl , the command-line tool for interacting with Kubernetes clusters. To install kubectl :
Step 1: Install kubectl |
You can download the latest version of kubectl using curl (kubectl version 1.31.0):
curl -LO "https://storage.googleapis.com/kubernetes-release/release/$(curl -s https://storage.googleapis.com/kubernetes-release/release/stable.txt)/bin/linux/amd64/kubectl"% Total % Received % Xferd Average Speed Time Time Time Current
Dload Upload Total Spent Left Speed
100 53.7M 100 53.7M 0 0 76.1M 0 --:--:-- --:--:-- --:--:-- 76.1MStep 2: Make kubectl Executable |
chmod +x ./kubectl && sudo mv ./kubectl /usr/local/bin/kubectlStep 3: Verify kubectl Installation |
Run the following command to verify that kubectl is installed:
kubectl version --clientClient Version: v1.31.0
Kustomize Version: v5.4.2Managing Minikube
Once Minikube is running, you can manage it using various commands.
Checking Cluster Status |
To check the status of your Minikube cluster, use:
minikube statusminikube
type: Control Plane
host: Running
kubelet: Running
apiserver: Running
kubeconfig: ConfiguredStopping Minikube |
When you’re done, you can stop the Minikube cluster with:
minikube stopDeleting Minikube Cluster |
To delete the Minikube cluster and free up resources:
minikube deleteTroubleshooting Common Issues
Issue: Minikube Fails to Start |
If Minikube fails to start, check if your virtualization software is running correctly. Ensure that your user is part of the kvm group for KVM as well as libvirt. Double-check the libvirt-sock file to ensure it is also owned by your user.
Issue: kubectl Not Found |
If kubectl is not found, ensure that it is in your PATH. You can check your PATH with:
echo $PATHIf /usr/local/bin is not listed, you may need to add it to your shell configuration file (e.g. .bashrc if you’re using bash or .zshrc if your using zsh.)
export PATH="/usr/local/bin:$PATH"Issue: Insufficient Resources |
If you encounter resource-related issues, consider adjusting the CPU and memory settings when starting Minikube:
minikube start --cpus=4 --memory=4096

No comments:
Post a Comment