Introduction
Neovim is a powerful, extensible text editor that’s rapidly gaining traction among developers, system administrators, and power users. With features like better plugin management, asynchronous job control, and enhanced performance over Vim, Neovim is an essential tool for many. This guide will walk you through the steps to install NeoVim on RHEL 9, from installing dependencies to launching your first NeoVim session. We’ll also cover some basic configurations to get you started.
Why NeoVim on RHEL 9? |
If you’re working on RHEL 9 Workstation, you may find the default editor, vim, to be somewhat limiting. NeoVim offers a modern take, maintaining compatibility with Vim configurations while adding enhancements that appeal to coders and sysadmins alike.
Key Benefits of NeoVim: |
- Improved performance with async support
- Extensible plugin system
- Cross-platform support
- Enhanced UI with terminal-based GUI plugins
Install NeoVim on RHEL 9 | Step-by-Step Guide
Step 1: Prepare Your System |
Before diving into the installation, ensure your system is updated. This helps avoid conflicts during the installation process.
sudo dnf update -yStep 2: Install Prerequisites |
Neovim requires several libraries and development tools. Use the command below to install the necessary packages.
sudo dnf install -y gcc make cmake unzip curl gettext tar xclipStep 3: Install Neovim |
Neovim is available in the Extra Packages for Enterprise Linux (EPEL) repository, making installation straightforward on RHEL 9. Below, we’ll cover how to enable EPEL and install Neovim.
Option 1: Install from the EPEL Repository |
Enable the EPEL Repository: The EPEL repository provides access to additional packages, including Neovim:
sudo dnf install https://dl.fedoraproject.org/pub/epel/epel-release-latest-9.noarch.rpmsudo dnf install epel-release -yInstall NeoVim and Dependencies: Now that EPEL is enabled, install NeoVim along with all required dependencies:
sudo dnf install neovim -yThe installation includes essential packages like libvterm, luajit, msgpack, and others to support NeoVim’s extended features.

Photo by admingeek from Infotechys
Verify the Installation: Check the installation and version to confirm NeoVim is ready:
nvim --version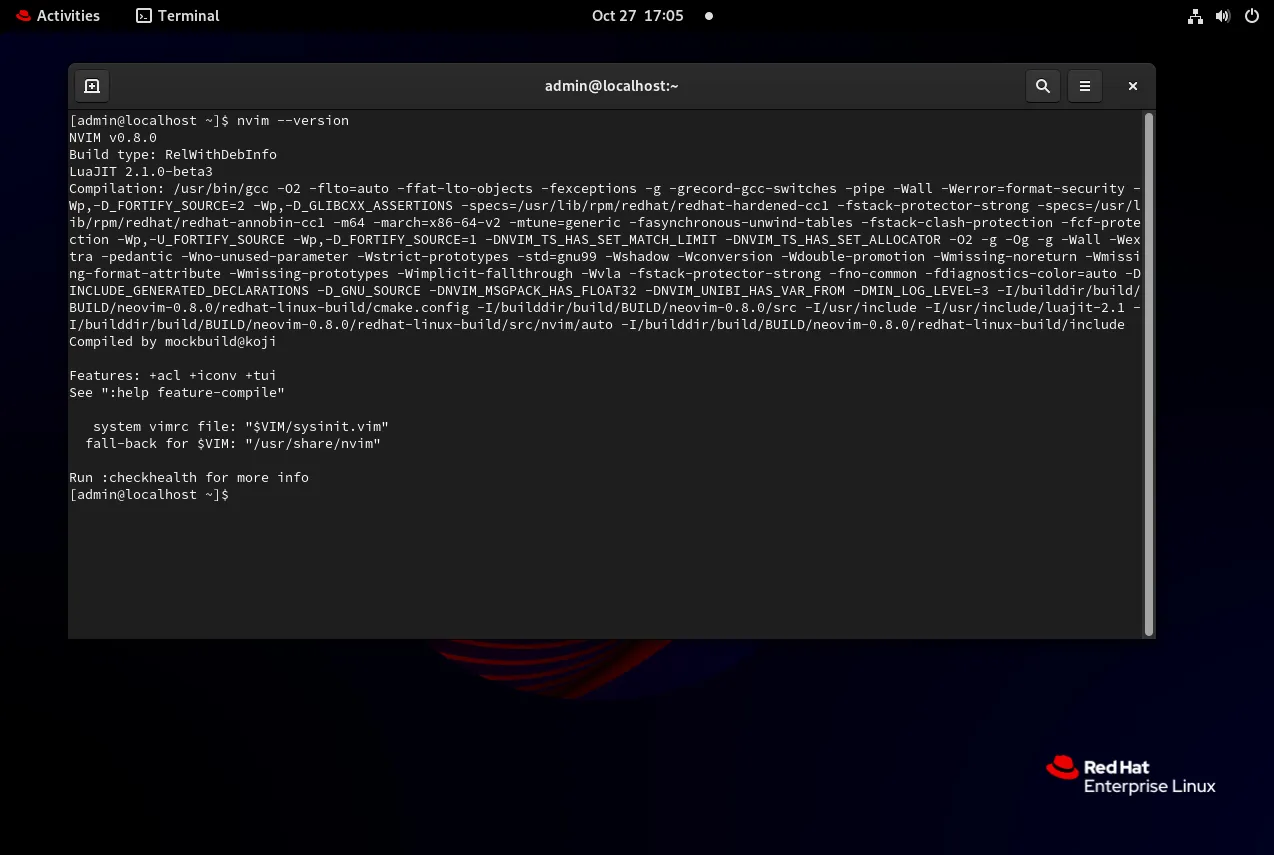
Photo by admingeek from Infotechys
Option 2: Download and Install the AppImage (Alternative Method) |
If you prefer to use the latest AppImage release from GitHub, follow these steps:
Download the Neovim AppImage |
curl -LO https://github.com/neovim/neovim/releases/latest/download/nvim.appimageMake the AppImage executable |
chmod u+x nvim.appimageMove Neovim to a directory in your PATH for easy access |
sudo mv nvim.appimage /usr/local/bin/nvimVerify the installation |
nvim --versionNVIM v0.10.2
Build type: Release
LuaJIT 2.1.1713484068
Run "nvim -V1 -v" for more infoStep 4: Set Up Neovim Configuration |
Neovim, like Vim, uses a configuration file (init.vim) to manage settings. Let’s create this file and set some basic configurations.
mkdir -p ~/.config/nvimtouch ~/.config/nvim/init.vimAdd some initial configurations by editing init.vim:
vim ~/.config/nvim/init.vimHere’s a simple starter configuration:
" Enable line numbers
set number

" Enable syntax highlighting
syntax on

" Use spaces instead of tabs
set expandtab
set tabstop=4
set shiftwidth=4Step 5: Install NeoVim Plugin Manager (Optional) |
For plugin management, vim-plug is a popular choice. It’s efficient, lightweight, and easy to use.
vim ~/.config/nvim/init.vimInstall vim-plug: |
curl -fLo ~/.local/share/nvim/site/autoload/plug.vim --create-dirs https://raw.githubusercontent.com/junegunn/vim-plug/master/plug.vimAdd Plugin Configurations to |
Here’s how to add a sample plugin, such as gruvbox for a color theme:
call plug#begin('~/.config/nvim/plugged')
Plug 'morhetz/gruvbox'
call plug#end()

call plug#begin('~/.local/share/nvim/plugged')
Plug 'tpope/vim-sensible'
Plug 'junegunn/fzf', { 'do': { -> fzf#install() } }
call plug#end()This configuration tells NeoVim where to look for plugins and specifies a few sample plugins.
Install the Plugin in Neovim: |
Open Neovim and run the following command to install the plugin:
:PlugInstall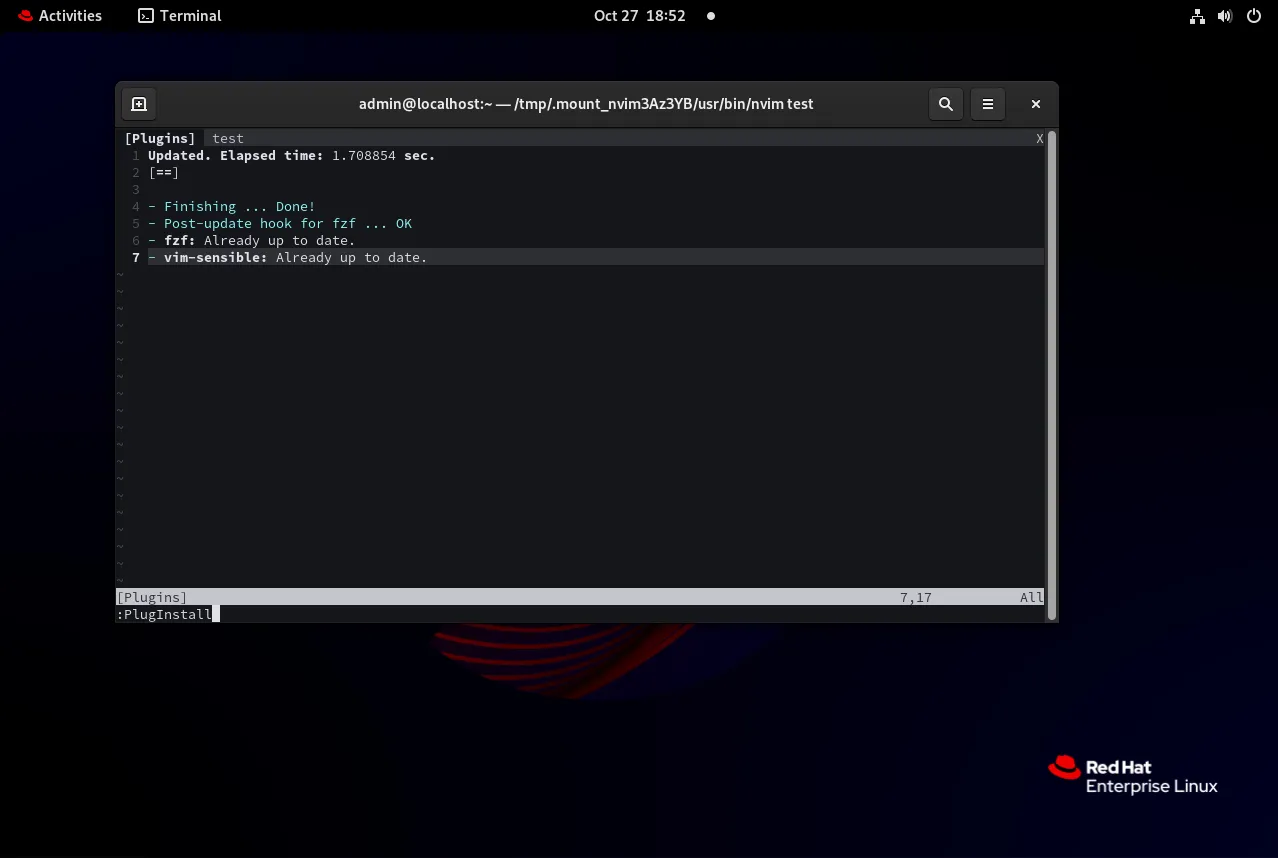
Photo by admingeek from Infotechys
Step 6: Verify Your Installation |
After setting up Neovim, check to make sure it’s working correctly.
Open Neovim |
nvimOpen the Command Mode and Check Plugins |
In Neovim, press : to open the command mode, then type :PlugStatus to see the status of your plugins.

Photo by admingeek from Infotechys
Neovim Installation Summary Table
| Step | Description | Command |
|---|---|---|
| System Update | Update your RHEL 9 system | sudo dnf update -y |
| Install Prerequisites | Install essential tools and libraries | sudo dnf install -y gcc make cmake unzip curl gettext tar xclip |
| Download Neovim | Download the Neovim AppImage | curl -LO https://github.com/neovim/neovim/releases/latest/download/nvim.appimage |
| Set Permissions | Make AppImage executable | chmod u+x nvim.appimage |
| Move to PATH | Move Neovim to a directory in PATH | sudo mv nvim.appimage /usr/local/bin/nvim |
| Verify Installation | Check Neovim version | nvim --version |
| Create Config File | Set up Neovim configuration | mkdir -p ~/.config/nvim and touch ~/.config/nvim/init.vim |
| Install vim-plug | Install Plugin Manager | curl -fLo ~/.local/share/nvim/site/autoload/plug.vim --create-dirs https://raw.githubusercontent.com/junegunn/vim-plug/master/plug.vim |
Neovim CLI Examples for Quick Customization
Below are some CLI examples and commands you can use to customize and enhance your Neovim experience.
Setting a Custom Color Scheme |
To set a new color scheme, add the following line to your init.vim file. For instance, using the popular gruvbox theme:
" Set Color Scheme:
colorscheme gruvboxThen reload your configuration:
source ~/.config/nvim/init.vimKey Mapping for Faster Navigation |
Key mappings can save you time. Here’s an example to remap the jk key combination to exit insert mode:
" Set Key Mappings:
inoremap jk <Esc>Step 7: Explore Additional Neovim Plugins
Neovim supports various plugins that can improve productivity, especially for coding. Here are some popular plugins:
| Plugin | Purpose | Installation Command in init.vim |
|---|---|---|
| NERDTree | File Explorer | Plug 'preservim/nerdtree' |
| coc.nvim | Language Server Protocol (LSP) support | Plug 'neoclide/coc.nvim', {'branch': 'release'} |
| lightline.vim | Lightweight status line | Plug 'itchyny/lightline.vim' |
| vim-airline | Enhanced status/tab line | Plug 'vim-airline/vim-airline' |
| vim-commentary | Quick commenting | Plug 'tpope/vim-commentary' |
| vim-surround | Easy manipulation of surrounding characters | Plug 'tpope/vim-surround' |
To install these plugins, add the corresponding Plug command in the init.vim file and then run :PlugInstall in Neovim.
call plug#begin('~/.local/share/nvim/plugged')
" List plugins below:

Plug 'preservim/nerdtree'
Plug 'neoclide/coc.nvim', {'branch': 'release'}
Plug 'itchyny/lightline.vim'
Plug 'vim-airline/vim-airline'
Plug 'tpope/vim-commentary'
Plug 'tpope/vim-surround'

call plug#end():PlugInstall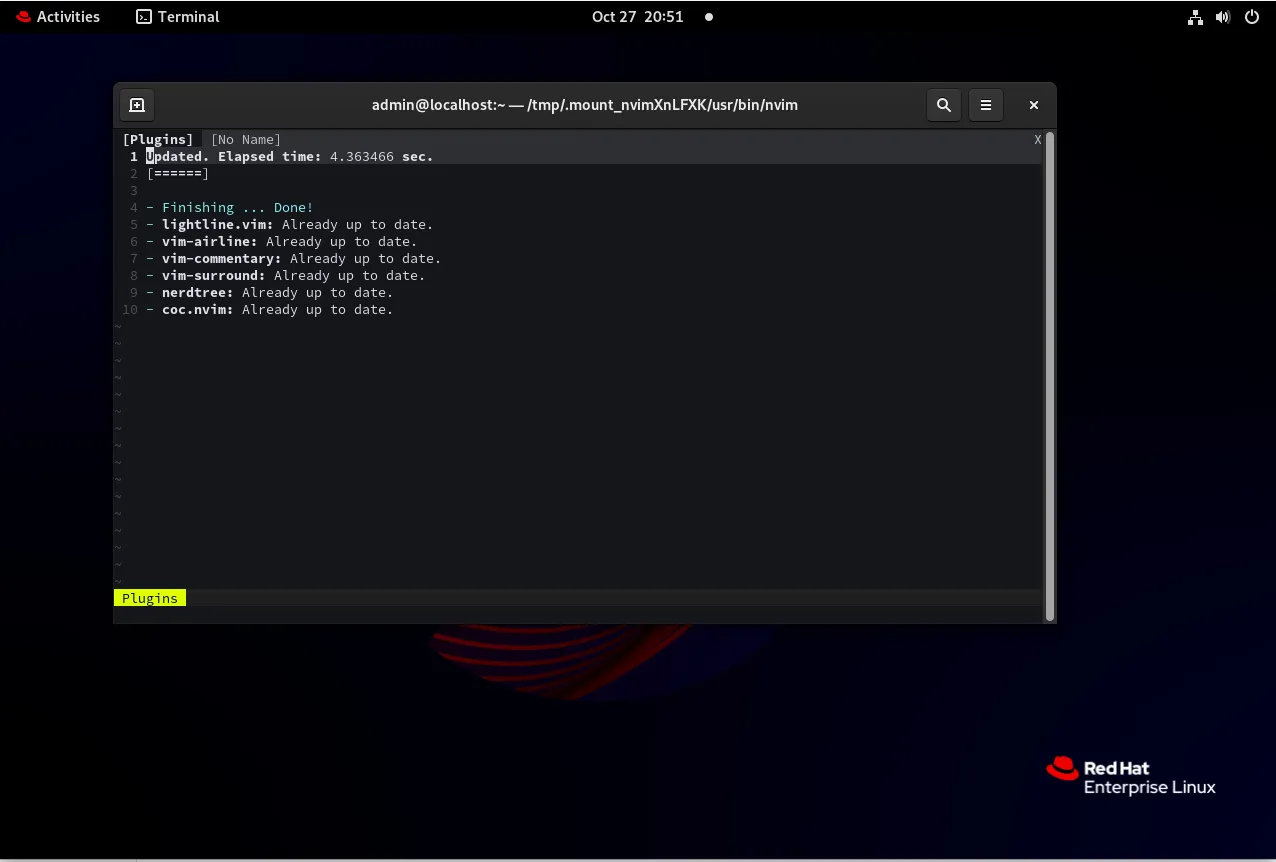
Photo by admingeek from Infotechys
Troubleshooting Common Issues
Neovim Not Found in Path |
Ensure the AppImage file was moved to /usr/local/bin or another directory in your PATH. Run echo $PATH to confirm.
Permission Denied on Plugin Install |
This often occurs if you’re trying to install plugins in a directory without write permissions. Ensure you have ownership of the ~/.config/nvim/plugged directory.
Neovim Freezes with Heavy Plugins |
Some plugins may slow Neovim. Consider disabling or limiting plugins if you encounter performance issues.


No comments:
Post a Comment