Introduction
Zabbix is one of the most popular open-source monitoring tools available, providing comprehensive real-time monitoring of systems, networks, and applications. When coupled with a PostgreSQL database, Zabbix becomes a powerful solution that can handle large-scale monitoring with excellent performance. In this guide, we’ll walk through the installation of Zabbix with PostgreSQL as the backend on RHEL 9 and CentOS 9.
Prerequisites
Before we begin, ensure you have the following in place:
| Requirement | Description |
|---|---|
| Operating System | A server running RHEL 9 or CentOS 9 |
| Privileges | Root or sudo privileges |
| Network | A stable internet connection (IPv4 address and Hostname for this demonstration: 192.168.1.212, zabbix.dev.naijalabs.net) |
Photo by admingeek from Infotechys
Install Zabbix with PostgreSQL Database on RHEL 9 | CentOS 9:
To start, ensure that your server is up to date by running:
sudo dnf update -yStep 1: Install PostgreSQL |
The first step is to install PostgreSQL, which will be the database server for Zabbix.
Install PostgreSQL
sudo dnf install -y postgresql-server postgresql-contribInitialize the Database
sudo postgresql-setup --initdbStart and Enable PostgreSQL
sudo systemctl enable --now postgresql.serviceAfter starting PostgreSQL, secure it by setting a password for the PostgreSQL user:
sudo -u postgres psql -c "ALTER USER postgres PASSWORD 'your_password';"Step 2: Add Zabbix Repository |
To install Zabbix, we need to add its official repository to your system.
Add Zabbix Repository
sudo rpm -Uvh https://repo.zabbix.com/zabbix/7.0/rhel/9/x86_64/zabbix-release-latest.el9.noarch.rpmThis repository contains the necessary packages to install Zabbix and its dependencies. Run this command to update your system’s repository:
sudo dnf clean allStep 3: Install Zabbix Server |
With the repository added, we can now install the Zabbix server, frontend, and agent.
sudo dnf install -y zabbix-server-pgsql zabbix-web-pgsql zabbix-web zabbix-web-deps zabbix-sql-scripts zabbix-selinux-policy zabbix-apache-conf zabbix-agentThese packages install the Zabbix server (which will use PostgreSQL as its database), the web interface, and the Zabbix agent.
Step 4: Configure PostgreSQL for Zabbix |
Next, we need to set up PostgreSQL to work with Zabbix. This involves creating a database and user for Zabbix.
Create Zabbix Database and User
Create a Zabbix user with a password:
sudo -u postgres createuser --pwprompt zabbixCreate the Zabbix database:
sudo -u postgres createdb -O zabbix zabbixGrant the user necessary privileges:
sudo -u postgres psql -c "GRANT ALL PRIVILEGES ON DATABASE zabbix TO zabbix;"Exit the PostgreSQL shell:
\qStep 5: Configure Zabbix Server |
Now that we’ve set up the PostgreSQL database, the next step is to configure the Zabbix server to connect to it.
Import the Zabbix Schema
sudo zcat /usr/share/zabbix-sql-scripts/postgresql/server.sql.gz | sudo -u zabbix psql zabbixEdit Zabbix Configuration File
Open the Zabbix server configuration file for editing:
sudo vim /etc/zabbix/zabbix_server.confMake the following changes:
DBHost=localhost
DBName=zabbix
DBUser=zabbix
DBPassword=your_actual_password
NodeAddress=localhost:10051These lines configure the Zabbix server to connect to the PostgreSQL database using the user and password you created earlier.
Step 6: Install and Configure Zabbix Frontend |
The Zabbix frontend is a web-based interface that allows you to manage and monitor your environment.
Install Apache and PHP
sudo dnf install -y httpd php php-pgsqlStart and Enable Apache
sudo systemctl enable --now httpdConfigure PHP for Zabbix
Zabbix requires specific PHP settings. Edit the PHP configuration file used by Zabbix:
sudo vim /etc/php-fpm.d/zabbix.confSet the timezone and other necessary values (e.g. America/New_York) :
php_value[date.timezone] = Your/TimezoneRestart PHP-FPM to apply the changes:
sudo systemctl restart php-fpmStep 7: Start Zabbix Services |
Now that everything is set up, we can start the Zabbix services.
Start and Enable Zabbix Server and Agent
sudo systemctl enable --now zabbix-server zabbix-agent httpd php-fpmCreated symlink /etc/systemd/system/multi-user.target.wants/zabbix-server.service → /usr/lib/systemd/system/zabbix-server.service.
Created symlink /etc/systemd/system/multi-user.target.wants/zabbix-agent.service → /usr/lib/systemd/system/zabbix-agent.service.
Created symlink /etc/systemd/system/multi-user.target.wants/httpd.service → /usr/lib/systemd/system/httpd.service.
Created symlink /etc/systemd/system/multi-user.target.wants/php-fpm.service → /usr/lib/systemd/system/php-fpm.service.Restart Apache to ensure everything is running smoothly:
sudo systemctl restart httpdWe also want to account for the firewall and ensure the necessary ports are open to allow traffic:
sudo firewall-cmd --permanent --add-port=10051/tcp
sudo firewall-cmd --permanent --add-service=http
sudo firewall-cmd --reloadIf SELinux is enabled (it should be btw), enter the following command to allow the Zabbix frontend to connect to the server:
sudo setsebool -P httpd_can_network_connect onStep 8: Access the Zabbix Frontend |
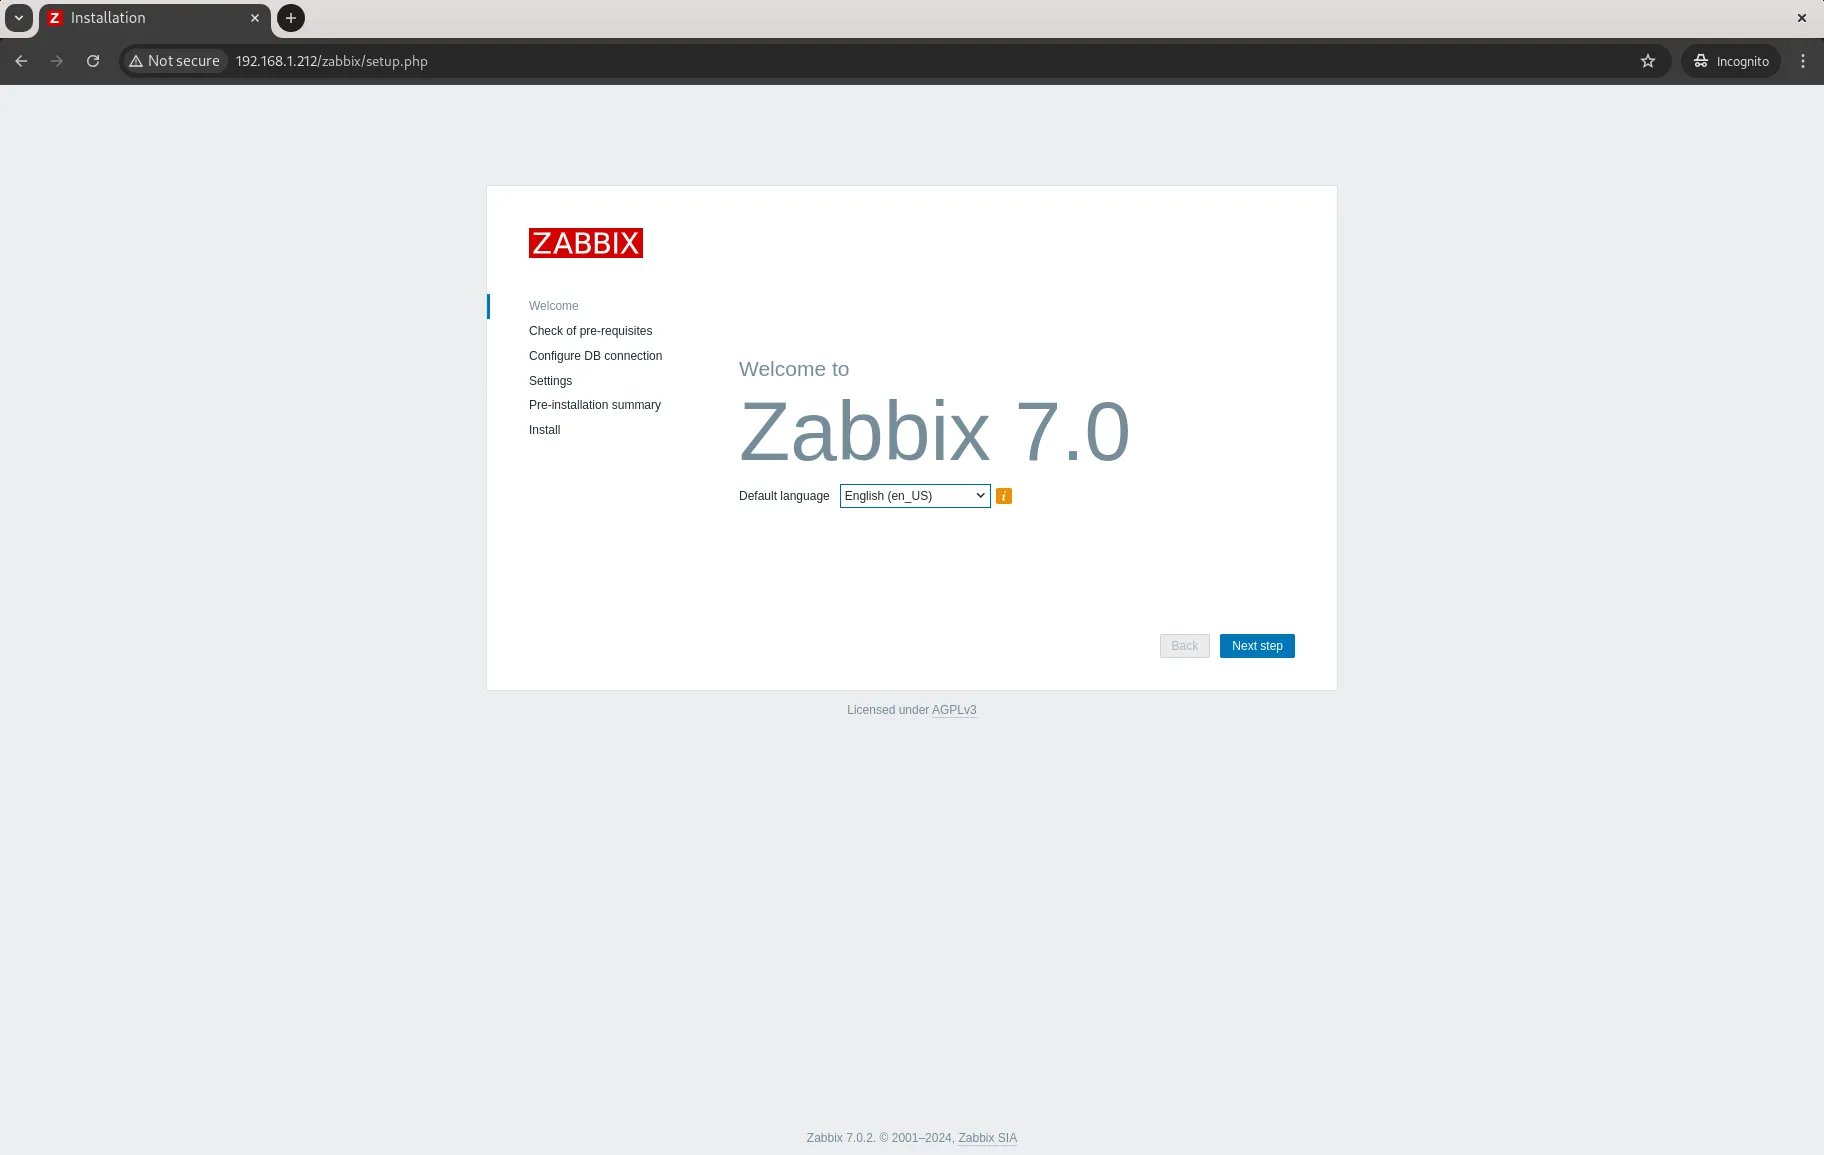
To access the Zabbix frontend, open a web browser and go to your server’s IP address followed by /zabbix. For example (http://your_server_ip/zabbix):


No comments:
Post a Comment