Introduction
CentOS, a popular open-source Linux distribution, is known for its stability, security, and enterprise-grade features. While CentOS was traditionally used for server environments, CentOS 9 Stream offers a versatile platform suitable for both development and personal desktop usage. Unlike its server-oriented counterpart, CentOS 9 Stream with a Graphical User Interface (GUI) provides a more user-friendly experience.
In this guide, we’ll take you through a detailed step-by-step process of installing CentOS 9 Stream with GUI and setting up the desktop environment. Whether you’re a Linux newcomer or an experienced user looking for a streamlined desktop experience, this post has got you covered!
Prerequisites |
Before diving into the installation, there are some essential prerequisites you’ll need for a smooth CentOS 9 Stream installation:
- A computer or virtual machine (VM) with at least 2GB of RAM (4GB or more recommended for better performance).
- A USB drive with a minimum of 4GB of storage for creating a bootable installation medium.
- A stable internet connection to download the required packages and updates.
- Backup any important data if you’re installing CentOS on an existing system.
System Requirements |
Here are some basic system requirements for a successful install:
| Component | Minimum Requirement | Recommended Requirement |
|---|---|---|
| RAM | 2 GB | 4 GB |
| CPU | 1 GHz or higher | 2 GHz or higher |
| Disk Space | 20 GB | 40 GB or more |
| Graphics | Basic VGA support | Hardware Accelerated GPU |
CentOS 9 Stream with GUI: Step-by-Step Instructions
Step 1: Downloading the CentOS 9 Stream ISO |
- The first step is to download the CentOS 9 Stream ISO from the Official CentOS website.
- Navigate to the CentOS 9 Stream download page: CentOS 9 Stream ISO
- Select the appropriate ISO file based on your system architecture (x86_64 for most modern systems).
- Download the ISO file to your local machine.
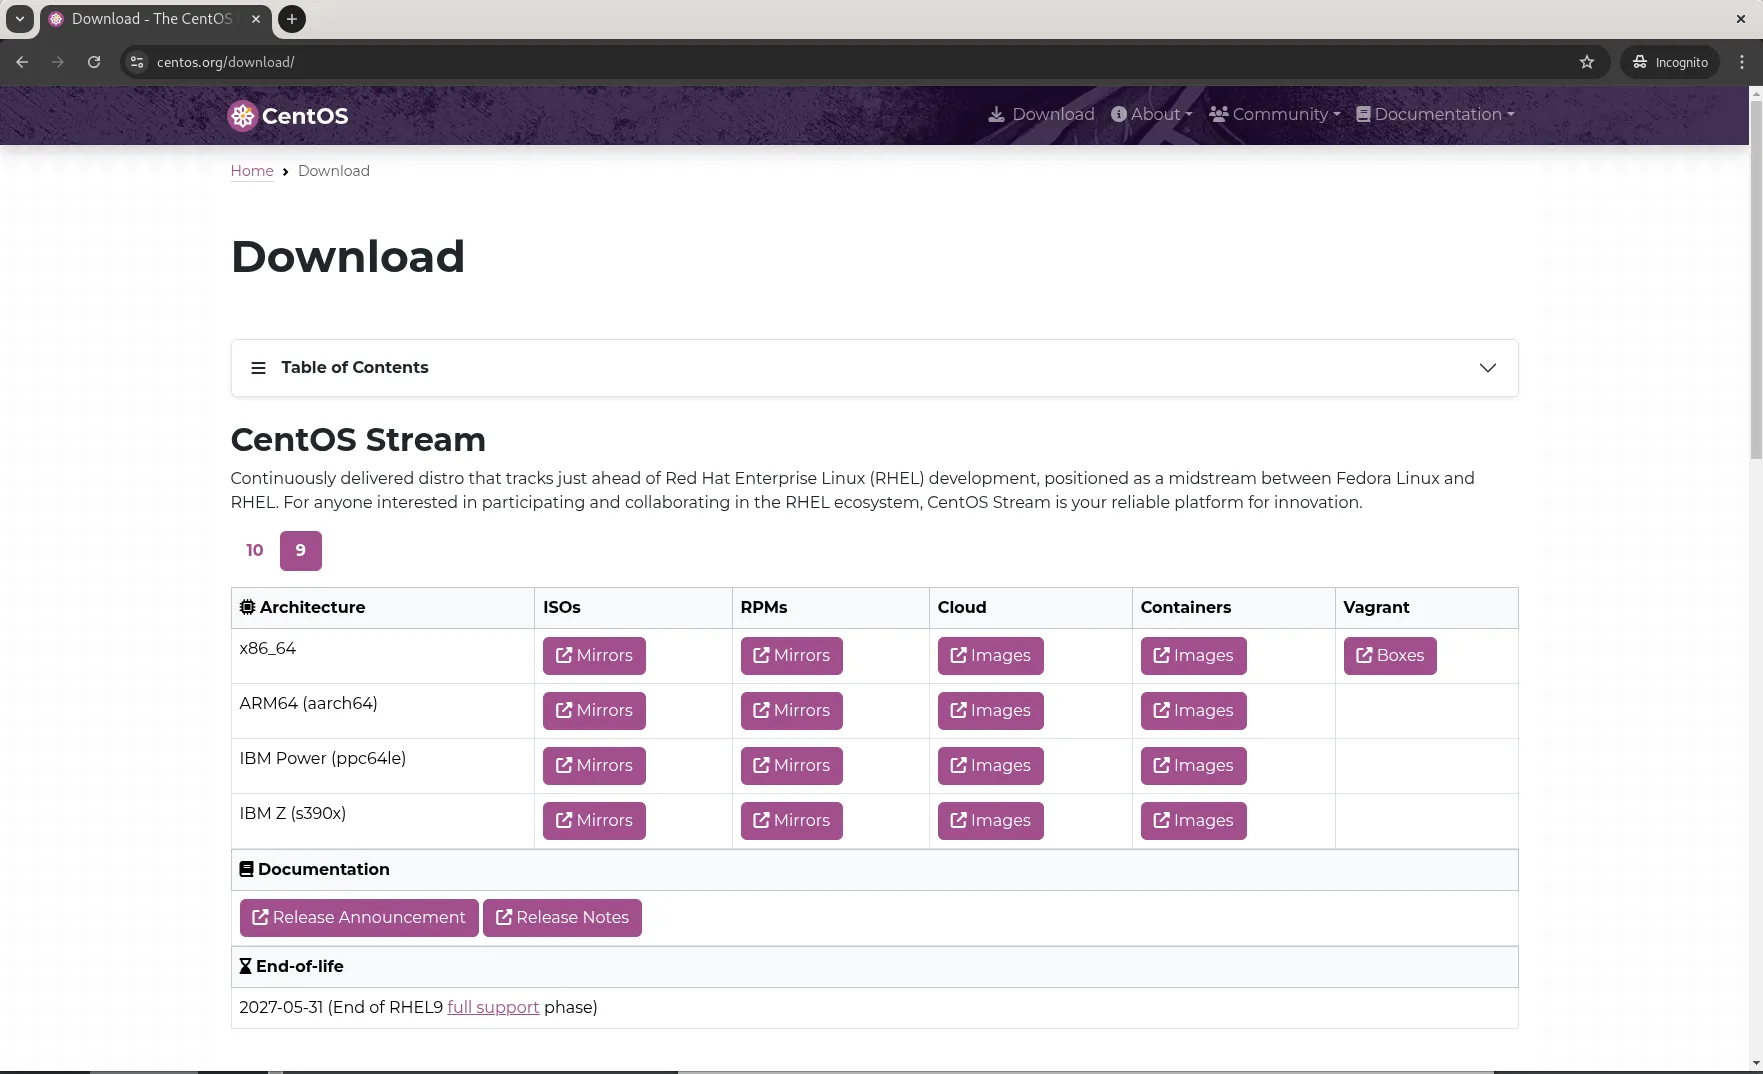
Photo by admingeek from Infotechys
Creating a Bootable USB Drive |
Once you have the CentOS 9 Stream ISO, you need to create a bootable USB drive. Here’s how to do it:
For Windows |
- Download and install a tool like Rufus.
- Open Rufus and select your USB device.
- Choose the CentOS 9 Stream ISO you downloaded earlier.
- Select the “MBR” partition scheme for BIOS or UEFI.
- Click “Start” to create the bootable USB.
For Linux (using dd command): |
sudo dd if=CentOS-Stream-9-x86_64-dvd1.iso of=/dev/sdX bs=4M status=progress oflag=syncNote: Replace /dev/sdX with your actual USB device path.
Installing CentOS 9 Stream |
- Plug the bootable USB drive into your computer and reboot the system.
- Enter the BIOS/UEFI settings and set the USB drive as the first boot device.
- The CentOS installation menu will appear. Select “Install CentOS Stream 9″.
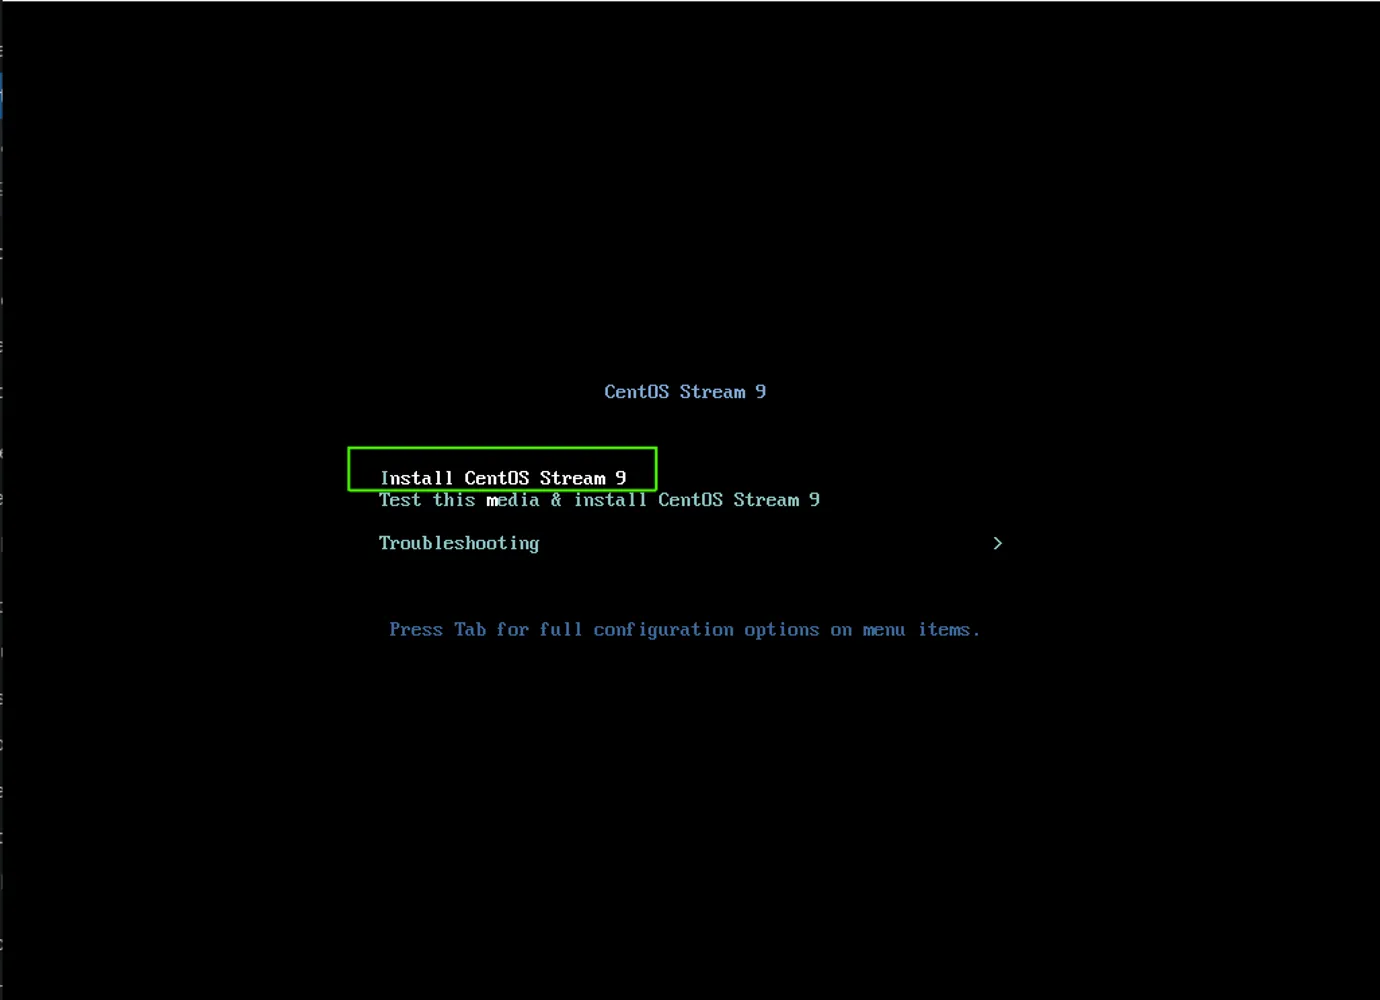
Photo by admingeek from Infotechys
- Follow the on-screen instructions to configure the language, timezone, and keyboard layout.
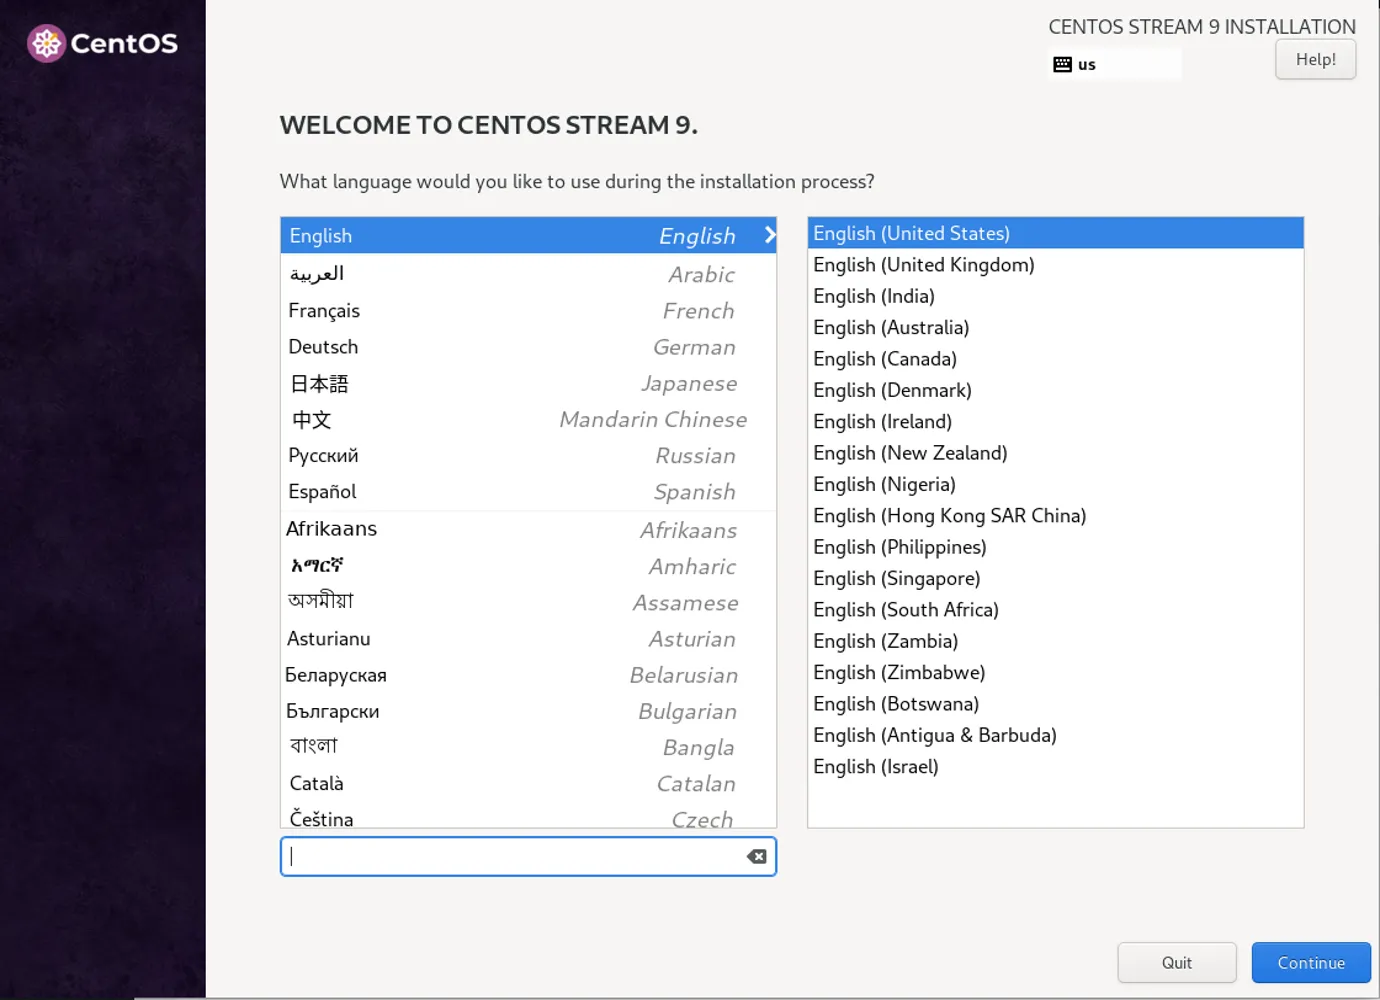
Photo by admingeek from Infotechys
- Choose the installation destination (usually your main hard drive) and set up partitioning.
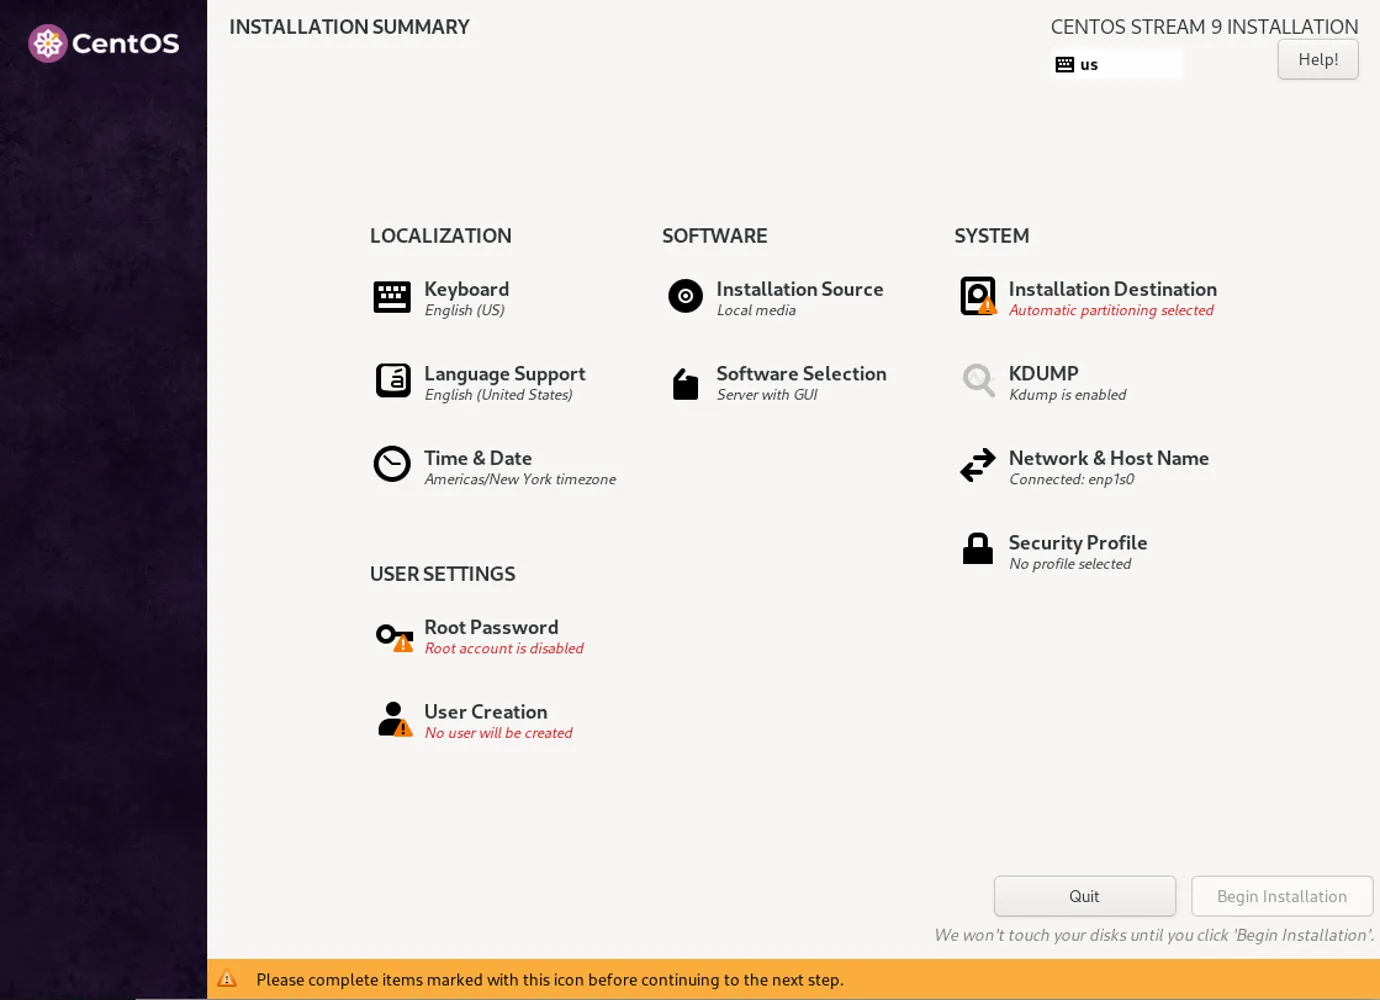
Photo by admingeek from Infotechys
- You can also choose whether to have the installation wizard automatically partition your hard drive or to partition it manually yourself.
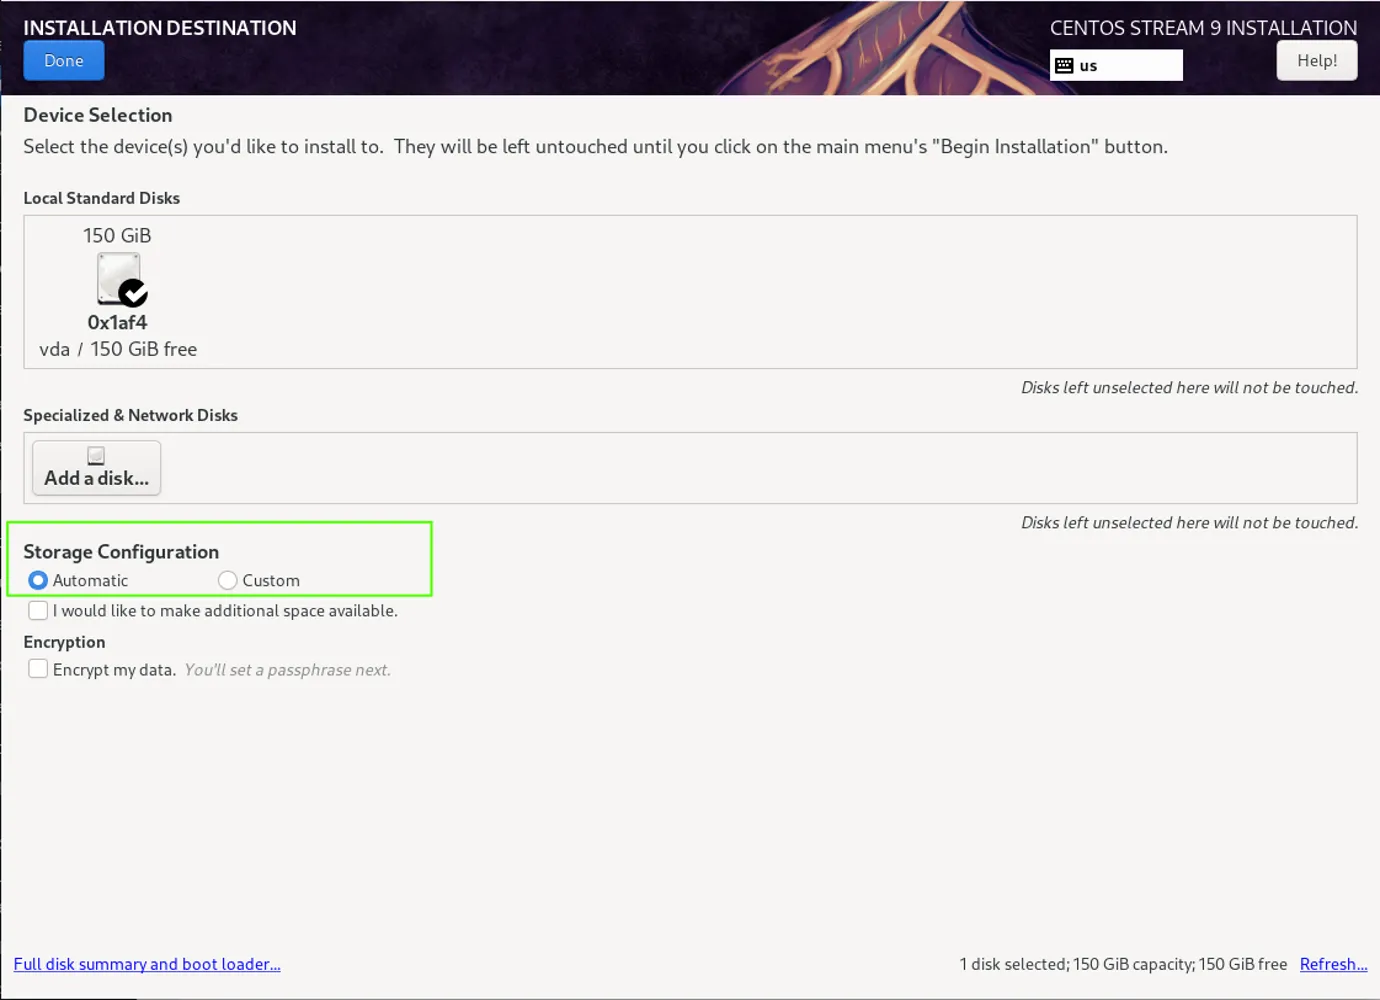
Photo by admingeek from Infotechys
- Set up the root password and create a user account.
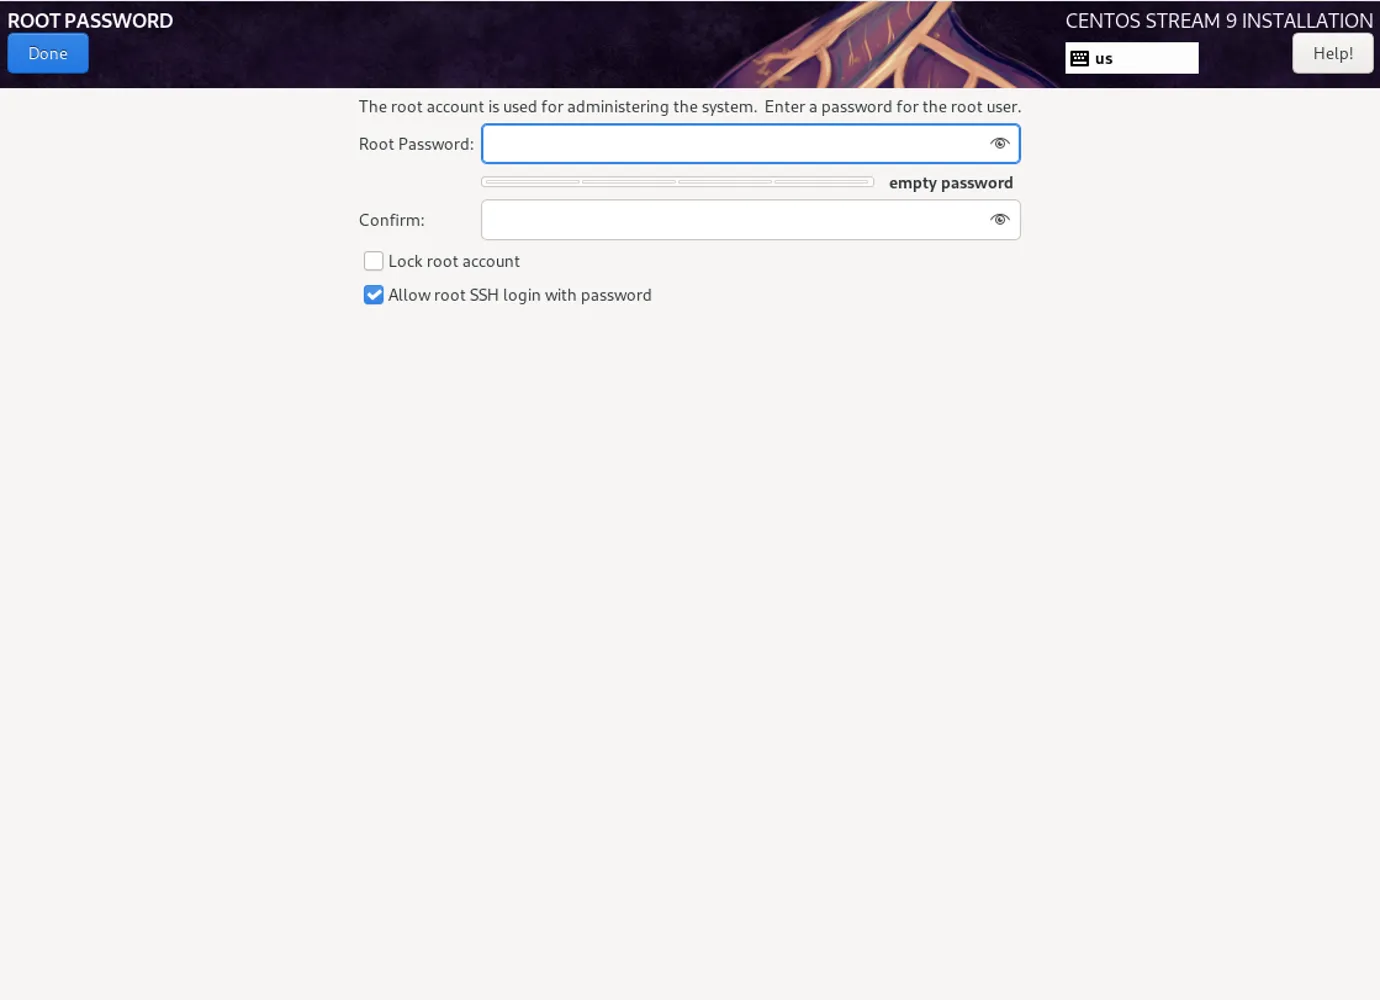
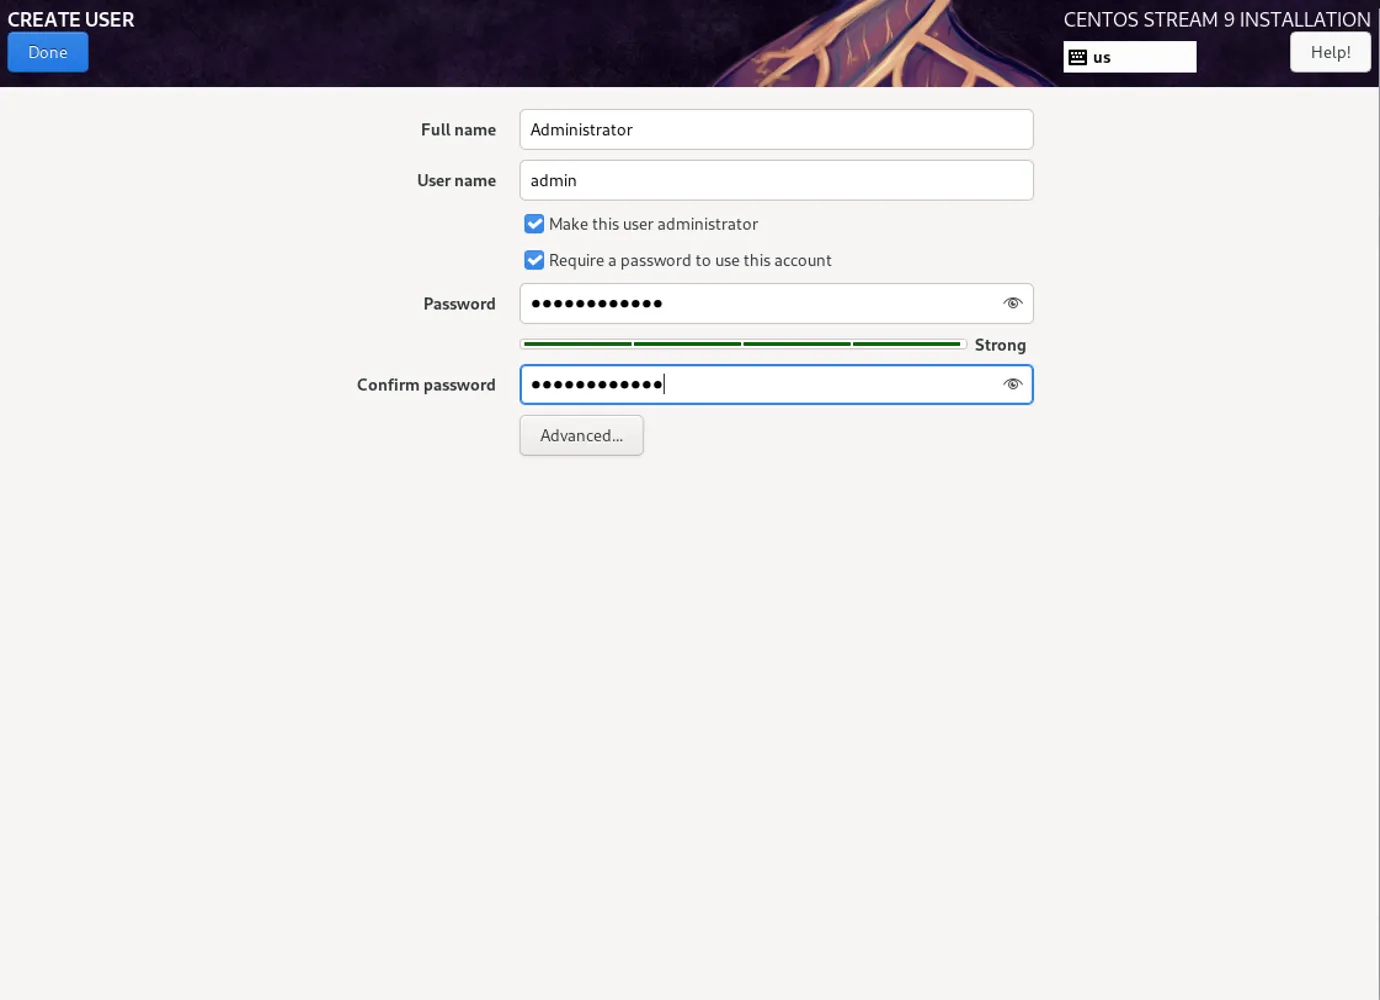
Photo by admingeek from Infotechys
- Select Begin Installation to start the installation process.
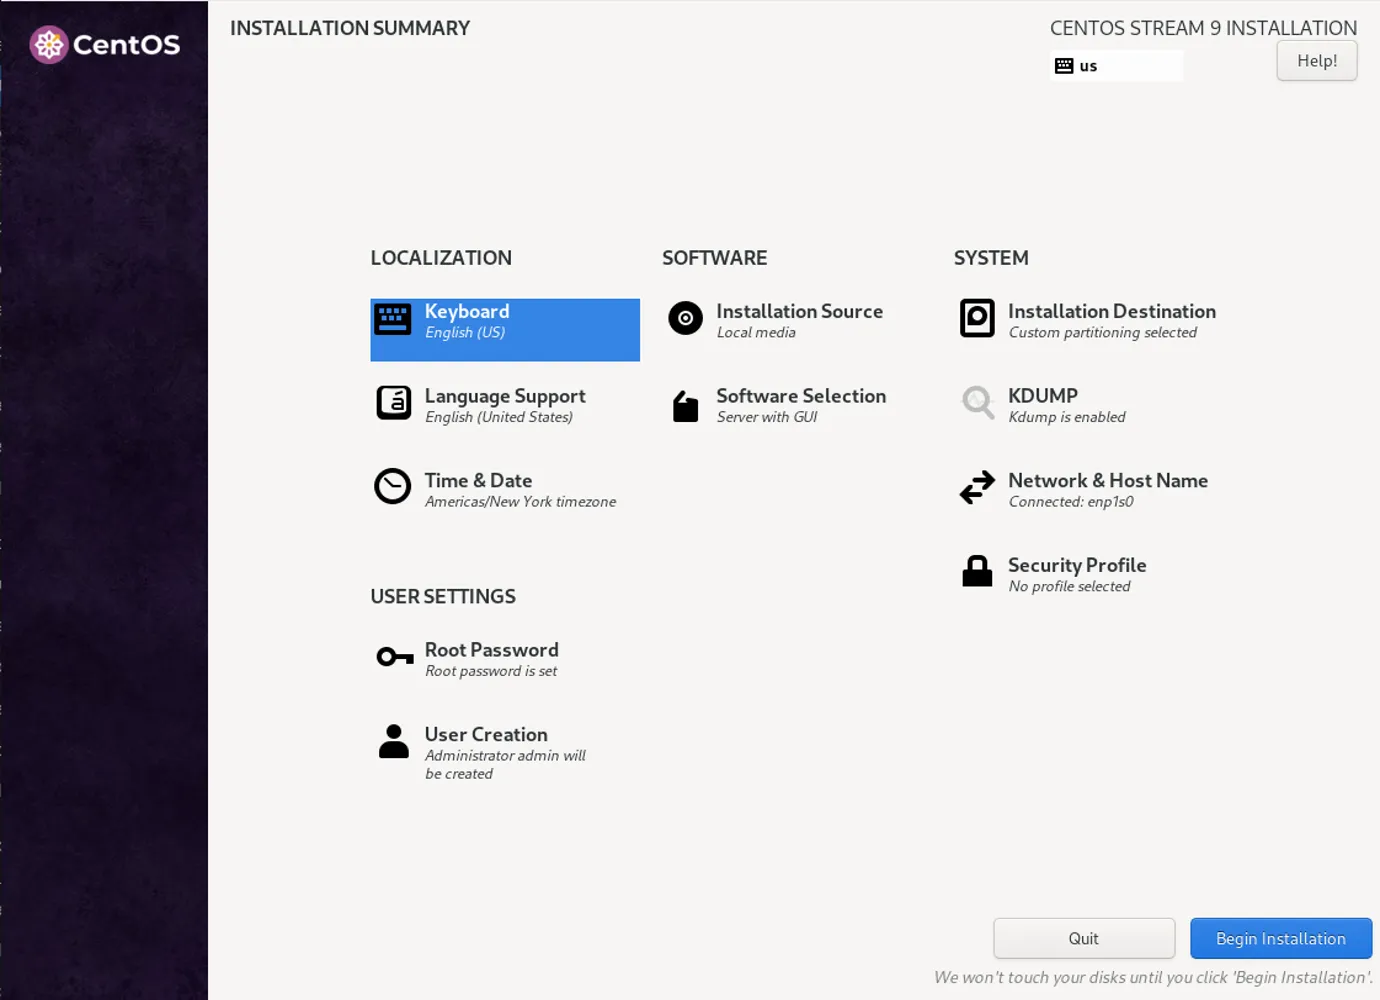
Photo by admingeek from Infotechys
The system will install CentOS Stream 9, and upon completion, you can reboot the system and remove the USB drive.
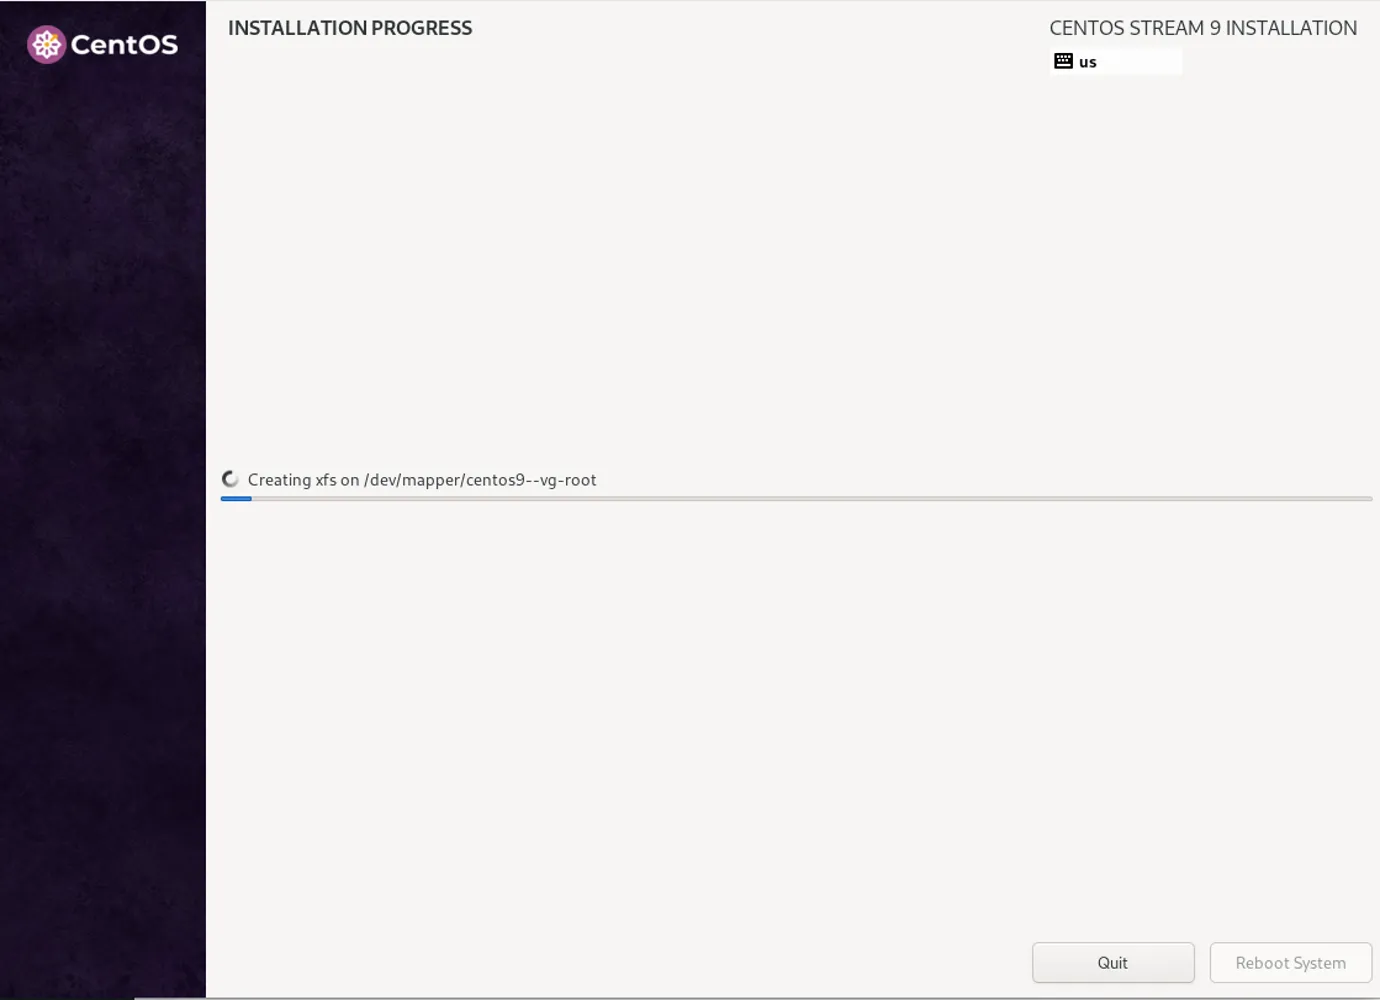
Photo by admingeek from Infotechys
Step 2: Installing GUI on CentOS 9 Stream |
By default, the “Server with GUI” option is selected so after the CentOS Stream 9 installation, you’ll have the GNOME layout as your base environment.
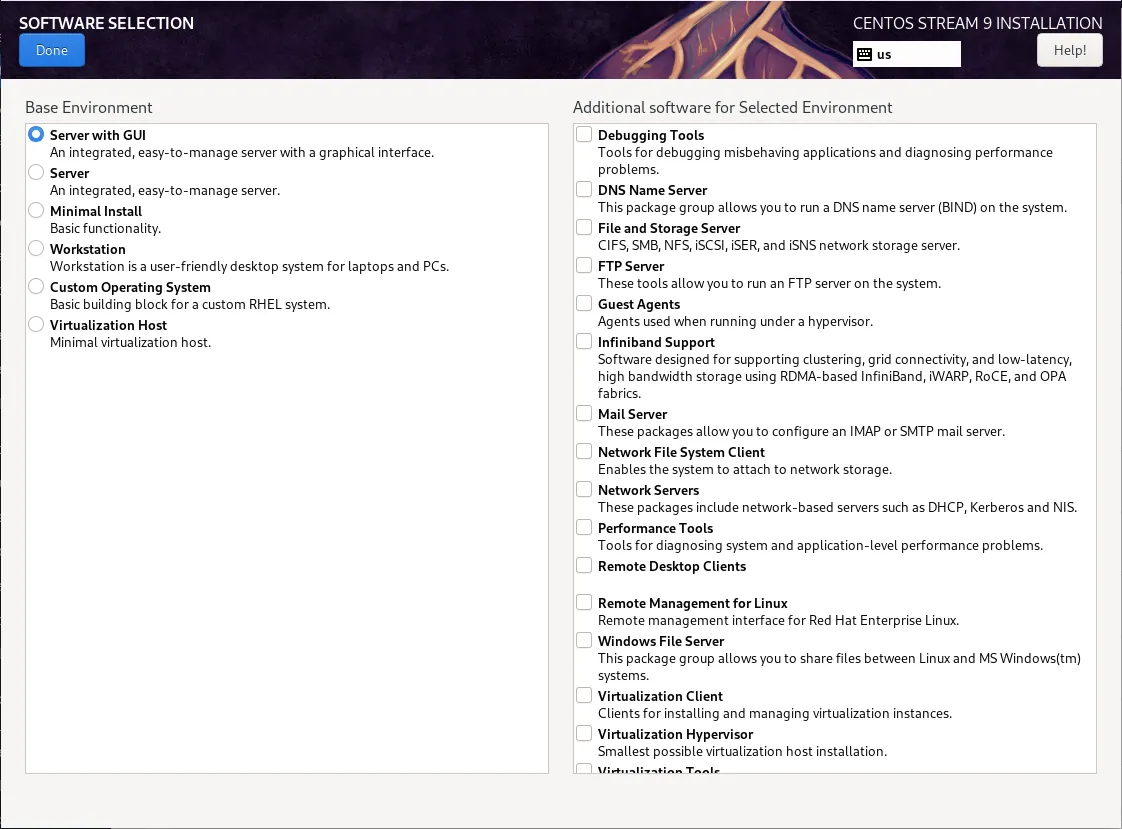
Photo by admingeek from Infotechys
However, if you selected the “Minimal” or “Server” option and you want to install a graphical desktop, you can do so easily via the command line.
Choosing the Right Desktop Environment |
CentOS Stream 9 supports various desktop environments. Two popular choices are:
- GNOME: The default desktop environment for CentOS 9 Stream, known for its simplicity and modern look.
- KDE Plasma: A feature-rich, highly customizable desktop environment.
For this guide, we’ll cover the installation of both GNOME and KDE.
Installing GNOME Desktop Environment |
To install GNOME, run the following command:
sudo dnf groupinstall "Server with GUI" -yThis will install GNOME along with necessary packages for a complete desktop experience. Once the installation is complete, set GNOME as the default graphical target:
sudo systemctl set-default graphical.targetReboot the system to boot into GNOME.
sudo systemctl rebootInstalling KDE Plasma Desktop Environment |
If you prefer KDE Plasma, you can install it using:
sudo dnf groupinstall "KDE Plasma Workspaces" -yAfter the installation, switch the default target to graphical mode:
sudo systemctl set-default graphical.targetReboot the system to start KDE Plasma:
sudo rebootStep 3: Post-Installation Setup |
Once you have CentOS 9 Stream with GUI up and running, there are several steps you should follow to make your system fully functional.
Configuring Network Settings |
If you’re connected to the internet via Ethernet or Wi-Fi, you can configure network settings via the GNOME or KDE network manager.
- For GNOME: Click the network icon in the top-right corner, select your network, and enter the credentials if necessary.
- For KDE: Click the network icon in the system tray, select your network, and enter the Wi-Fi password.
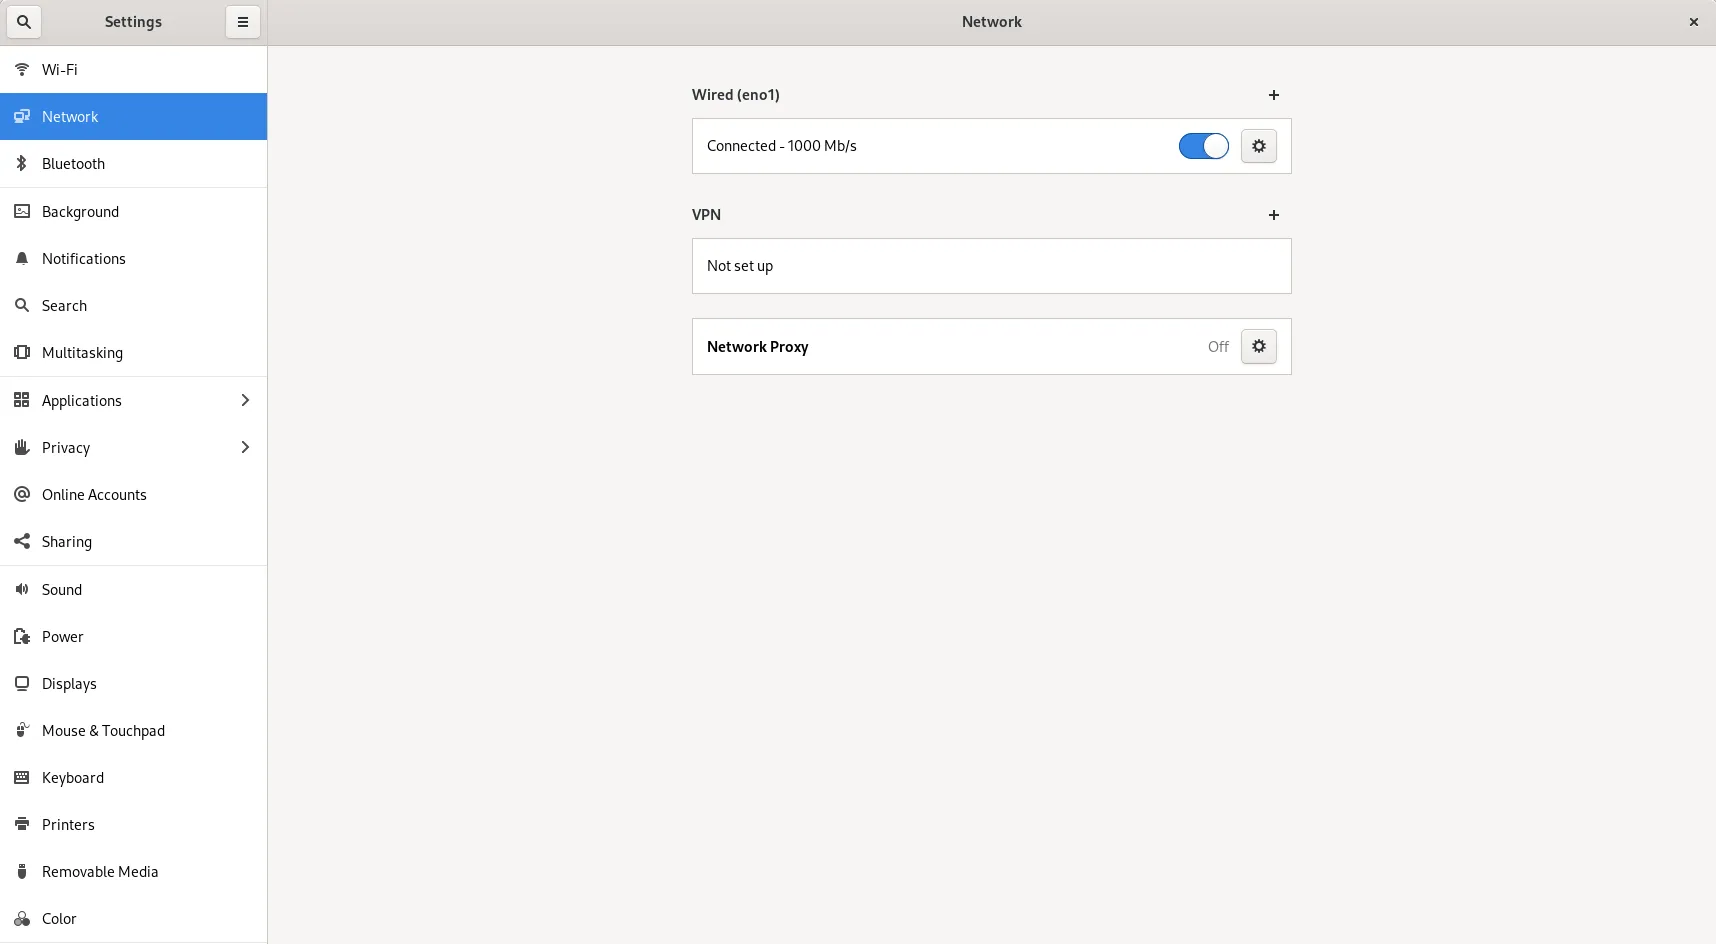
Photo by admingeek from Infotechys
Installing Essential Applications |
After the installation, you might need a few additional applications for daily use. You can install them via the command line using dnf. For example:
sudo dnf install firefox libreoffice vlc gimpThis command installs Firefox (web browser), LibreOffice (office suite), VLC (media player), and GIMP (image editor).
Enabling Firewall and SELinux |
CentOS 9 Stream comes with a default firewall (firewalld) and SELinux (Security-Enhanced Linux) for added security. Ensure these are enabled by running:
sudo systemctl enable --now firewalld && sudo setenforce 1Troubleshooting Tips |
Sometimes things might not go as planned. Here are a few common troubleshooting steps:
No GUI after booting? |
Ensure the graphical target is set as the default:
sudo systemctl set-default graphical.target && sudo systemctl rebootNetwork connection issues? |
Try restarting the network service:
sudo systemctl restart NetworkManagerFailed to install packages? |
Run the following to clean up DNF:
sudo dnf clean all && sudo dnf update -y

No comments:
Post a Comment