Introduction
In today’s digital landscape, images are an integral part of various applications, ranging from websites to data analysis tools. Manipulating images programmatically can streamline workflows and enable automation, making tasks like resizing images both efficient and convenient.
One of the widely used formats for web images is PNG (Portable Network Graphics). PNG offers lossless compression and supports transparency, making it ideal for graphics with sharp edges or transparent backgrounds. In this comprehensive guide, we’ll delve into the process of resizing PNG images using Python—a versatile and powerful programming language—and the Pillow library, a fork of the Python Imaging Library (PIL) that provides extensive image processing capabilities.
Prerequisites
Before proceeding with this tutorial, ensure that you have the following prerequisites:
Basic Knowledge of Python: This tutorial assumes that you have a basic understanding of the Python programming language, including concepts such as variables, functions, and control flow. If you’re new to Python, consider completing introductory Python tutorials or courses before proceeding.
Installation of Python and Pip: Python is required to run the scripts in this tutorial. If you haven’t already installed Python on your system, run the following commands on a Linux machine:
On RHEL/CentOS/Fedora operating systems (OS)
$ sudo yum -y install python python-pip$ sudo dnf -y install python3 python3-pip # For versions 8.X or higherOn Ubuntu or Debian-based operating systems
$ sudo apt install python python-pip -y$ sudo apt install python3 python3-pip -y # For Ubuntu version 22.04 or higherYou can also download and install it from the official Python website: python.org. Additionally, ensure that the pip package manager is installed, as it will be used to install the Pillow library.
Installation of Pillow: Pillow, a fork of the Python Imaging Library (PIL), is a powerful library for image processing tasks in Python. You’ll need to install Pillow to perform image resizing operations in this tutorial. You can install Pillow via pip by running the following command in your terminal or command prompt:
$ pip install pillow$ pip3 install pillow # For higher/recent versions of the OSResize a PNG Image Using Python: Step-by-Step Guide
Assuming you’ve satisfied the prerequisites, let’s create a Python script to resize PNG images. Below is a summarized breakdown of the script:
import os
import sys
from PIL import Image

def resize_image(input_filename, width, height):
    input_path = os.path.join(os.getcwd(), input_filename)
    output_filename = f"resized_{width}x{height}_{input_filename}"
    output_path = os.path.join(os.getcwd(), output_filename)

    try:
        image = Image.open(input_path)
        resized_image = image.resize((width, height))
        resized_image.save(output_path)
        print(f"Resized image saved to {output_path}")
    except Exception as e:
        print(f"Error: {e}")

if __name__ == "__main__":
    if len(sys.argv) != 4:
        print("Usage: python resize_image.py <input_filename> <width> <height>")
        sys.exit(1)

    input_filename = sys.argv[1]
    width = int(sys.argv[2])
    height = int(sys.argv[3])

    resize_image(input_filename, width, height)
Copy and paste the contents (above) to a file called resize_image.py then save and exit the file.
The breakdown
This script utilizes Python’s built-in os and sys modules to handle file paths and command-line arguments, respectively. The Pillow library is imported as Image to perform image processing tasks.
Run the script
To resize a PNG image using this script, navigate to the directory containing the script and the image you want to resize in your terminal or command prompt. Then, execute the script with the following command:
$ python resize_image.py input.png 300 300Replace input.png with the filename of your PNG image and 300 300 with the desired width and height.
Verify the output
After running the script, you should receive a confirmation message indicating that the resized image has been saved. You can then check the current directory for the resized image file with the specified dimensions. Here’s an example of the process (below):
$ cd /home/admin/scriptsFirst, we copied the original image into our home directory at /home/admin/scripts/ where our resize_image.py script currently resides.
$ cp ~/Downloads/pexels-designecologist-887353.jpg .$ ls -lh
-rwxr-xr-x. 1 admin admin 760 Mar 27 09:50 resize_image.py
-rw-r--r--. 1 admin admin 36K Mar 27 10:25 pexels-designecologist-887353.jpgThen, we ran the resize_image.py script against it with 500 by 500 height and width dimensions.
$ python resize_image.py pexels-designecologist-887353.jpg 500 500
Resized image saved to /home/admin/scripts/resized_500x500_pexels-designecologist-887353.jpgAs a result, the new image was resized and saved to our home directory.
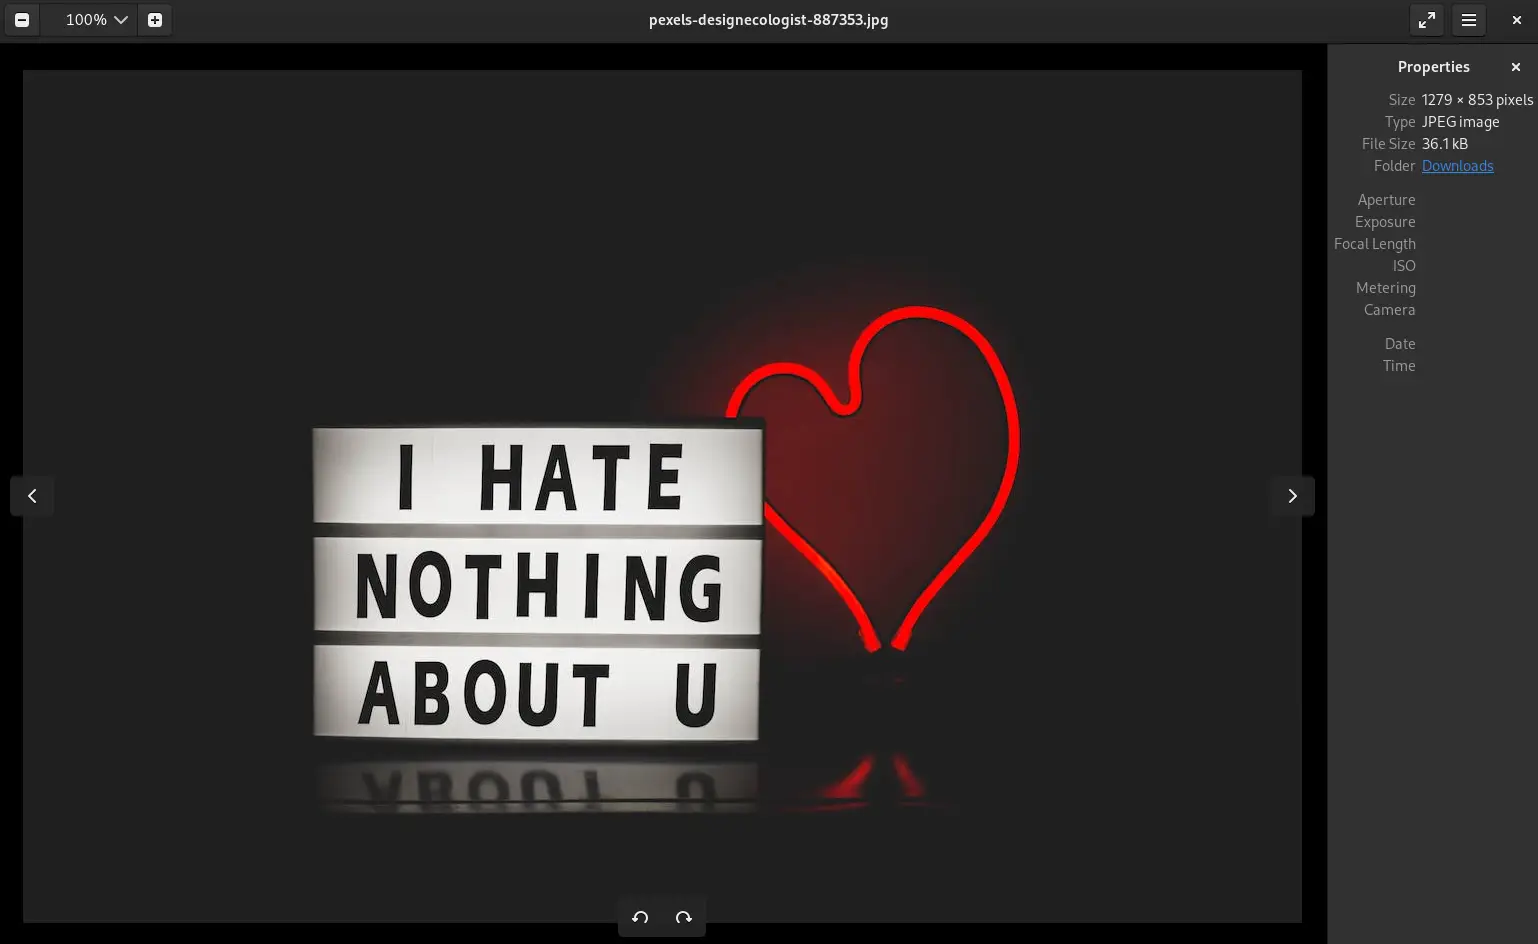
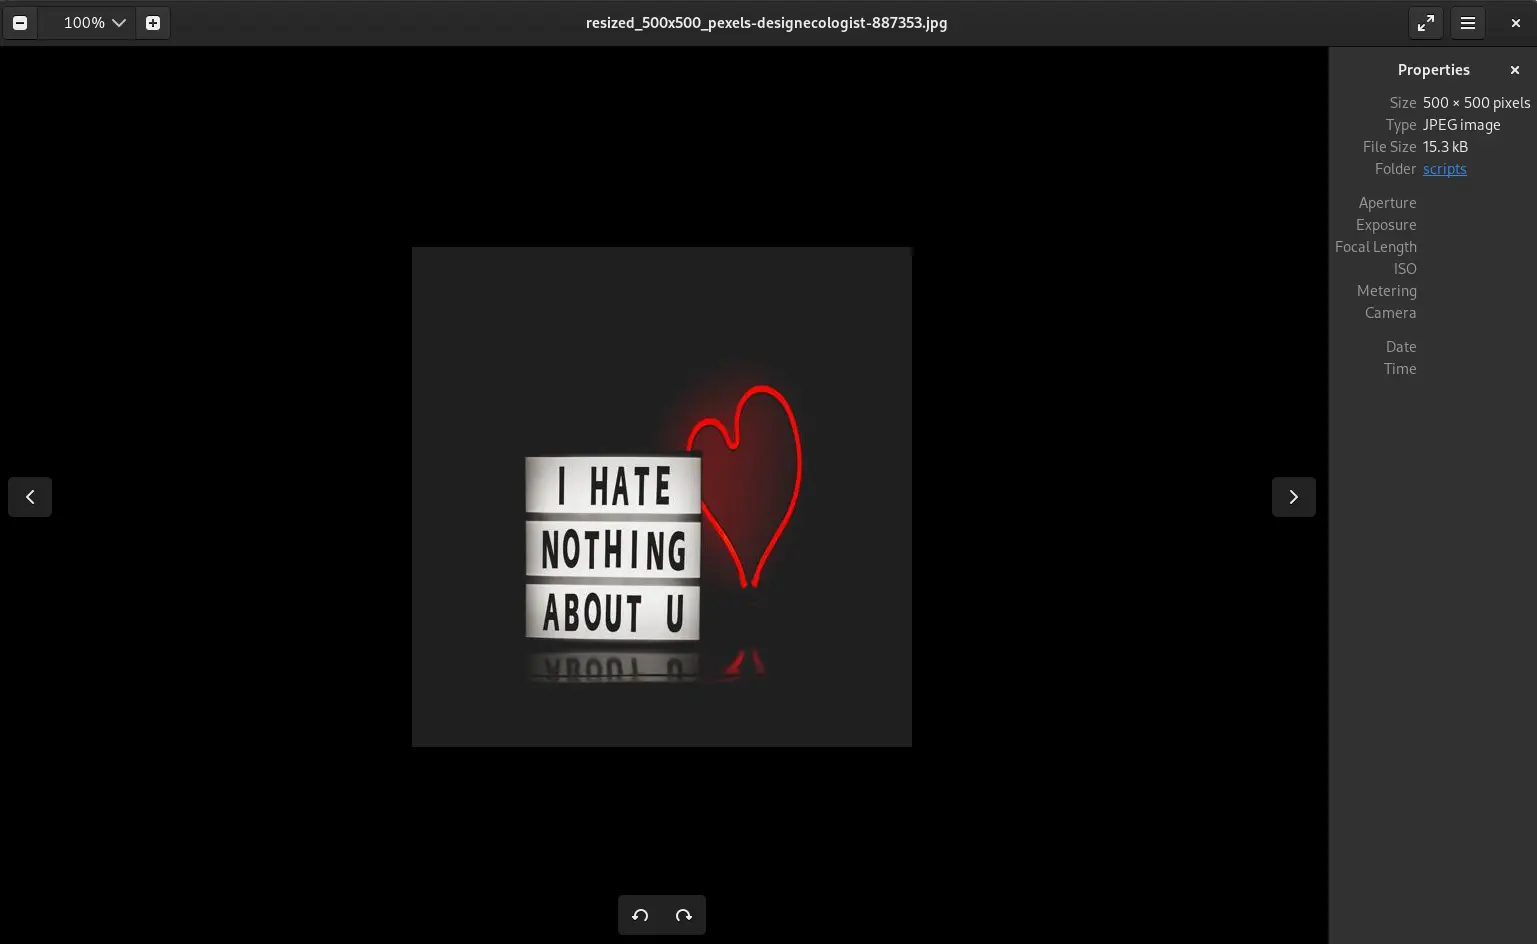
Photo by designecologist from Pexels


No comments:
Post a Comment