Introduction
Hey there, fellow container enthusiasts! 🐳 Are you tired of manually updating your Podman containers every time there’s a new release? Well, worry no more! In this blog post, we’re going to walk you through the process of automating updates for your Podman containers, saving you time and effort in the long run.
Why Automatic Updates Matter
Before diving into the how-to, let’s quickly discuss why automatic updates are crucial for your Podman containers. Keeping your containers updated ensures that you’re running the latest versions of software with bug fixes, security patches, and new features. This not only enhances performance but also bolsters security by addressing vulnerabilities promptly.
Manual updates can be cumbersome, especially when you’re managing multiple containers across various environments. Automating this process streamlines maintenance tasks and reduces the risk of overlooking critical updates.
Automate Podman Container Updates
We’ve configured our Linux server with the following settings:
Hostname | test-srv1.naijalabs.net |
IP address | 192.168.1.18 |
RAM | 4 GB |
Cores | 2 |
Operating System | Red Hat Enterprise Linux release 9.3 (Plow) |
Now, let’s get down to business! Automating updates for your Podman containers involves leveraging tools and scripts to streamline the process. Here’s a step-by-step guide to help you set up automatic updates effectively:
Method #1: Use Podman Systemd Timers
One of the simplest ways to automate updates is by utilizing systemd timers. These timers allow you to schedule tasks at specific intervals. You can create a systemd timer unit to execute a Podman command for updating containers periodically. Here’s an example of how to set it up:
sudo systemctl enable --now podman-auto-update.timerThis command enables and starts the systemd timer for automatic updates. By default, the podman-auto-update.timer is triggered daily at midnight.
However, in order for
podman auto-updateto work properly, we need to set up our container the right way.Here’s the plan: First, we’ll need to configure our Podman container to work seamlessly with systemd. To show you how it’s done, we’ll intentionally grab an older NGINX image, tag it with the latest version (version 1.25.4 as of the date of this publication), and use it to build our web server container. After that, we’ll configure our container to operate as a systemd service. Finally, we’ll run
podman auto-updatewhich will detect and update the outdated image–rebuilding and restarting our container to use the latest NGINX image.
Understanding podman’s auto-update feature
Okay, so with Podman’s auto-update feature, it basically checks containers that have a specific label called io.containers.autoupdate. This label tells Podman what to do in terms of updating the container, like its policy.
So, if this label is there and set to ‘registry’, Podman goes ahead and contacts the registry to see if there’s a newer version of the image available. It compares the version you have locally with the one on the registry. If it finds a newer one, it pulls it down and then restarts the container.
Now, when you use the ‘registry’ policy, you’ve got to make sure you’re using a complete image reference when you create the container. You know, something like ‘quay.io/podman/stable:latest’. This helps Podman know exactly which image to look for and update.
But, if you set the autoupdate label to ‘local’, Podman takes a different approach. It compares the image the container is using to the one stored locally on your system. If it sees that the local image is newer, it simply restarts the container.
So, whether it’s checking the registry or your local storage, Podman’s got you covered for keeping your containers up-to-date.”
Inspect Nginx Image
Let’s kick things off by using Skopeo to inspect the NGINX image. We’re particularly interested in the “RepoTags” section, which will give us a rundown of all the different versions available. From there, we can cherry-pick an outdated version to use for our demo. Ready? Here’s the command:
skopeo inspect docker://nginx{
"Name": "docker.io/library/nginx",
"Digest": "sha256:6db391d1c0cfb30588ba0bf72ea999404f2764febf0f1f196acd5867ac7efa7e",
"RepoTags": [
"1",
"1.17.3-alpine",
"1.17.3-alpine-perl",
"1.17.3-perl",
"1.17.4",
"1.18.0-perl",
"1.19",
"1.19-alpine",
"1.19-alpine-perl",
"1.19-perl",
"1.19.0",
"1.19.0-alpine",
"1.19.0-alpine-perl",
"1.19.0-perl",
"1.19.1",
"1.19.1-alpine",
"1.19.1-alpine-perl",
"1.19.1-perl",
"1.19.10",
"1.19.10-alpine",
"1.19.10-alpine-perl",
"1.19.10-perl",
"1.19.2",
...omitted parts of the output for brevity...For this demo, we’re going with the 1.19.0 NGINX image version. Run the following commands to pull down the older version and tag it with the latest label:
podman pull docker.io/library/nginx:1.19.0podman tag nginx:1.19.0 docker.io/library/nginx:latestNow run the podman images command to confirm:
podman imagesREPOSITORY TAG IMAGE ID CREATED SIZE
docker.io/library/nginx 1.19.0 2622e6cca7eb 3 years ago 136 MB
docker.io/library/nginx latest 2622e6cca7eb 3 years ago 136 MBNotice both images are identical with the only difference being the tag.
Build a web server container
Next, run the following command to apply the auto-update policy and spin up a container called webserver1 using this outdated version of the NGINX image.
podman run --label "io.containers.autoupdate=registry" -d --name webserver1 -p 8080:80 docker.io/library/nginx:latest509932dbe9de35871b46c5000606e4c929e644314b913fffc22824353ed643a7With this command, we’re telling Podman to launch a container named “webserver1” in detached mode (-d), mapping port 8080 on our host to port 80 within the container (-p 8080:80), and using the NGINX image with version 1.19.0. We’ve also applied the io.containers.autoupdate=registry label informing podman of the auto-update policy we’d like to use.
Open Port 8080
Run the following command to open port 8080:
sudo firewall-cmd --permanent --add-port=8080/tcp; sudo firewall-cmd --reloadThis command adds port 8080 to the firewall configuration for TCP traffic, ensuring that incoming connections on this port are allowed. After adding the port, we reload the firewall configuration to apply the changes. Then, launch a browser with the following URL: http://server-IP-address:8080
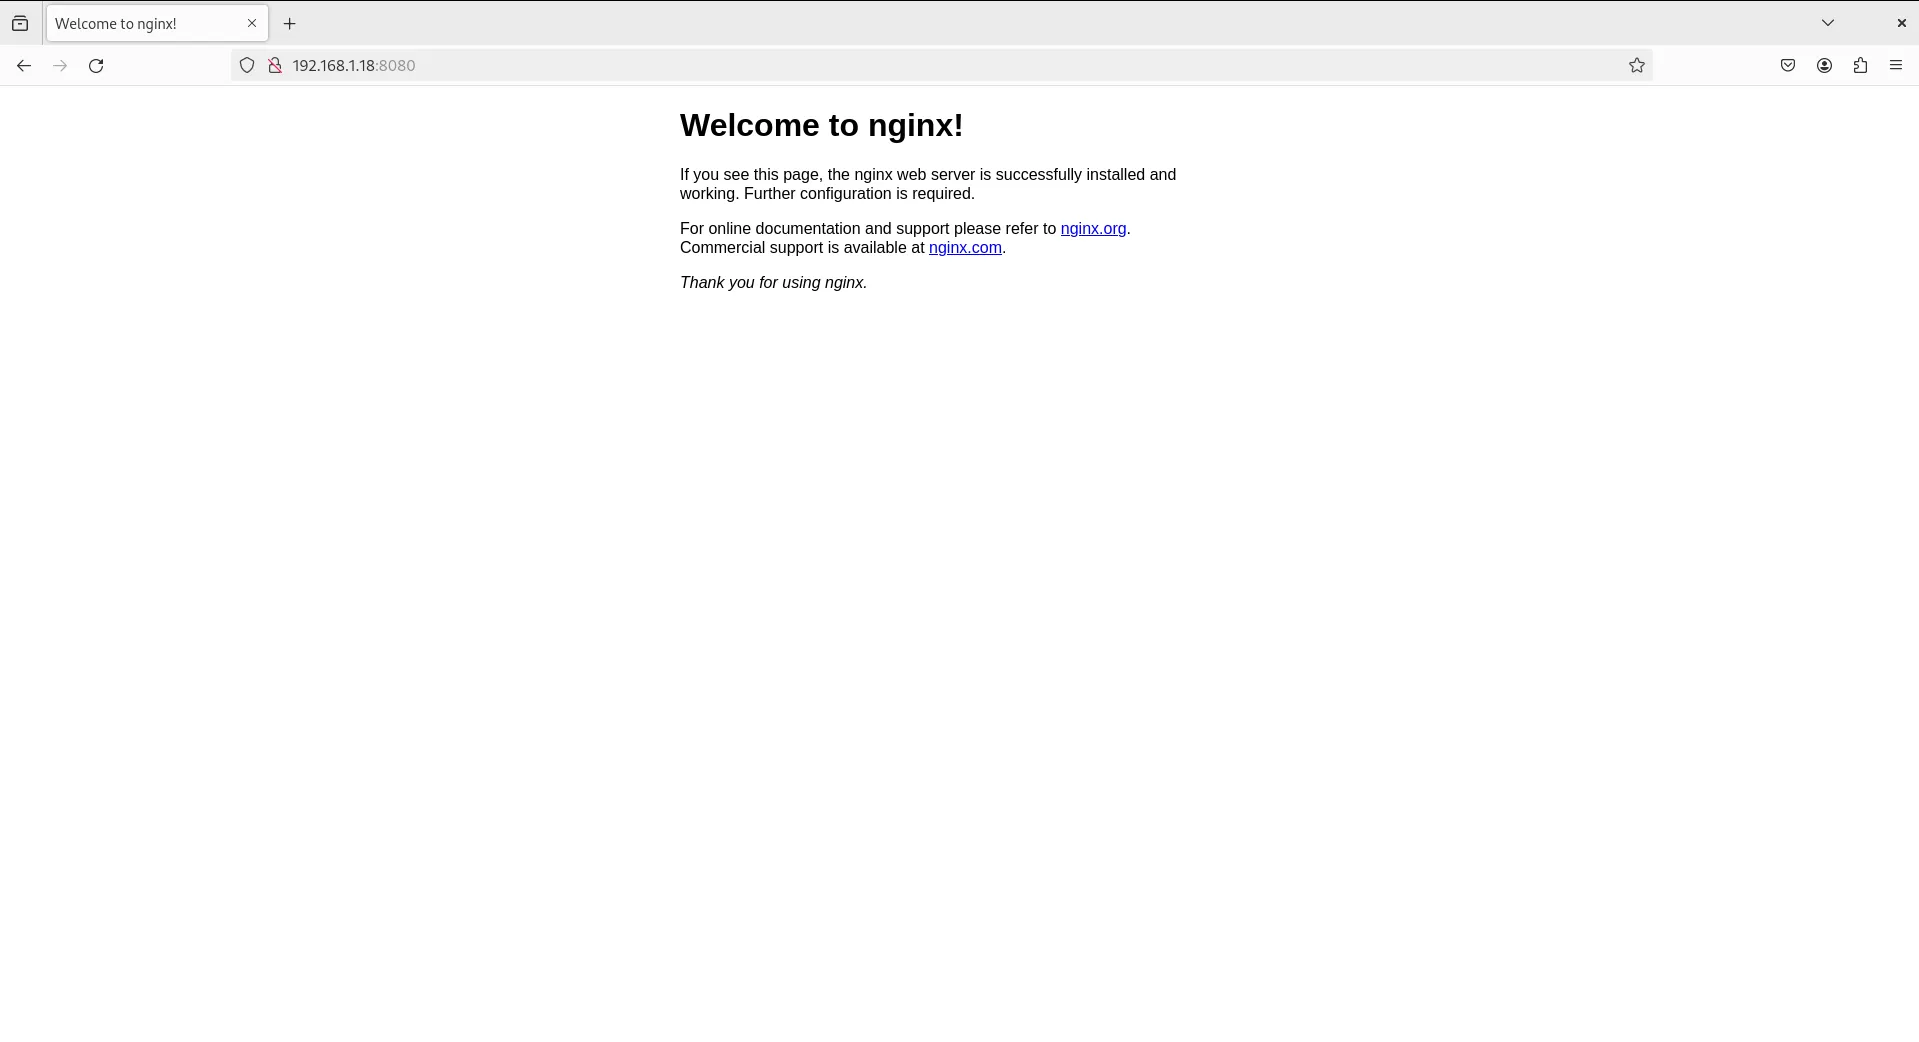
Photo by admingeek from Infotechys
And there you have it – our NGINX web server container is up and running with the version we selected.
Run Container as Systemd Service
Now that our web server container is humming along, it’s time to level up and configure it to run as a systemd service. To make this happen, we’ll need to create a systemd unit file and let systemd know about it. Lucky for us, there’s a nifty command called podman generate systemd that does all the heavy lifting. Here’s how to use it:
podman stop webserver1mkdir -p ~/.config/systemd/user/podman generate systemd --new --files 509932dbe9de35871b46c5000606e4c929e644314b913fffc22824353ed643a7/home/admin/container-509932dbe9de35871b46c5000606e4c929e644314b913fffc22824353ed643a7.serviceThese commands (above) stop the “webserver1” container if it’s running, create the necessary directory structure for systemd user configuration, and generate a systemd unit file for the “webserver1” container, using its unique container ID (509932dbe9de35871b46c5000606e4c929e644314b913fffc22824353ed643a7). This allows us to manage the container as a systemd service.
Notice a .service file is generated as a result of running the podman generate systemd command. Move the file to its appropriate location under the ~/.config/systemd/user directory and rename it as container-webserver1.service.
mv ~/container-509932dbe9de35871b46c5000606e4c929e644314b913fffc22824353ed643a7.service ~/.config/systemd/user/container-webserver1.serviceNow, remove the webserver1 container and reload the systemd daemon. Then, start and enable the container to autostart on boot up using systemd:
podman rm webserver1; systemctl --user daemon-reload; systemctl --user enable --now container-webserver1.servicewebserver1
Created symlink /home/admin/.config/systemd/user/default.target.wants/container-webserver1.service → /home/admin/.config/systemd/user/container-webserver1.service.Now run the podman ps command to confirm the web server container is back up and running:
podman psCONTAINER ID IMAGE COMMAND CREATED STATUS PORTS NAMES
7b5e17b4cff4 docker.io/library/nginx:1.19.0 nginx -g daemon o... 20 seconds ago Up 21 seconds 0.0.0.0:8080->80/tcp webserver1To check the version of NGINX running on the container, you can execute the following command:
podman exec webserver1 nginx -vnginx version: nginx/1.19.0Execute podman auto-update
Now that our container is configured to run as a systemd service, we can proceed with running the podman auto-update command:
podman auto-updateTrying to pull docker.io/library/nginx:latest...
Getting image source signatures
Copying blob c5cdd1ce752d done
Copying blob 8a1e25ce7c4f done
Copying blob 39fc875bd2b2 done
Copying blob e78b137be355 done
Copying blob 035788421403 done
Copying blob 87c3fb37cbf2 done
Copying blob 33952c599532 done
Copying config 92b11f6764 done
Writing manifest to image destination
UNIT CONTAINER IMAGE POLICY UPDATED
container-webserver1.service 7b5e17b4cff4 (webserver1) docker.io/library/nginx:latest registry truePodman’s auto-update feature has detected an older version of NGINX and pulled down the latest image. Now, when you run the podman exec command again to check the current NGINX version, you should see the latest version reflected.
podman exec webserver1 nginx -vnginx version: nginx/1.25.4This means that Podman has successfully updated your NGINX container to the most recent version available
Method #2: Shell Scripts with Cron Jobs
This next approach isn’t as elegant as the first, but, it involves creating shell scripts that leverage cron jobs to schedule container updates. Cron is a time-based job scheduler in Unix-like operating systems. You can write a script to pull the latest container images and restart containers as needed, then schedule it to run at regular intervals using cron.
Create a bash script
Using your preferred text editor, create a file called update_containers.sh.
vim update_containers.shPopulate that file with the following contents:
#!/bin/bash

# Pull latest container images
podman pull <image_name>

# Restart containers
podman restart <container_name>Replace the <image_name> and <container_name> with the actual names of your images and containers. Then, save and exit the file.
Schedule a cronjob
Next, add a cron job to execute your script periodically. For instance, to run the script every day at 3 AM, you’d add the following entry to your crontab:
crontab -e0 3 * * * /path/to/update_containers.shThis method is ideal for smaller test or development environments with a handful of container instances running.
Method #3: Container Orchestration Platforms
If you’re managing a large number of containers or running them in production environments, consider using container orchestration platforms like Kubernetes or OpenShift. These platforms offer robust mechanisms for managing and updating containers automatically, ensuring high availability and scalability.
Kubernetes, for example, supports rolling updates, which allow you to update containers without downtime by gradually replacing old instances with new ones.


No comments:
Post a Comment