Introduction
Are you an Ubuntu 23.10 user looking for a reliable text editor? Look no further than Gedit! Whether you’re a seasoned developer, a student, or just someone who needs to jot down notes, Gedit offers a simple yet powerful solution. In this guide, we’ll walk you through the process of installing Gedit on your Ubuntu 23.10 system.
Why Choose Gedit?
Gedit, also known as GNOME Text Editor, is a lightweight yet feature-rich text editor that comes pre-installed with many Linux distributions, including Ubuntu. It offers a clean and intuitive interface, syntax highlighting for various programming languages, support for plugins, and much more. Whether you’re writing code, taking notes, or editing configuration files, Gedit is a versatile tool that can cater to your needs.
Install Gedit on Ubuntu 23.10: The APT Method
Alright, let’s dive into installing Gedit on your Ubuntu 23.10 machine. We’ll begin with the tried-and-true method, which is using the ‘apt install’ command.
Step 1: Update Your System
Before installing any new software, it’s always a good idea to ensure that your system is up to date. Open a terminal window by pressing Ctrl + Alt + T and run the following commands:
$ sudo apt update -y; sudo apt upgrade -yThis will update the package lists and upgrade any outdated packages on your system.
Step 2: Install Gedit
Installing Gedit on Ubuntu 23.10 is a breeze. Simply open a terminal window and type the following command:
sudo apt install geditPress Enter and provide your password when prompted. This command will download and install Gedit along with any necessary dependencies.
Step 3: Verify the Installation
Once the installation is complete, you can verify that Gedit has been installed successfully by launching it from the applications menu. Alternatively, you can open a terminal window and type:
geditIf Gedit launches without any errors, congratulations! You’ve successfully installed Gedit on your Ubuntu 23.10 system.
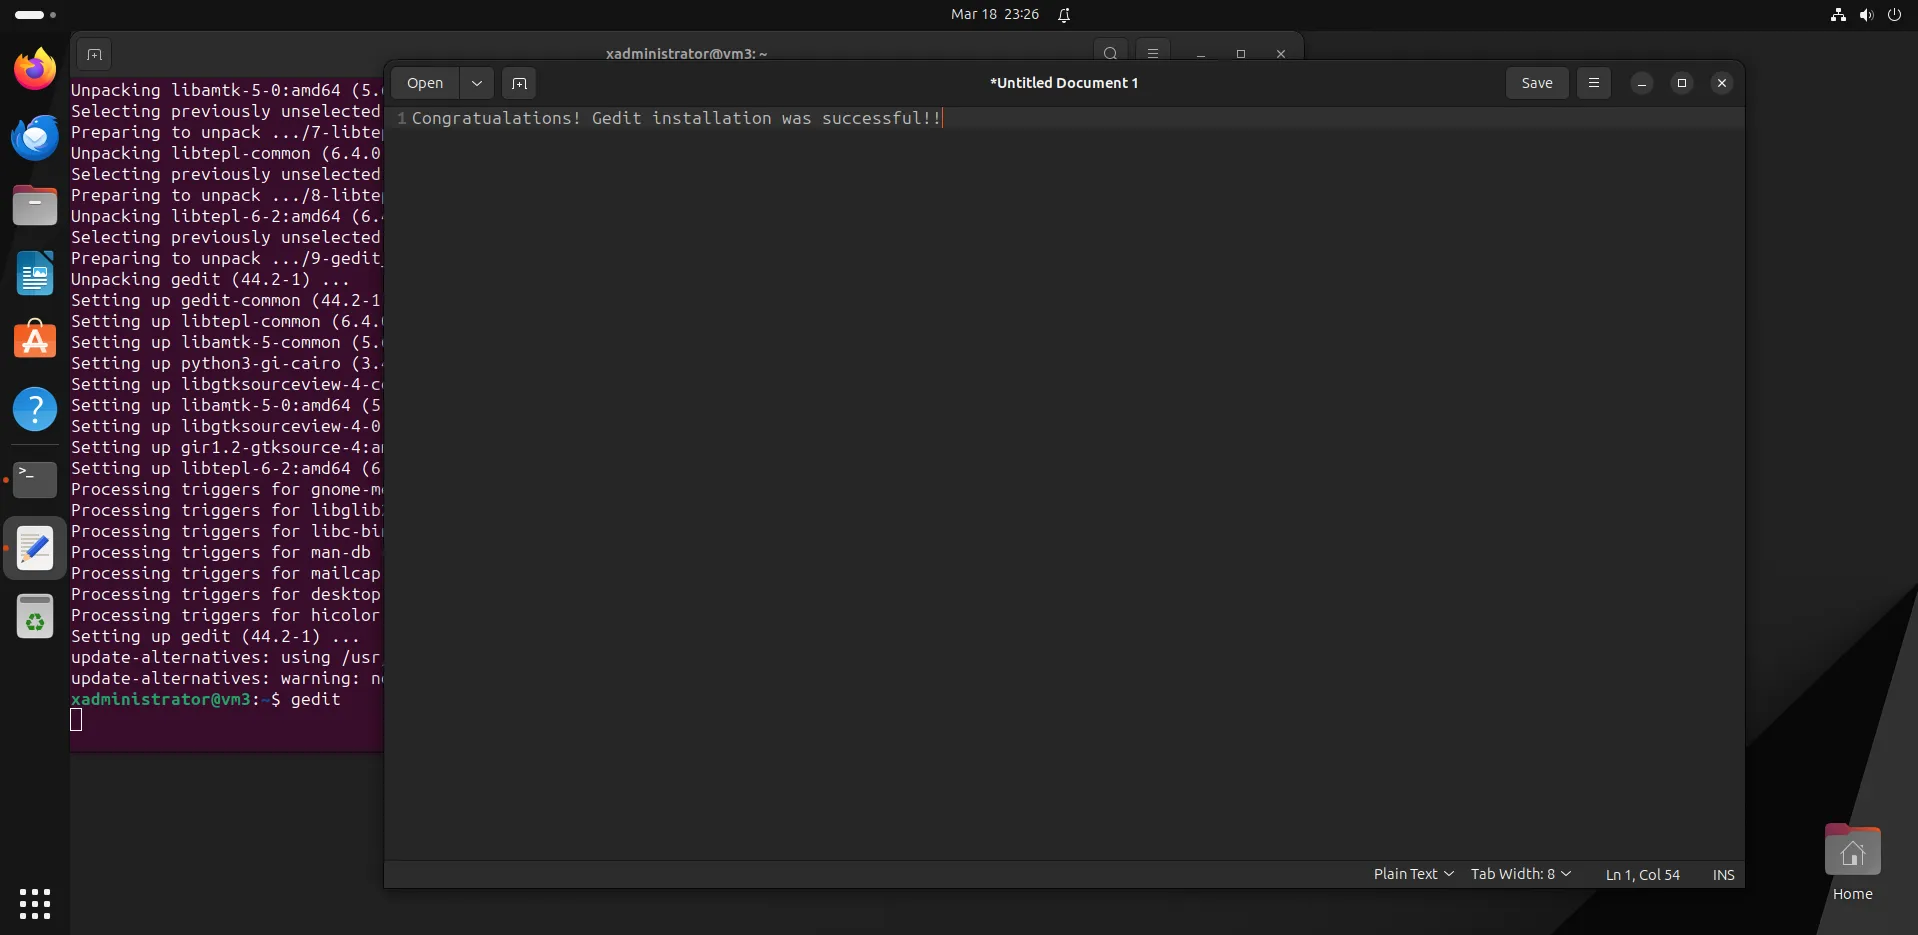
Photo by admingeek from Infotechys
Step 4: Customize Gedit (Optional)
One of the great things about Gedit is its flexibility and customization options. You can tailor the editor to suit your preferences by adjusting various settings and installing plugins. To access the preferences window, go to Edit > Preferences or press Ctrl + E.
Here, you can configure settings such as font, tab width, line wrapping, and more. You can also enable/disable plugins to enhance Gedit’s functionality according to your workflow.
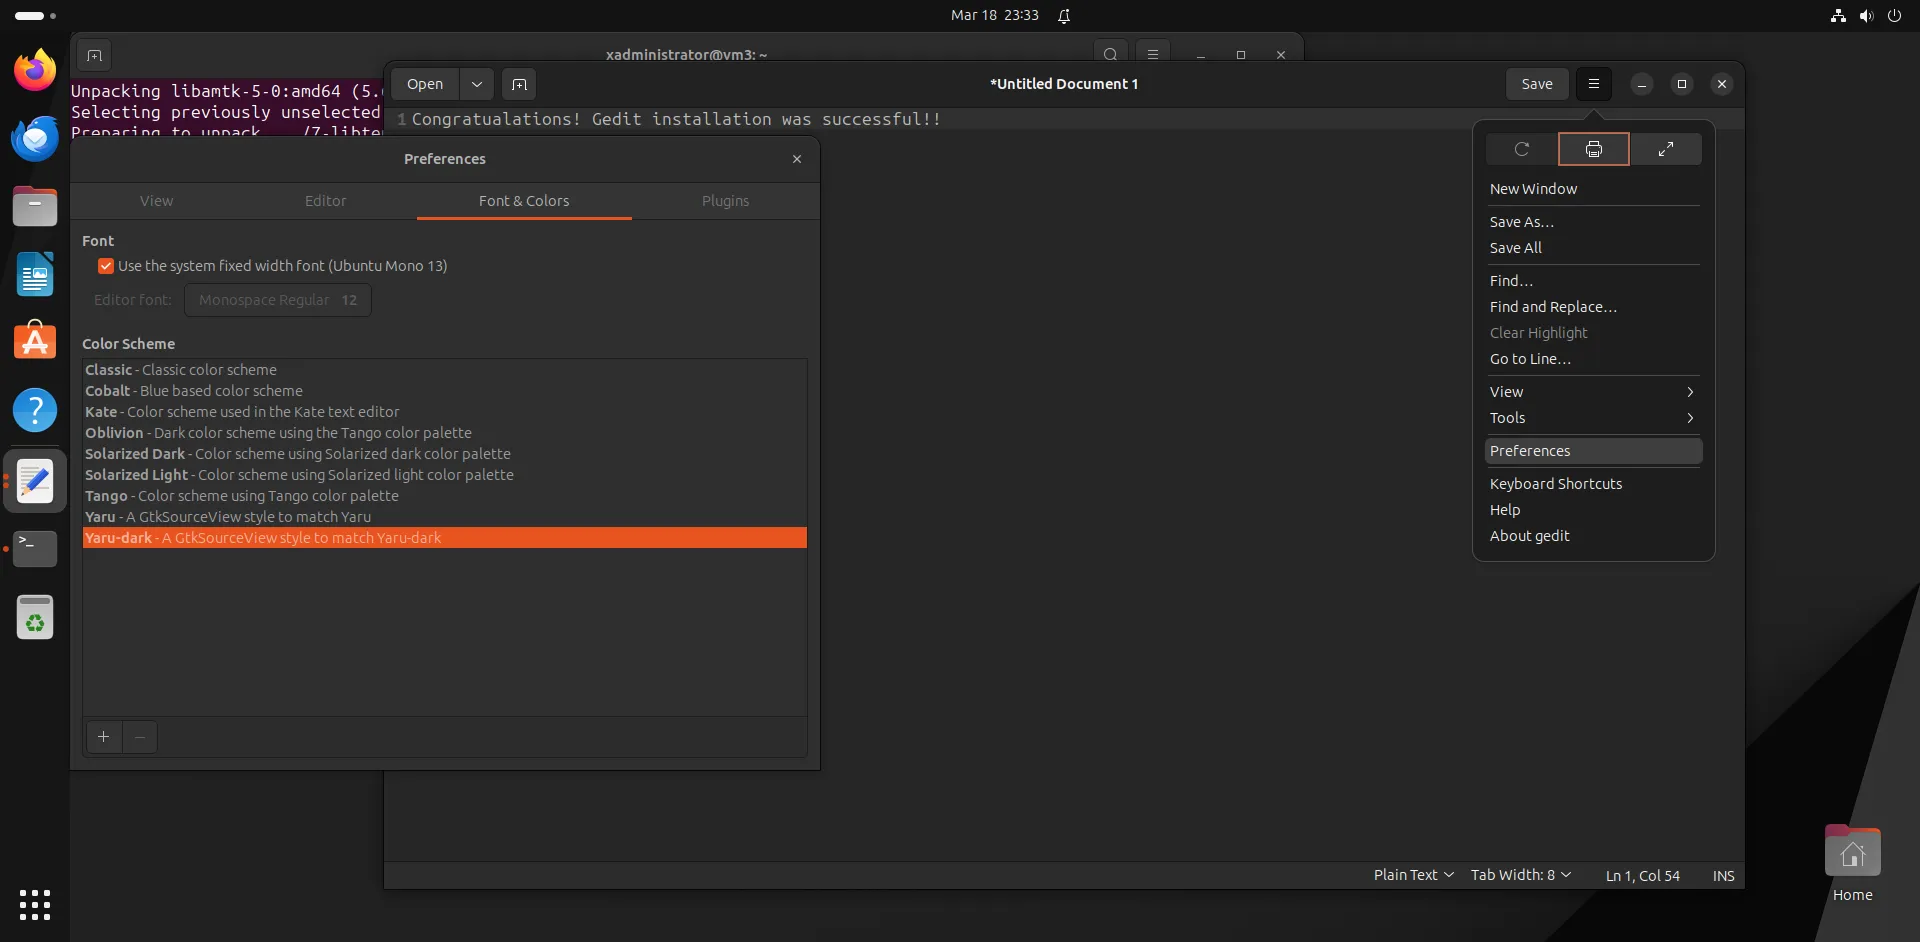
Photo by admingeek from Infotechys
Installing Gedit: The Snap Method
Snap is another package management system that allows you to install software packages across different Linux distributions. Here’s how you can install Gedit using Snap.
Ensure Snapd is installed
Snapd comes pre-installed on the Ubuntu 23.10 desktop version. However, if Snapd isn’t already installed, open a terminal window and run the following command:
sudo apt install snapdInstall Gedit
Once Snapd is installed, you can install Gedit by running the following command:
sudo snap install geditVerify the Installation
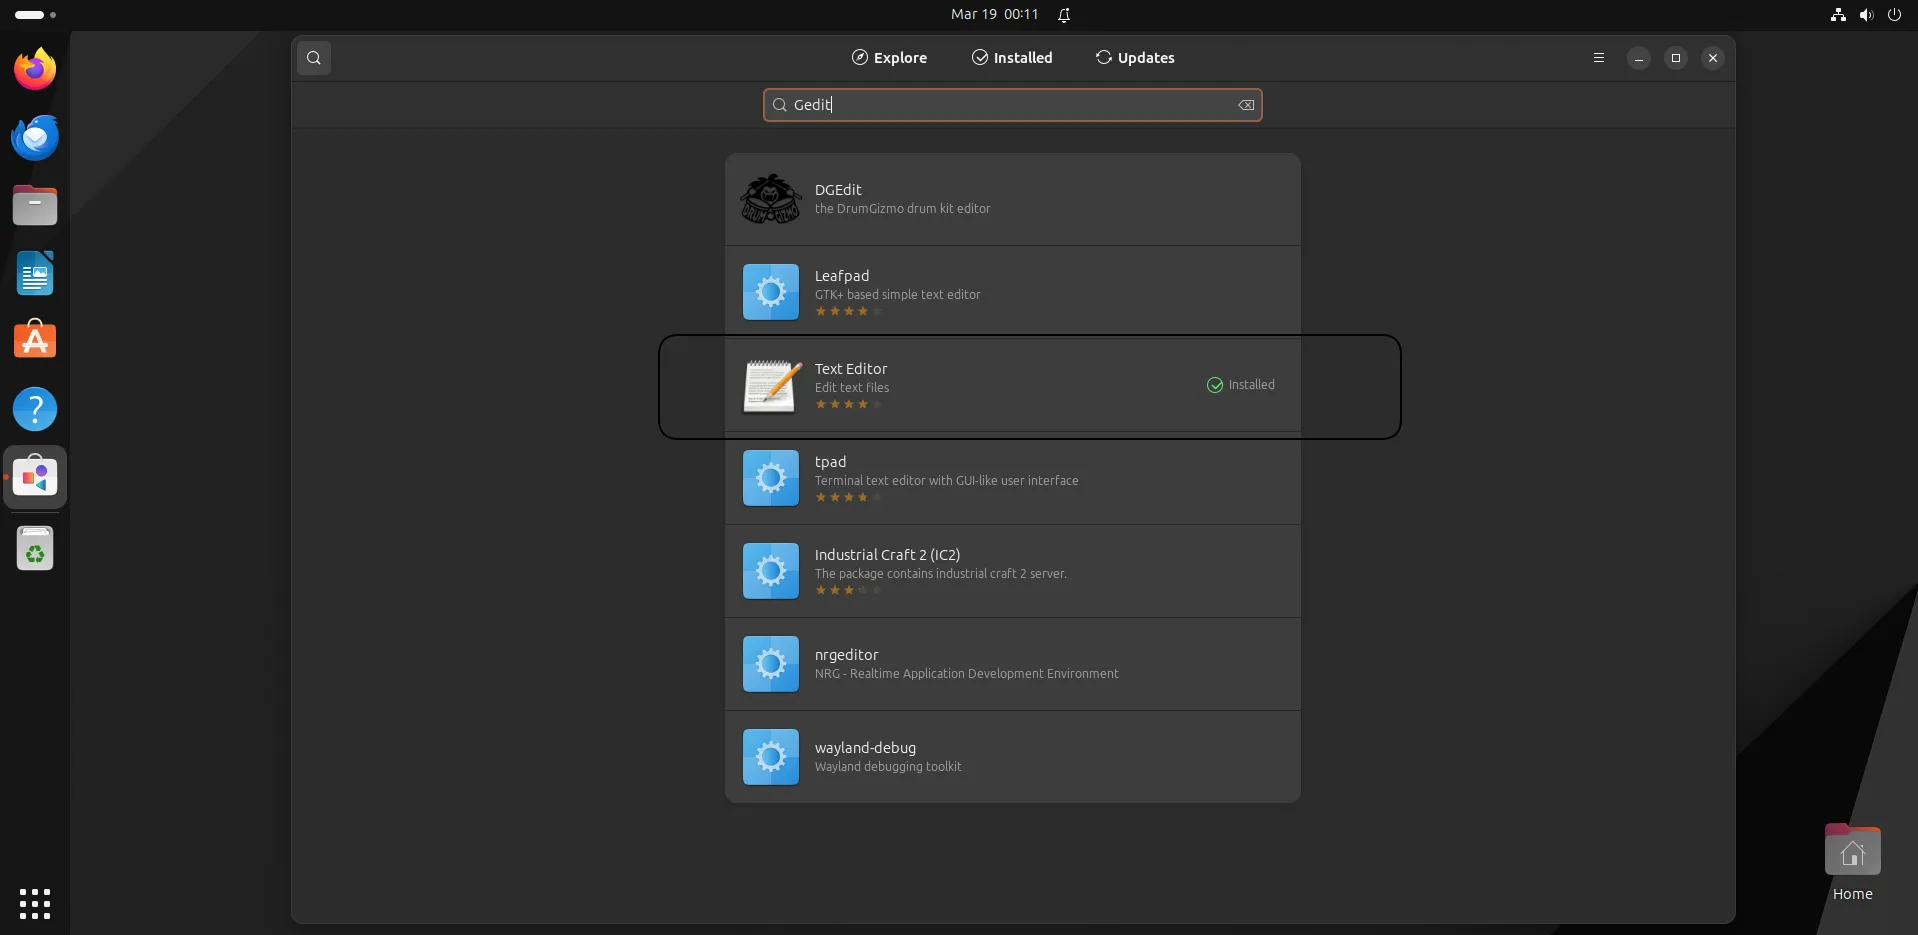
After the installation is complete, you can verify that Gedit has been installed successfully by launching it from the applications menu or by running the following command in the terminal:
geditOptional: Enable Snap Support in GNOME Software
If you prefer to install and manage Snap packages using the GNOME Software Center, you can enable Snap support by installing the ‘snapd-xdg-open’ package:
sudo apt install snapd-xdg-openOnce installed, you should be able to search for and install Gedit (and other Snap packages) through GNOME Software.


No comments:
Post a Comment