Introduction
Are you a Fedora 39 user looking to enhance your coding experience? Well, you’re in luck because Visual Studio Code (VSCode) is one of the best text editors out there, and it’s perfect for your programming needs. In this guide, we’ll walk you through the process of installing VSCode on Fedora 39, ensuring a smooth and hassle-free setup.
Why VSCode?
Before we dive into the installation process, let’s briefly talk about why VSCode is a popular choice among developers:
Feature-rich | VSCode is not just your ordinary text editor; it’s a powerhouse of features designed to streamline your coding workflow. With IntelliSense providing intelligent code completion, built-in debugging support, and seamless integration with version control systems like Git, VSCode empowers you to write code faster and more efficiently. Whether you’re working on a small script or a large-scale application, VSCode’s rich feature set ensures you have everything you need at your fingertips. |
Extensible | One of the most remarkable aspects of VSCode is its extensibility. Thanks to its robust extension ecosystem, you can tailor VSCode to meet your specific needs and preferences. Whether you’re developing web applications, mobile apps, or diving into data science, there’s a vast array of extensions available to enhance your coding experience. Need syntax highlighting for a lesser-known programming language? There’s an extension for that. Want to supercharge your productivity with custom snippets and key bindings? You guessed it – VSCode has got you covered. The possibilities are virtually endless, allowing you to create a personalized coding environment that suits your unique workflow. |
Cross-platform | In today’s multi-platform world, compatibility is key. Whether you’re coding on a Linux machine, a macOS device, or a Windows PC, you can count on VSCode to deliver a consistent and seamless experience across all platforms. Its lightweight nature and minimal system requirements make it accessible to users with varying hardware configurations, ensuring that no matter what operating system you prefer, you can harness the power of VSCode to fuel your coding endeavors. |
Active Community | Behind every great software tool is a vibrant community of users and contributors, and VSCode is no exception. With millions of developers worldwide using and contributing to VSCode, you’re never far from finding helpful resources, tutorials, or community-built extensions to enhance your coding journey. Whether you’re seeking assistance with a tricky coding problem, looking to share your expertise with others, or simply want to connect with like-minded individuals, the VSCode community provides a welcoming and supportive environment for developers of all skill levels. |
In summary, VSCode’s feature-rich design, extensibility, cross-platform compatibility, and thriving community make it the go-to choice for developers seeking a powerful and versatile text editor.
Install VSCode on Fedora 39: The Stable Build (Official) Method
Now that you’re convinced of its merits, let’s get started with the installation.
Step 1: Update Your System
Before installing any new software, it’s always a good idea to ensure that your system is up to date. Open a terminal and run the following commands:
$ sudo dnf updateThis command will update all installed packages on your Fedora 39 system to the latest versions, ensuring compatibility and stability.
Step 2: Install VSCode
To install VSCode on Fedora 39, you can use the official Microsoft repository. Follow these steps:
Import the Microsoft GPG key:
sudo rpm --import https://packages.microsoft.com/keys/microsoft.ascEnable the Visual Studio Code repository:
sudo dnf config-manager --add-repo https://packages.microsoft.com/yumrepos/vscodeInstall VSCode:
sudo dnf install codeOnce the installation is complete, you can launch VSCode from the applications menu or by running code in the terminal.
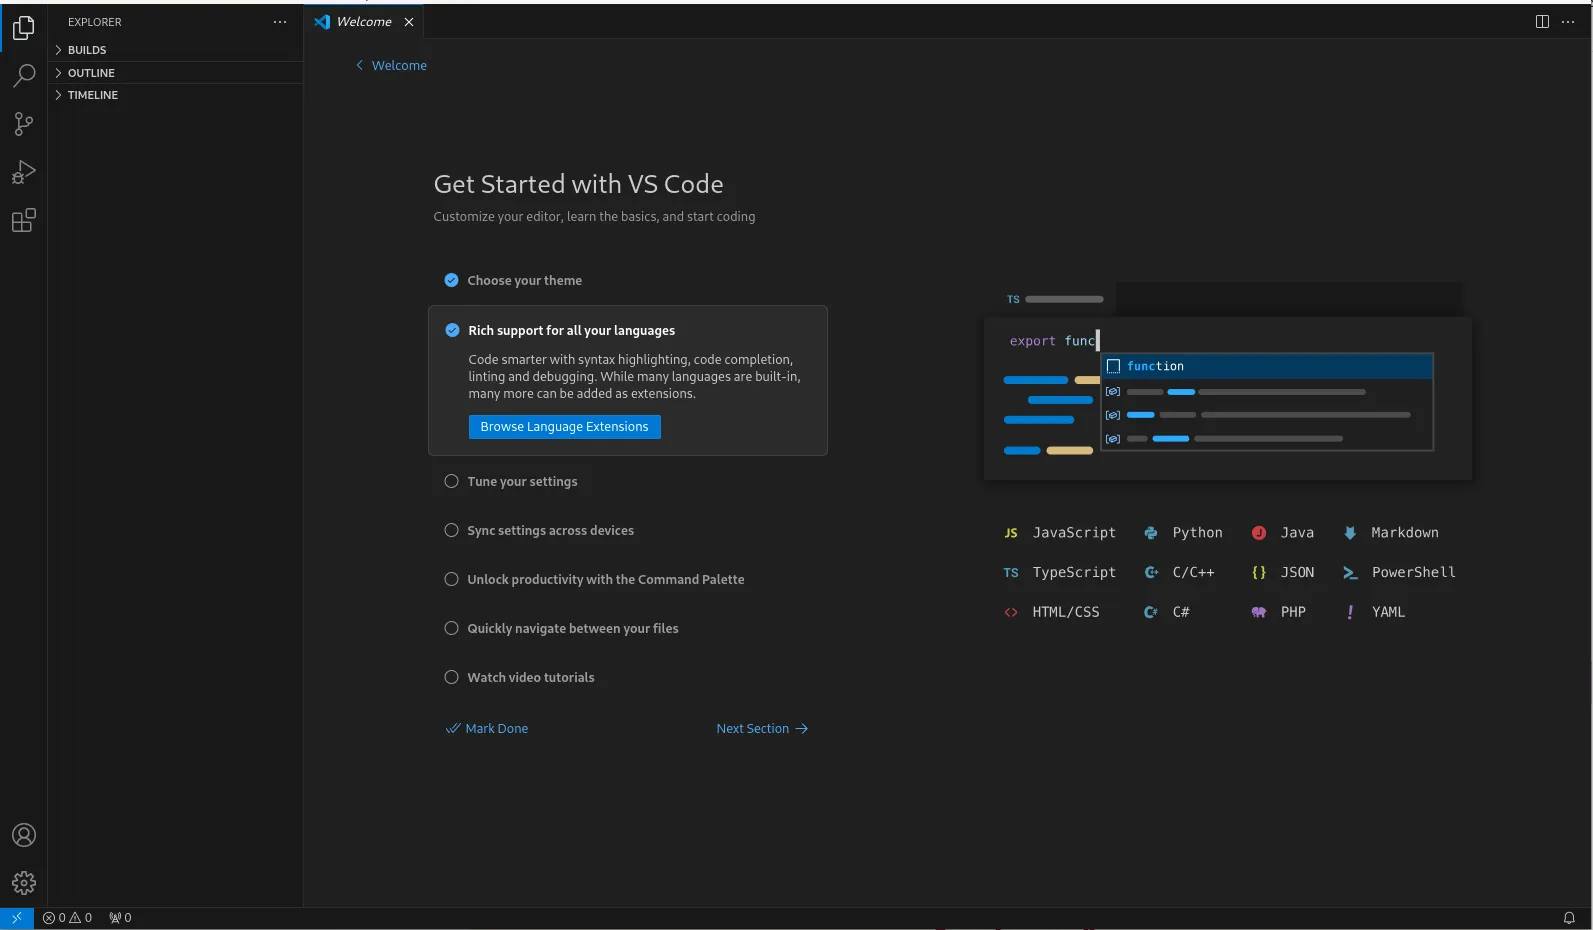
Photo by admingeek from Infotechys
Step 3: Optional – Install Extensions
One of the great things about VSCode is its extensibility. You can enhance its functionality by installing extensions tailored to your workflow. Here are a few popular extensions you might find useful:
Python | If you’re a Python developer, consider installing the “Python” extension by Microsoft for advanced features like linting, debugging, and code formatting. |
JavaScript (ESLint) | For JavaScript developers, the “ESLint” extension helps ensure code quality by highlighting syntax errors and style issues. |
GitLens | This extension supercharges the built-in Git capabilities of VSCode, providing powerful tools for navigating and understanding your Git repositories. |
To install extensions, simply open VSCode, navigate to the Extensions view (Ctrl+Shift+X), search for the desired extension, and click “Install”.
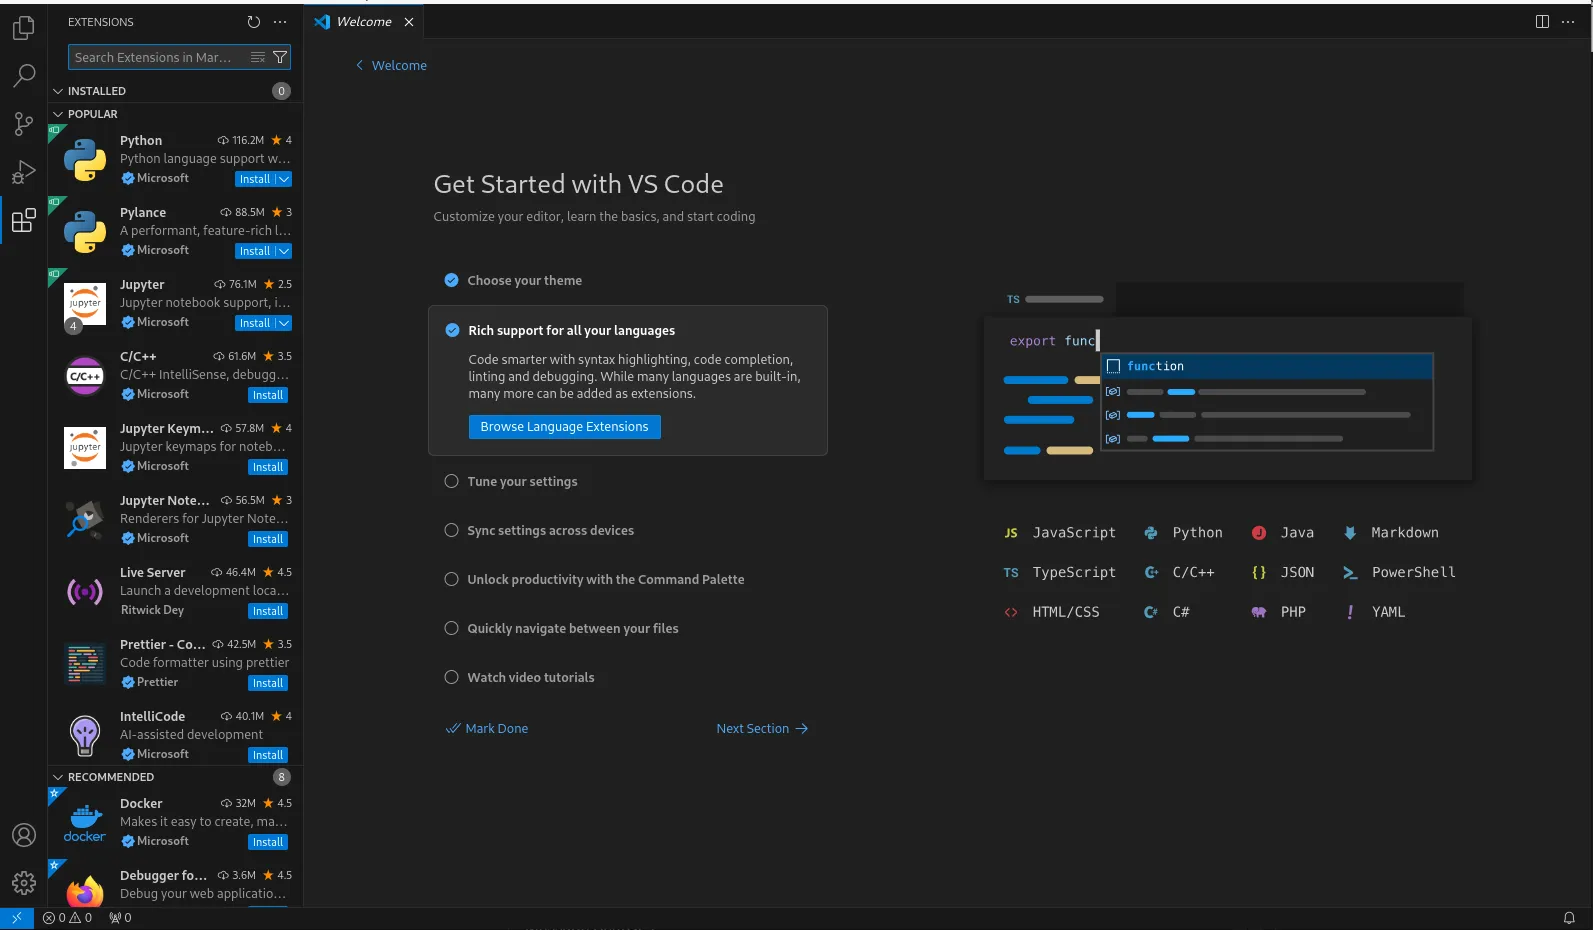
Photo by admingeek from Infotechys
The Flatpak Method (Unofficial)
In addition to traditional package managers like DNF, you can also install VSCode on Fedora 39 using Flatpak, a universal package management system that provides sandboxed environments for applications. Here’s how:
Install Flatpak
If you haven’t already installed Flatpak, you can do so by running the following command in your terminal:
sudo dnf install flatpakAdd Flathub Repository
Flathub is the default repository for Flatpak applications. Add it to your system using the following command:
sudo flatpak remote-add --if-not-exists flathub https://flathub.org/repo/flathub.flatpakrepoInstall VSCode
Flathub is the default repository for Flatpak applications. Add it to your system using the following command:
sudo flatpak install flathub com.visualstudio.codePress the ‘Y’ Key to accept the prompts and proceed with the installation:
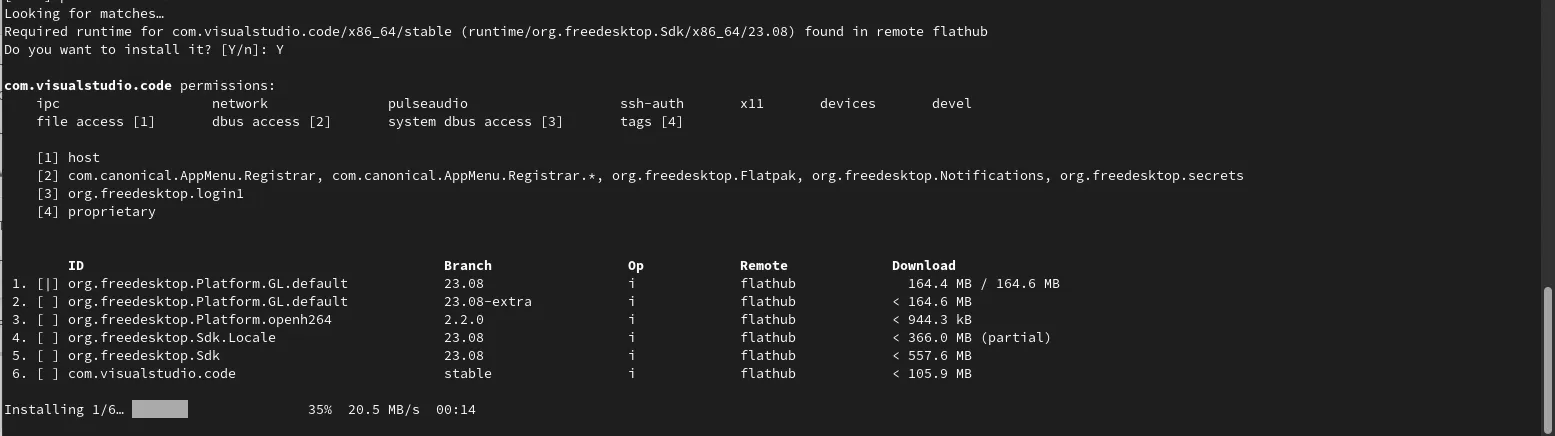
Photo by admingeek from Infotechys
Launch VSCode
After the installation is complete, you can launch VSCode from the applications menu or by running the following command:
flatpak run com.visualstudio.code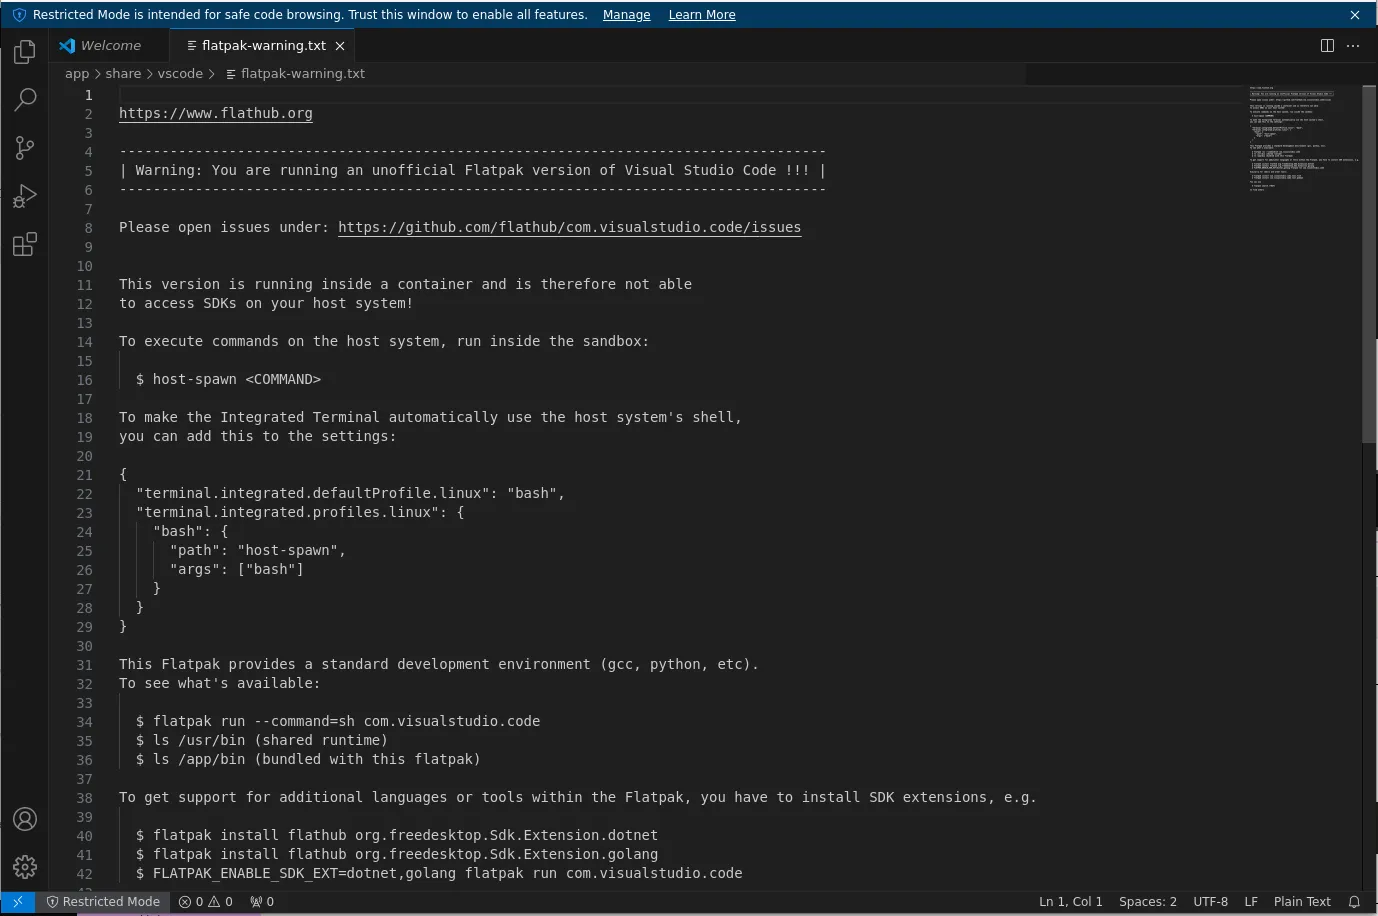
Photo by admingeek from Infotechys
Upon launching VSCode, you’ll encounter a welcome screen accompanied by a cautionary notice. This notification stems from the fact that VSCode operates within a containerized environment, which may restrict access to certain software development kits (SDKs) on your local machine.
The Snap Method (Unofficial)
Visual Studio Code (VSCode) is not officially distributed through the Snap Store. However, there is an unofficial Snap package available, maintained by the community. Here’s how you can install VSCode using the Snap method:
Install Snapd
If you haven’t already installed Snapd, the package management tool for Snaps, you can do so by running the following command in your terminal:
sudo dnf install snapdEnable Snapd Socket
After installing Snapd, you need to enable the Snapd socket with the following command:
sudo systemctl enable --now snapd.socketInstall VSCode Snap
Once Snapd is set up, you can install the unofficial VSCode Snap package by running the following commands:
cd /sudo ln -s /var/lib/snapd/snapdsudo snap install --classic codeAdding a symbolic link to the root directory (/) and the --classic flag, grants VSCode classic confinement, allowing it to access system resources like the filesystem.

Photo by admingeek from Infotechys
Launch VSCode Snap
After the installation is complete, you can launch VSCode by typing /var/lib/snapd/snap/bin/code in the terminal or by searching for it in your applications menu.
/var/lib/snapd/snap/bin/codeUsing the Snap method to install VSCode provides you with a containerized environment, similar to Flatpak, ensuring application isolation and easier management of dependencies.


No comments:
Post a Comment