Introduction
Are you looking to install Atom on your Ubuntu 24.04 system? Atom, a powerful and versatile text editor developed by GitHub, is a favorite among developers for its flexibility and extensive customization options. In this guide, we will walk you through the process of installing Atom on Ubuntu 24.04. By following these steps, you will have Atom up and running in no time.
Why Choose Atom?
Before diving into the installation process, let’s briefly discuss why Atom is worth considering. Atom is open-source and hackable to the core. It supports a vast array of plugins and themes, allowing you to tailor the editor to your specific needs. Additionally, it comes with features such as a built-in package manager, smart autocompletion, and multiple panes, making it a robust tool for developers.
Prerequisites
To install Atom on Ubuntu 24.04, you need:
- A system running Ubuntu 24.04
- Sudo privileges
- Internet access
Install Atom on Ubuntu 24.04: The Apt Method |
Step 1: Update Your System
Before installing any new software, it’s always a good idea to update your system to the latest versions of all packages. Open your terminal and run the following commands:
sudo apt update -y && sudo apt upgrade -yThis ensures your system is up-to-date and avoids any potential issues during the installation process.
Step 2: Install Required Dependencies
Atom requires certain dependencies to function correctly. Install these dependencies by running:
sudo apt install software-properties-common apt-transport-https wget -yStep 3: Add the Atom Repository
Instead of using apt-key, which is deprecated, we’ll add the GPG key and repository using a more modern approach. First, create a new directory for the GPG key:
sudo mkdir -p /etc/apt/keyringsNext, download the GPG key (using wget):
wget -O- https://packagecloud.io/AtomEditor/atom/gpgkey | gpg --dearmor | sudo tee /etc/apt/keyrings/atom-archive-keyring.gpgThen, add the Atom repository to your system’s sources list:
echo "deb [signed-by=/etc/apt/keyrings/atom-archive-keyring.gpg] https://packagecloud.io/AtomEditor/atom/any/ any main" | sudo tee /etc/apt/sources.list.d/atom.listImportant Note:
As of the publication date, this step may result in errors, rendering this method currently unusable. While it is technically feasible to install Atom without GPG verification, it is strongly discouraged due to potential security vulnerabilities. Skipping the GPG key verification means forfeiting essential security measures that ensure the authenticity and integrity of software packages. For a secure installation method, we recommend navigating to the Snap method section to proceed with installing Atom.
Step 4: Install Atom
With the repository added, you can now install Atom. Update your package list to include the new repository:
sudo apt updateThen, install Atom using the following command:
sudo apt install atom -yStep 5: Launch Atom
After installation, you can launch Atom from the terminal by typing:
atomAlternatively, you can find Atom in your applications menu.
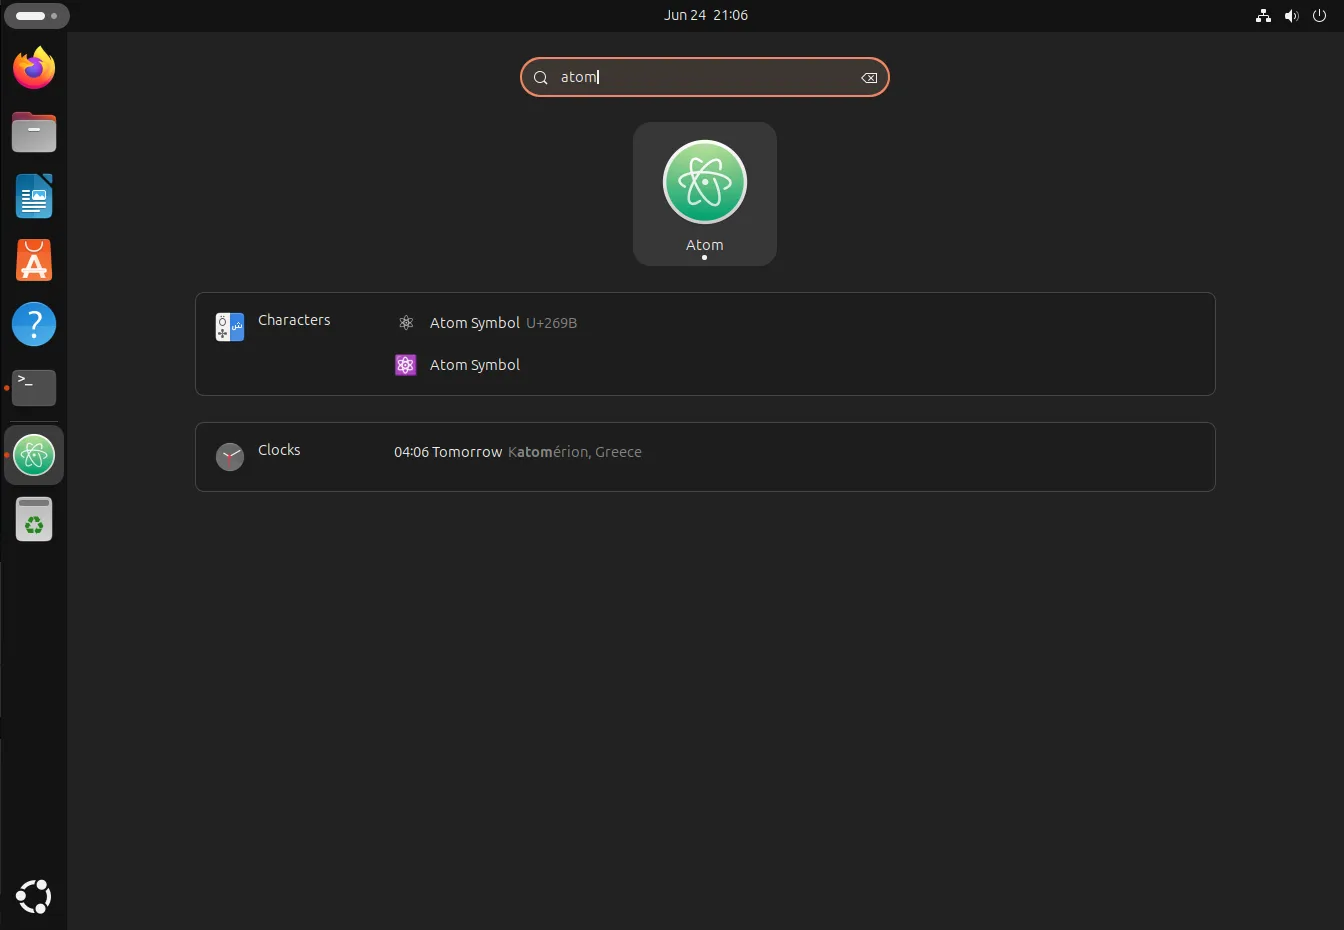
Photo by admingeek from Infotechys
Install Atom on Ubuntu 24.04: The Snap Method |
Step 1: Update Your System
Before installing any new software, it’s always a good idea to update your system:
sudo apt update -y && sudo apt upgrade -yStep 2: Install Snap (if not already installed)
Snap comes pre-installed on Ubuntu 24.04. However, if for some reason it’s not available on your system, you can install it by running:
sudo apt install snapd -yStep 3: Install Atom Using Snap
With Snap installed, you can now install Atom using the following command:
sudo snap install atom --classicatom 1.60.0 from Snapcrafters✪ installedThe --classic flag is necessary because Atom requires classic confinement to function properly.
Step 4: Launch Atom
After the installation is complete, you can launch Atom by typing:
atom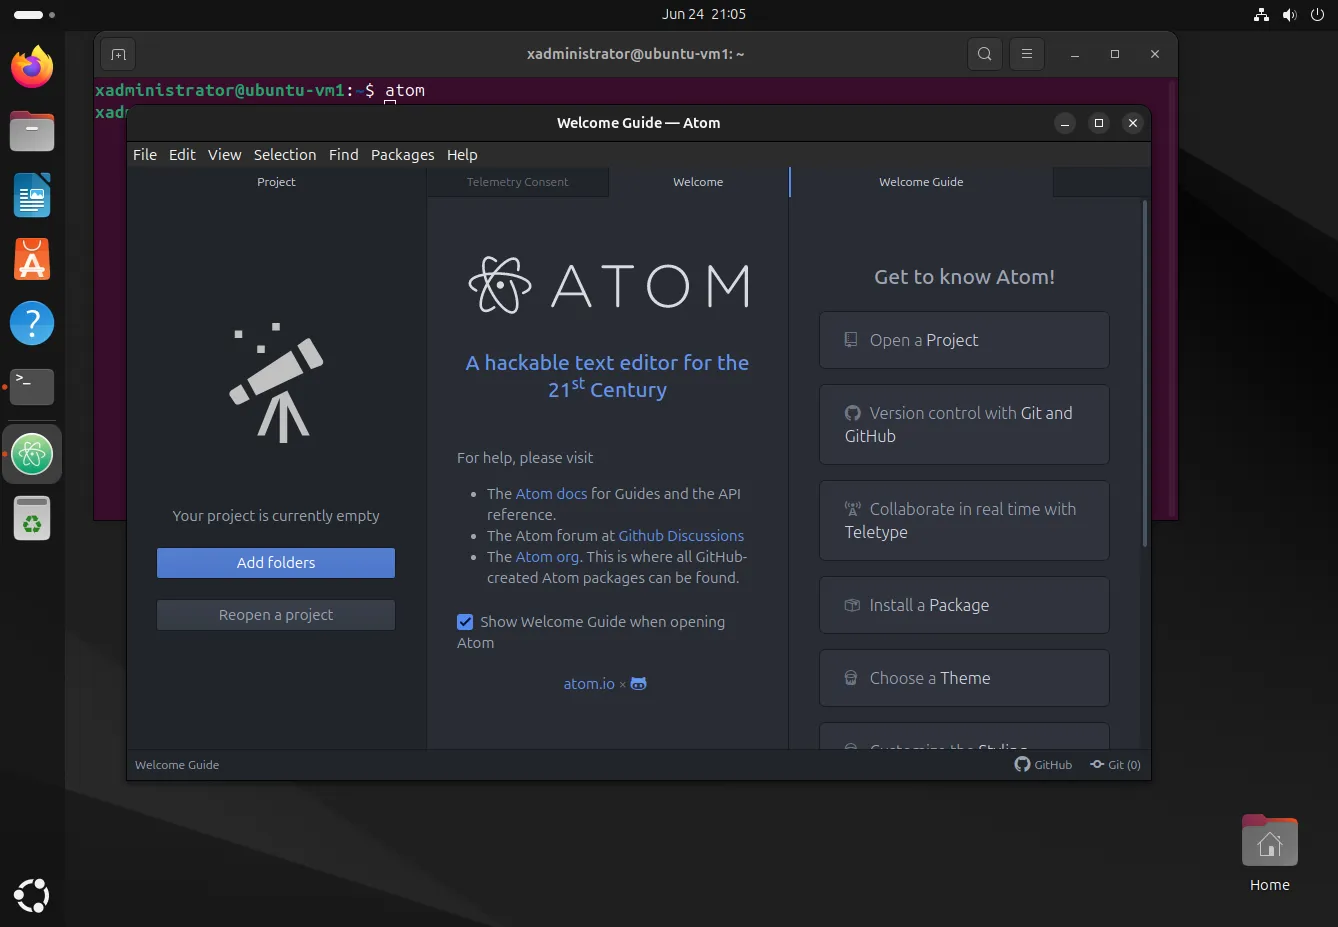
Photo by admingeek from Infotechys
Advantages of Using Snap
- Automatic Updates: Snaps are automatically updated, ensuring you always have the latest features and security patches.
- Isolation: Snaps run in an isolated environment, reducing the risk of system-wide issues.
- Cross-Distribution: Snaps work across different Linux distributions, making it easier to maintain consistency across different environments.
Step 6: Customize Atom
Once Atom is installed and running, you can start customizing it to suit your needs. Here are a few tips to get you started (Initially, you will need to start by clicking on the Install a Package button on the right-side of the Welcome screen [see image below] before proceeding with the following steps):
Install Packages: Atom’s functionality can be extended with packages. To install a package, go to
File > Settings > Installand search for the desired package. For instance, theminimappackage provides a visual map of your code.Choose Themes: Atom comes with several built-in themes, and you can install additional ones. Navigate to
File > Settings > Themesto browse and activate themes.Configure Settings: Atom allows extensive configuration through its settings panel. Access it via
File > Settingsto adjust options such as font size, keybindings, and more.
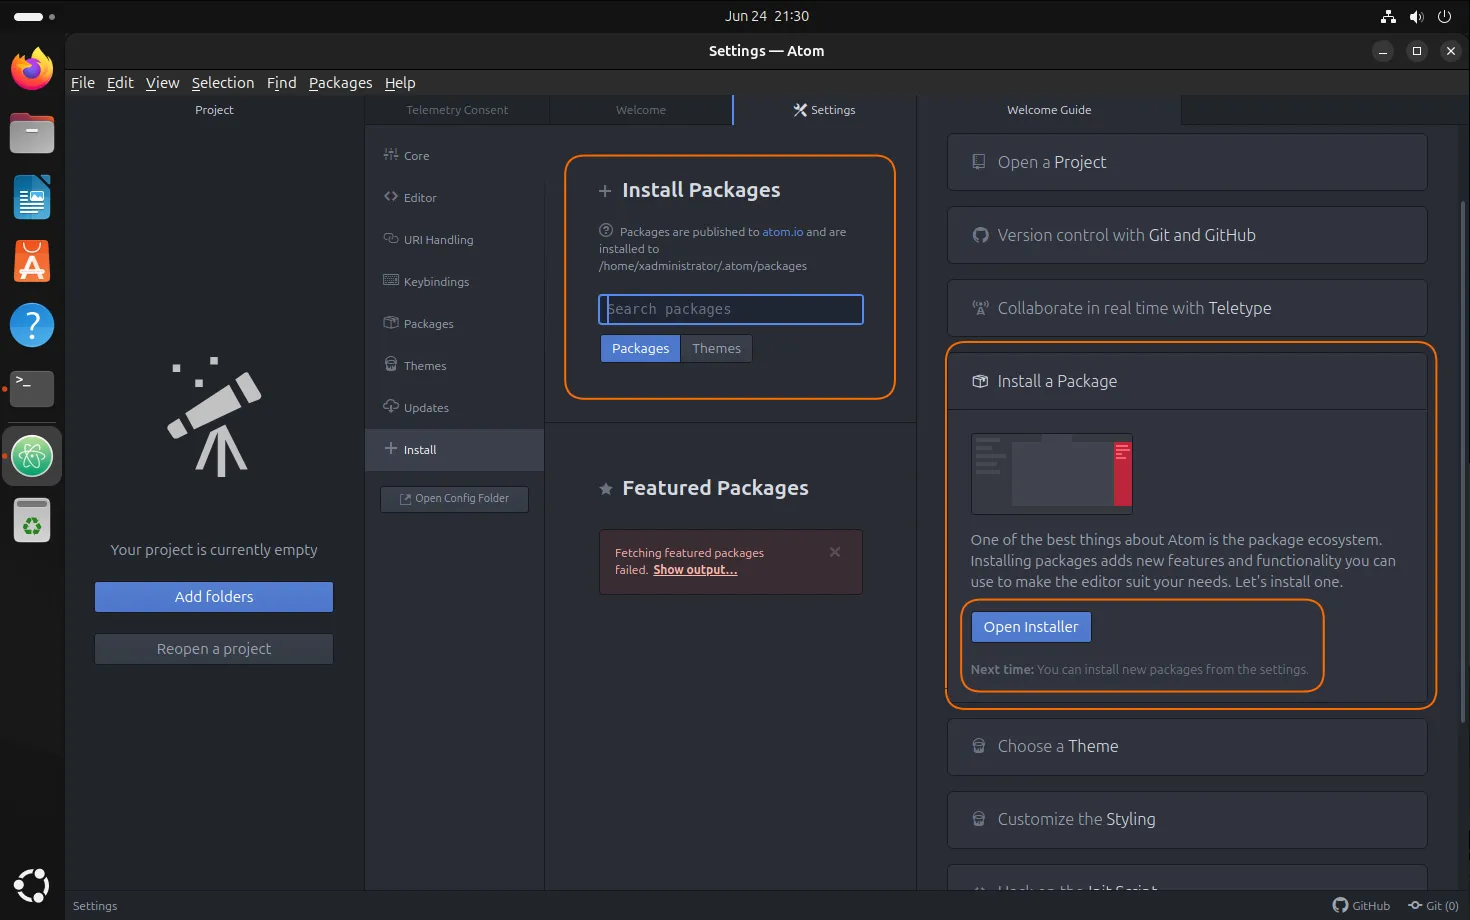
Photo by admingeek from Infotechys
Example of Useful Packages
Here is a table listing some popular Atom packages and their functionalities:
| Package Name | Description |
|---|---|
| minimap | Provides a preview of your code on the right side. |
| teletype | Enables real-time collaboration with other developers. |
| linter | Helps in identifying and fixing errors in your code. |
| git-plus | Integrates Git features directly into Atom. |
Troubleshooting Tips
| Problem | Solution |
|---|---|
| Snap installation fails | Ensure Snap is installed correctly. Reinstall Snap if necessary and try again. |
| Atom doesn’t launch | Check if the Snap service is running. Restart your system and try launching Atom again. |


No comments:
Post a Comment