Introduction
Data backup is an essential task for any computer user, and Deja Dup is one of the most user-friendly and efficient tools available for this purpose. Deja Dup provides a simple yet powerful way to automate your backups and secure your data. In this comprehensive guide, we will walk you through the process of installing Deja Dup on Ubuntu 24.04. By the end of this tutorial, you will have Deja Dup installed and configured, ensuring your data is safe and recoverable.
Why Choose Deja Dup?
Deja Dup offers several compelling features that make it an excellent choice for backup solutions:
|
Before we dive into the installation process, let’s make sure your system meets the necessary prerequisites.
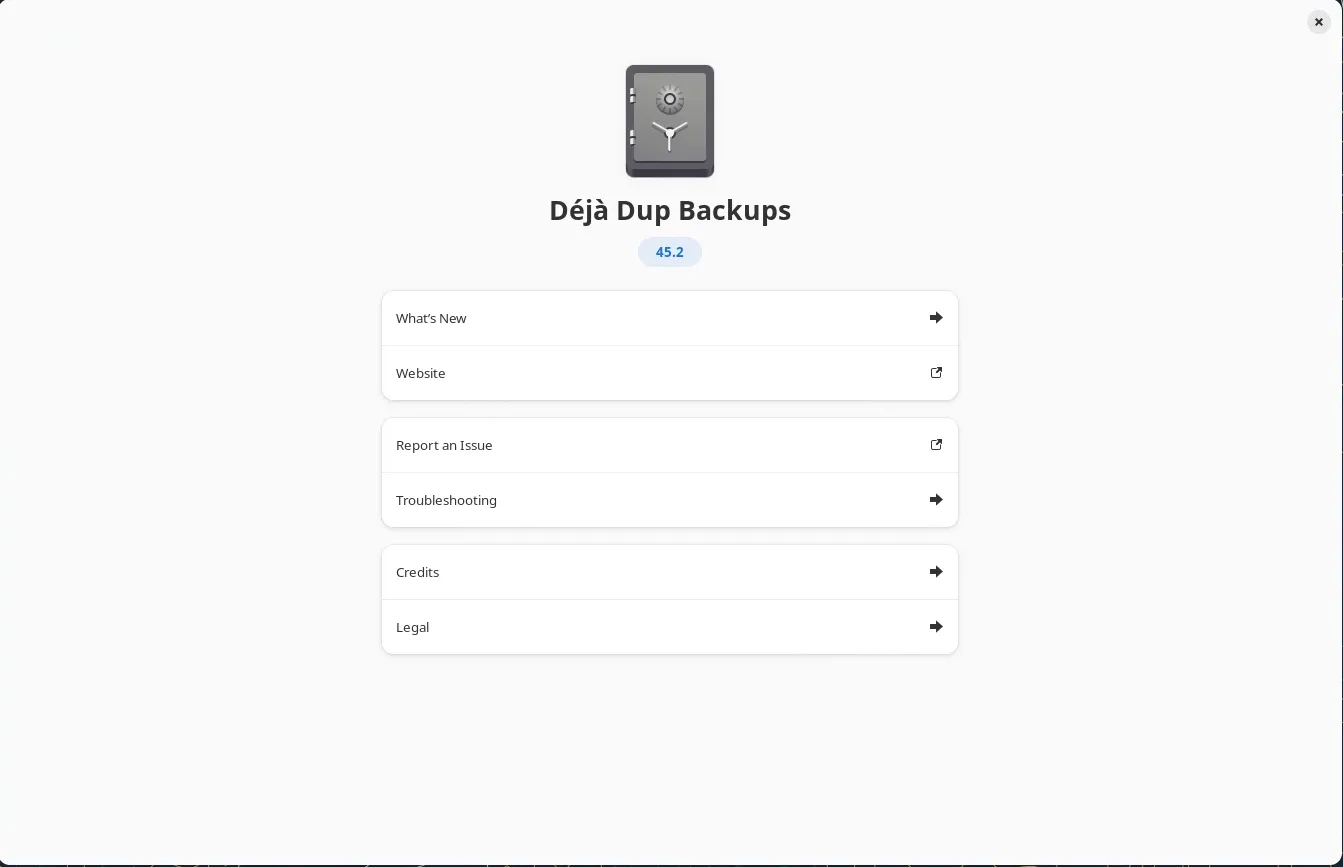
Photo by admingeek from Infotechys
Prerequisites
To install Deja Dup on Ubuntu 24.04, you will need:
|
With these prerequisites in place, let’s begin the installation process.
Install and Configure Deja Dup on Ubuntu 24.04: Step-by-Step Instructions
First, ensure your system is up-to-date. Open a terminal and run the following commands:
sudo apt update -y && sudo apt upgrade -yUpdating your system ensures that you have the latest security patches and software versions.
Step 1: Install Deja Dup |
Deja Dup is available in the default Ubuntu repositories. To install Deja Dup, run the following command:
sudo apt install deja-dup -yThis command installs Deja Dup along with its dependencies.
Step 2: Launch Deja Dup |
After installation, you can launch Deja Dup from the application menu or by typing deja-dup in the terminal. Upon first launch, you will be greeted with the main interface, where you can configure your backup settings.
deja-dup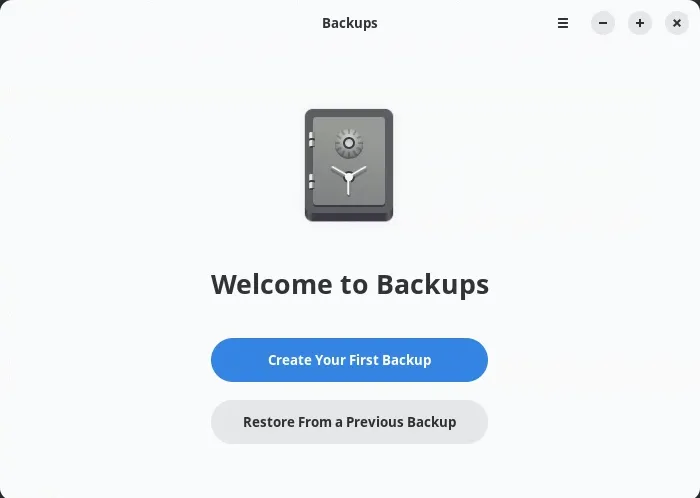
Photo by admingeek from Infotechys
Step 3: Configuring Deja Dup |
Configuring Deja Dup is straightforward. Follow these steps to set up your backups:
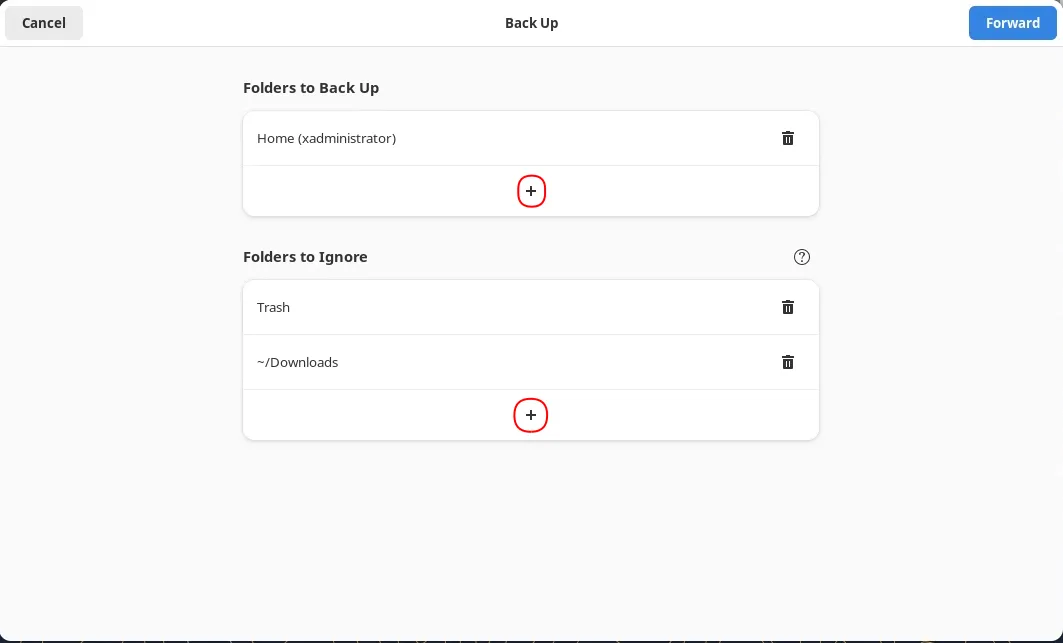
Photo by admingeek from Infotechys
- Your First Backup: Click the [Create Your First Backup] button to proceed. Next, a window will appear where you can choose which folders to include in your backup and which to exclude (By clicking the
+sign). Click the [Forward] button to continue.
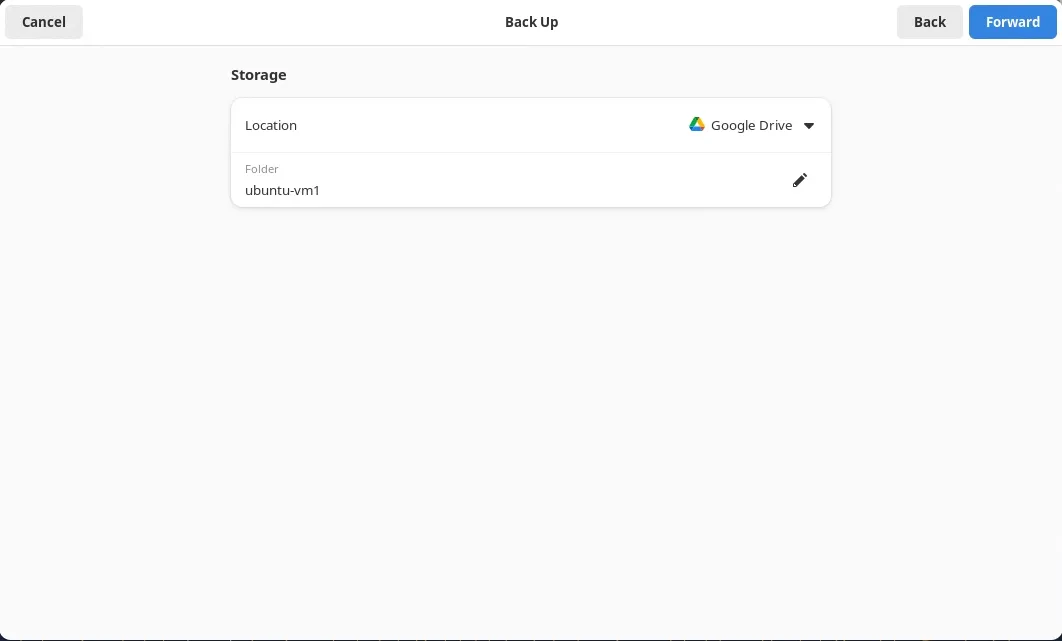
Photo by admingeek from Infotechys
- Choose a Backup Location: By default, Deja Dup will offer Google Drive as Destination for your backups. However, you can choose other options (e.g. external hard drive, network location, cloud storage):
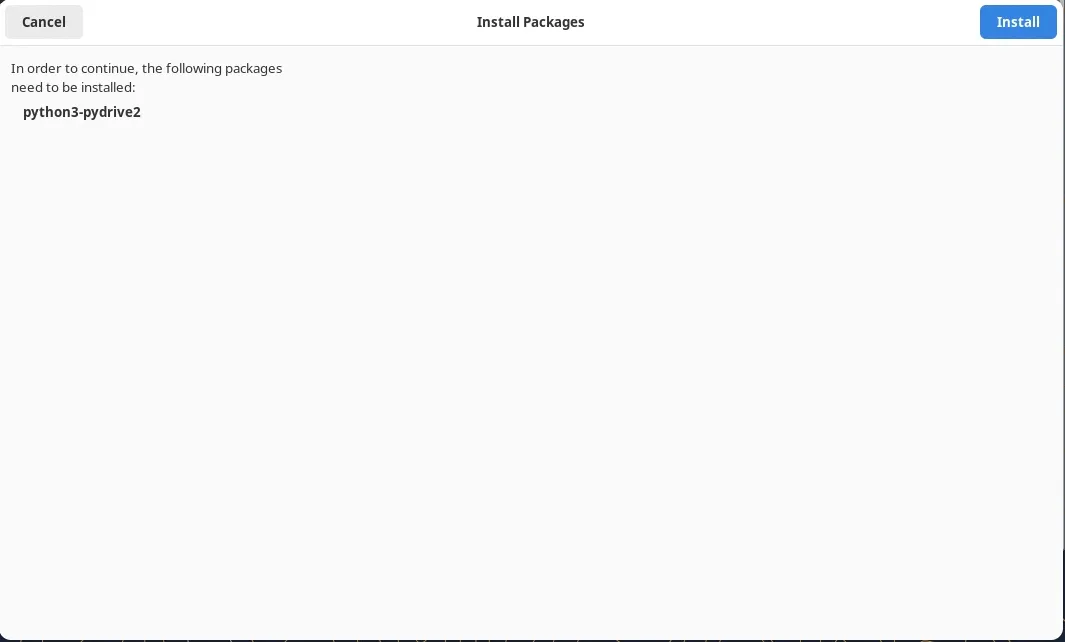
Photo by admingeek from Infotechys
- Install python3-pydrive2: To access the Google Drive via Deja Dup, you will need to Install the
python3-pydrive2package. Click the [Install] button to continue.
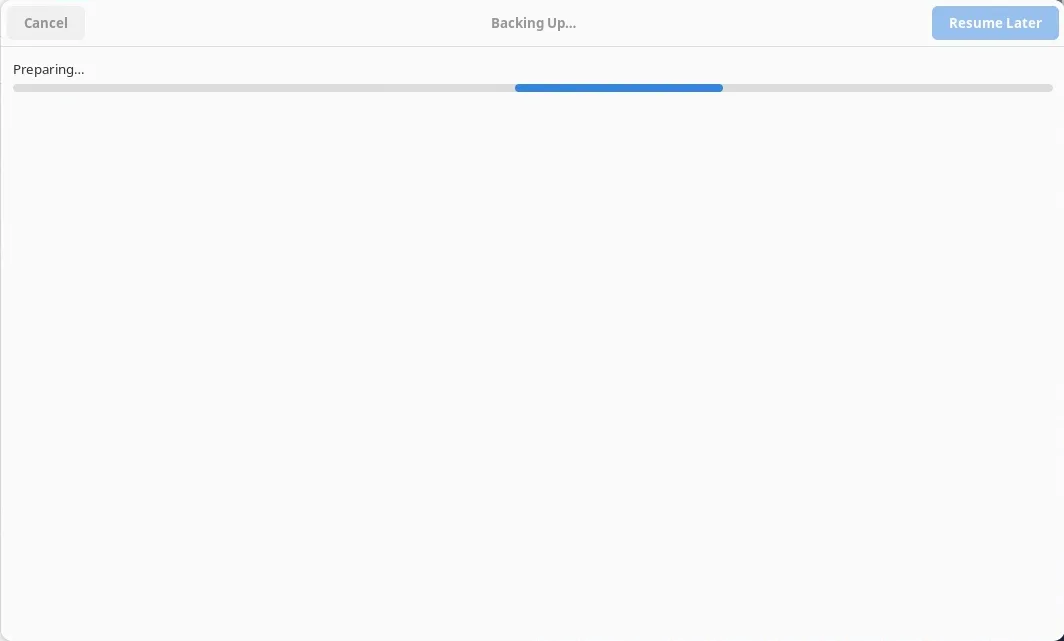
Photo by admingeek from Infotechys
- Initiate Google Drive Connection: The initial connection to Google Drive will begin, and Deja Dup will start preparing to back up your folders from your Ubuntu 24.04 machine to Google Drive.
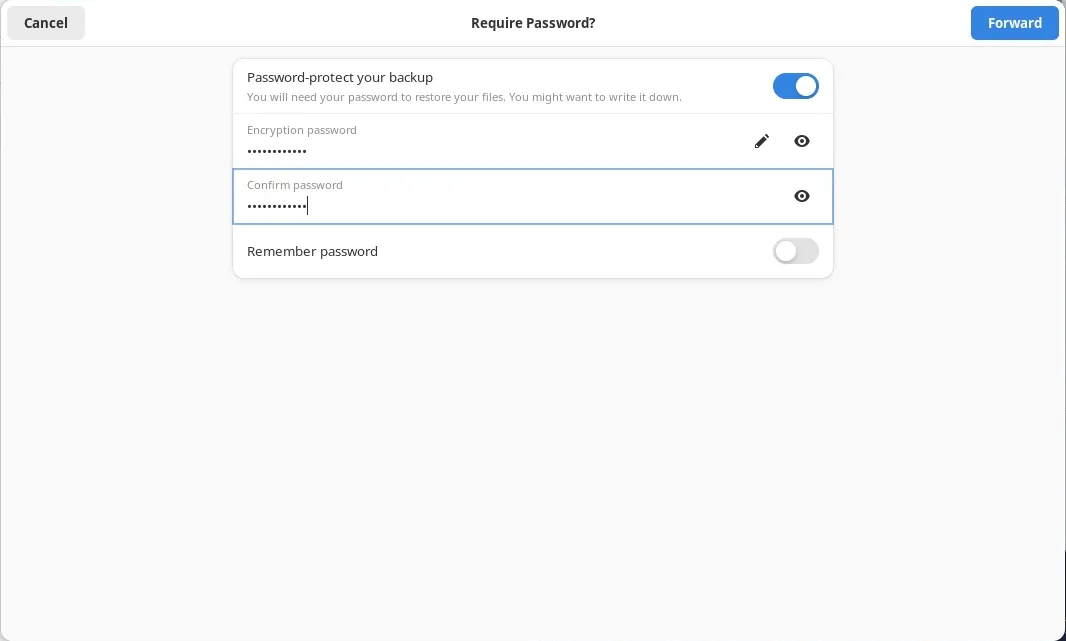
Photo by admingeek from Infotechys
- Encryption: Enable encryption to protect your backup data with a password.
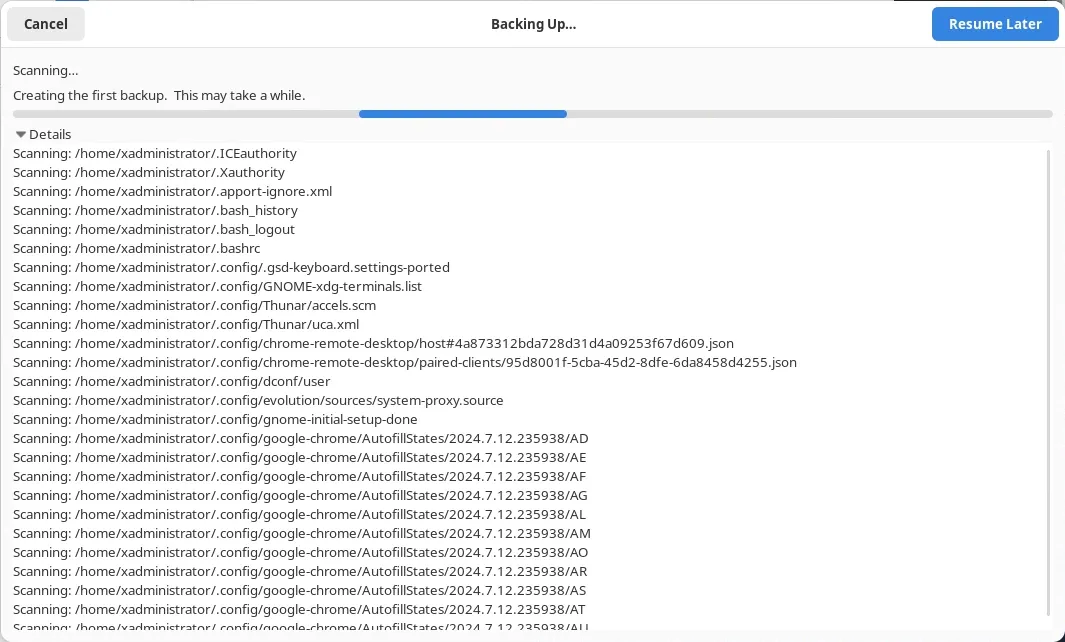
Photo by admingeek from Infotechys
The backup process will commence and could take a while to complete, depending on the size of your data and compute resources.
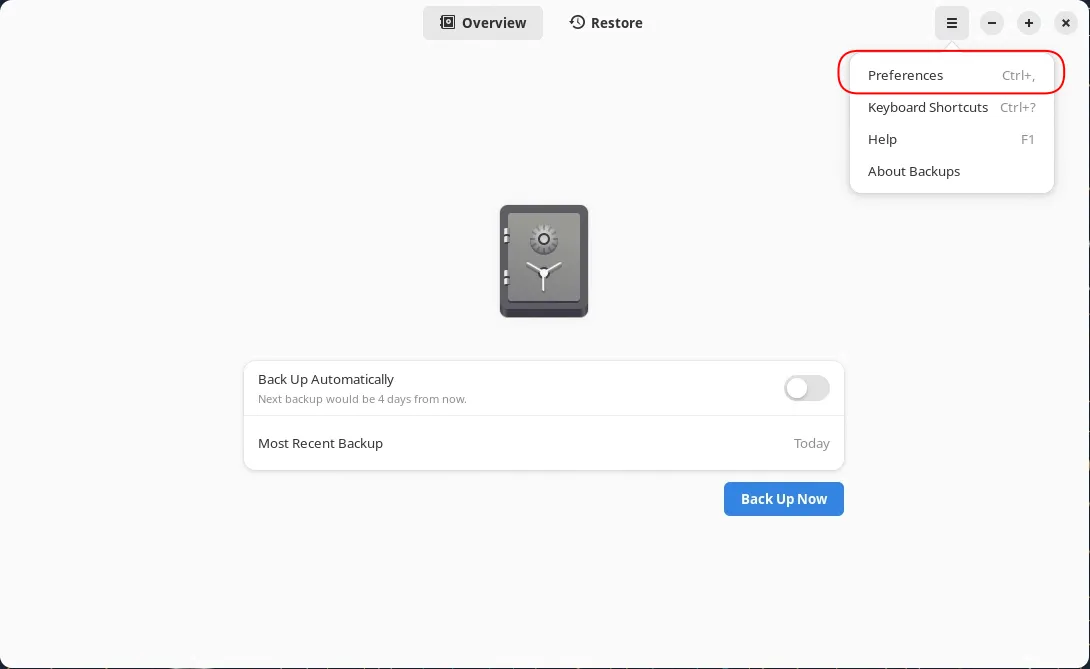
Photo by admingeek from Infotechys
When the backup completes, a window will appear showing the date of your most recent backup and providing the option to set up automatic backups. Additionally, clicking the preferences option will provide more settings, such as the frequency of automatic backups and the duration for keeping backups.
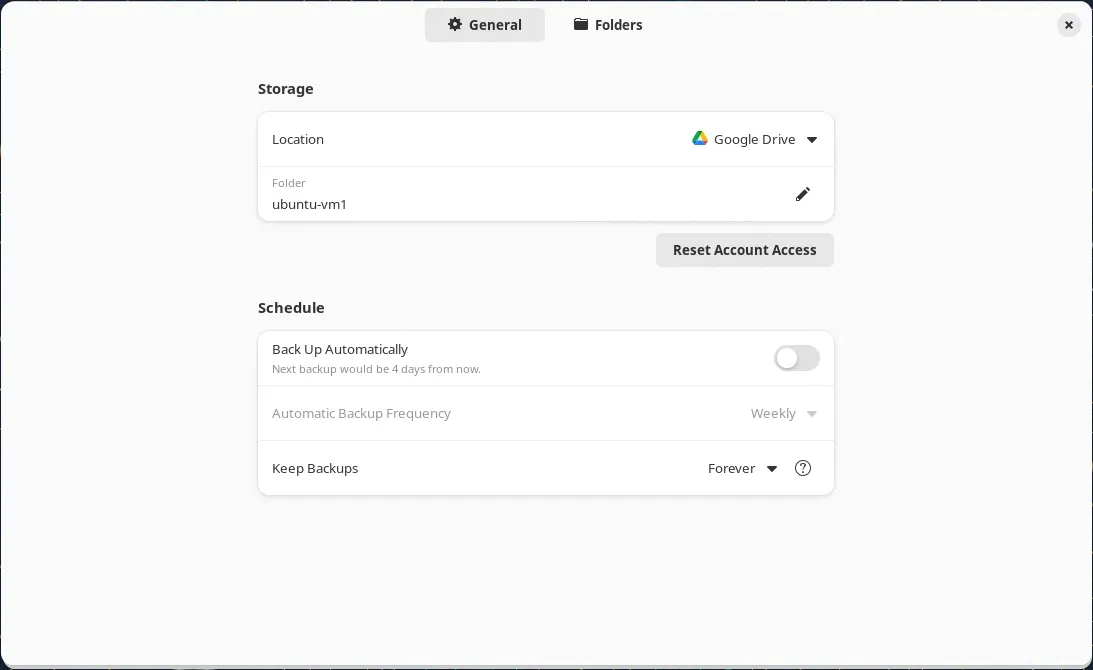
Photo by admingeek from Infotechys
Verify Backups: You can verify that the backups were successful by logging into your Google Drive.
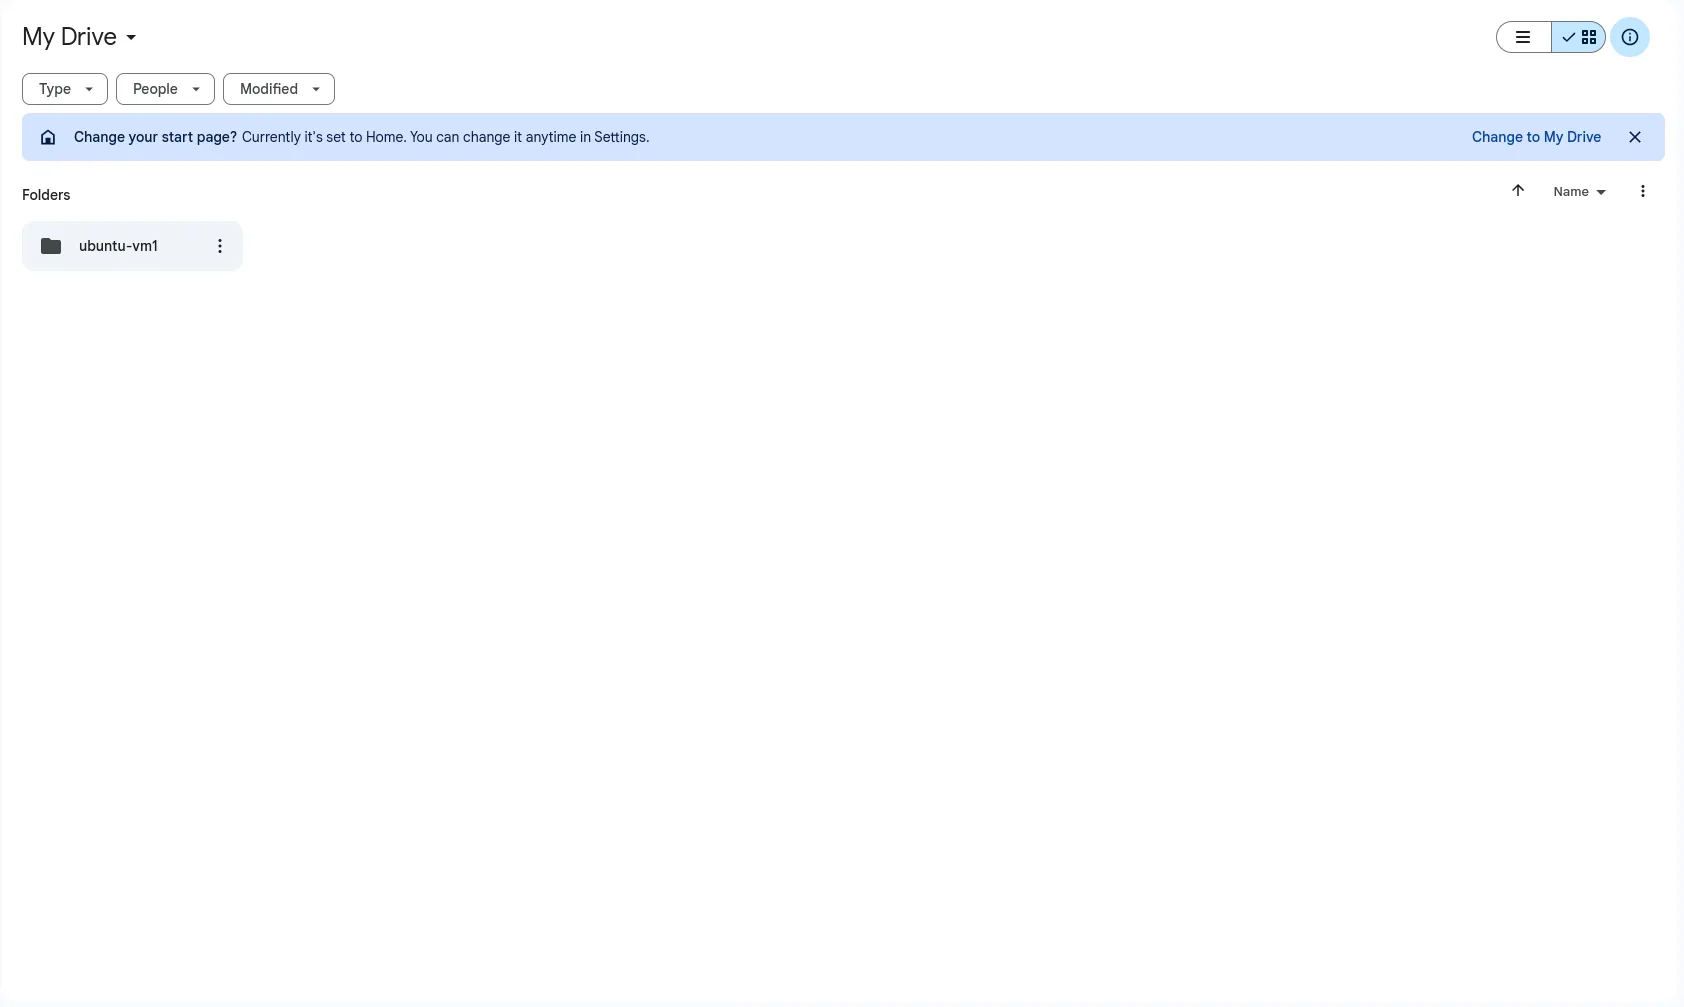
Photo by admingeek from Infotechys
Summary: Backup Schedule Configuration
| Setting | Option | Description |
|---|---|---|
| Storage Location | Local Folder | Choose your external hard drive |
| Scheduling | Weekly | Set backups to occur every week |
| Folders | /home/user/documents | Include the Documents directory |
| Encryption | Enabled | Protect backups with a password |
Install and Configure Deja Dup on Ubuntu 24.04: CLI Method
For users who prefer the command line, Deja Dup can also be managed via Duplicity, the backend engine that Deja Dup uses. Here’s how to install and configure backups using the CLI method.
Step 1: Install Duplicity |
First, ensure that Duplicity is installed on your system. You can do this by running:
sudo apt install duplicity -yStep 2: Perform a Backup |
To perform a backup using Duplicity, use the following command:
duplicity /source/directory file:///destination/directoryFor example, to back up the Documents directory to an external drive mounted at /mnt/external, use:
duplicity /home/user/Documents file:///mnt/external/backupStep 3: Schedule Backups with Cron |
Automate your backups by scheduling them with Cron. Open the Cron configuration file with:
crontab -eAdd a line to schedule the backup. For a weekly backup at midnight on Sundays, add:
0 0 * * 0 duplicity /home/user/Documents file:///mnt/external/backupStep 4: Restoring Data |
To restore data using Duplicity, use the following command:
duplicity restore file:///destination/directory /restore/directoryFor example, to restore the backup from the external drive to the Documents directory, use:
duplicity restore file:///mnt/external/backup /home/user/DocumentsSummary: CLI Backup and Restore Commands
| Operation | Command |
|---|---|
| Backup | duplicity /source/directory file:///destination/directory |
| Restore | duplicity restore file:///destination/directory /restore/directory |
| Schedule Backup | 0 0 * * 0 duplicity /home/user/Documents file:///mnt/external/backup (add to crontab -e) |
Monitoring Backups
Deja Dup provides notifications for backup operations. Additionally, you can check the status of your backups through the Deja Dup interface. Regularly monitoring your backups ensures they are running as expected and allows you to address any issues promptly.
Restoring Data (GUI Method) |
Restoring data with Deja Dup is as simple as creating backups. Follow these steps to restore your files:
|
Backup Best Practices |
To ensure your backups are effective and reliable, follow these best practices:
|


No comments:
Post a Comment