Introduction
PostgreSQL is a powerful, open-source relational database system that has earned a strong reputation for reliability, feature robustness, and performance. Whether you’re setting up a development environment or preparing a production server, understanding how to install and configure PostgreSQL on RHEL 9 or CentOS 9 is essential. This guide will walk you through the entire process step-by-step.
Prerequisites
Before diving into the installation, ensure your system meets the following prerequisites:
|
Install and Configure PostgreSQL on RHEL 9: Step-by-Step Instructions
Relational databases are a cornerstone of many applications, and PostgreSQL stands out due to its advanced features and compliance with SQL standards. In this guide, we will cover the installation and configuration of PostgreSQL on two popular Linux distributions: RHEL 9 and CentOS 9. To install PostgreSQL, follow these steps:
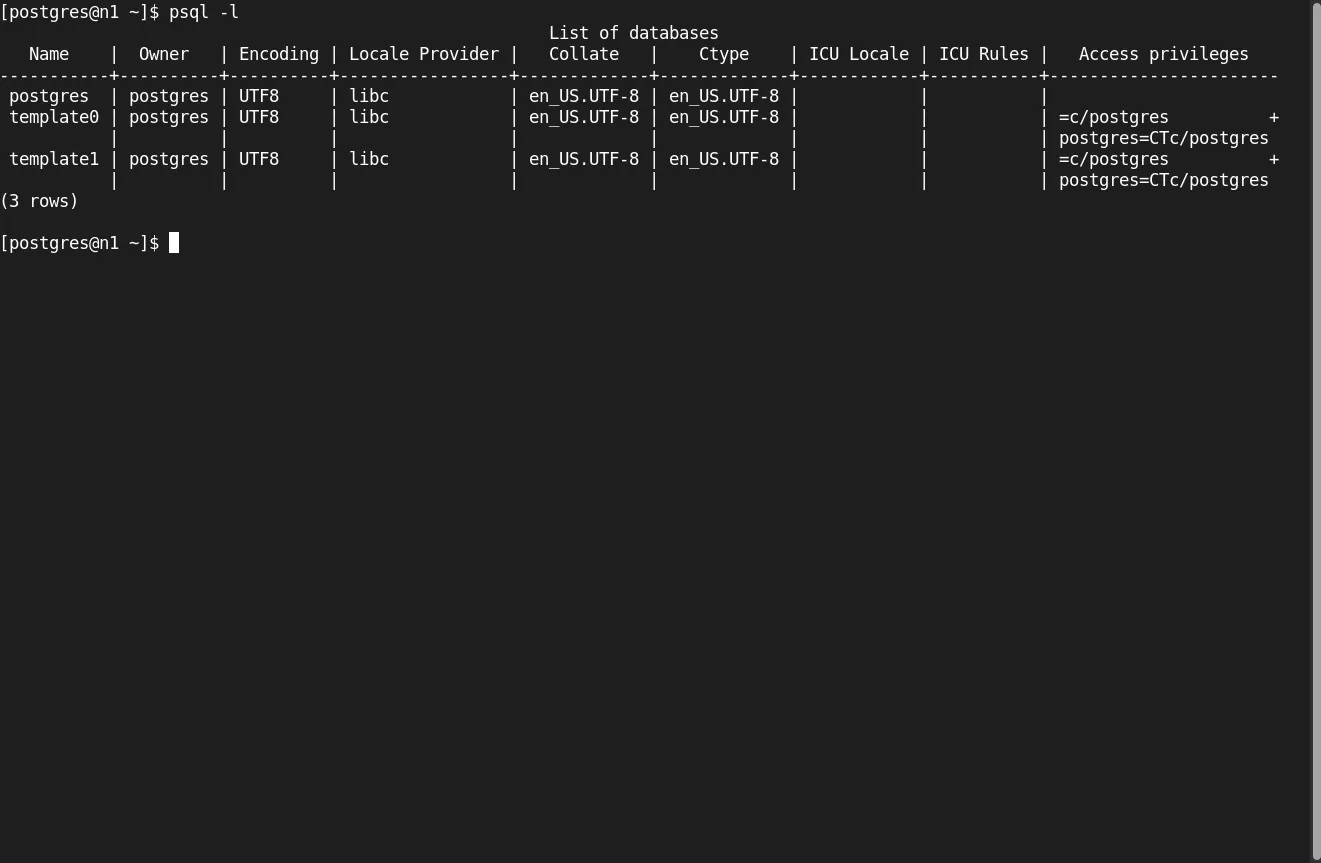
Photo by admingeek from Infotechys
Step 1: Update the System |
First, update your system packages to the latest versions:
sudo dnf update -yStep 2: Add PostgreSQL Repository |
Next, add the PostgreSQL repository to your system. This ensures you get the latest version of PostgreSQL.
sudo dnf install -y https://download.postgresql.org/pub/repos/yum/reporpms/EL-9-x86_64/pgdg-redhat-repo-latest.noarch.rpmStep 3: Disable the Built-in PostgreSQL Module |
RHEL 9 and CentOS 9 come with a default PostgreSQL module that might not be the latest version. Disable it before proceeding.
sudo dnf -qy module disable postgresqlImporting GPG key 0x08B40D20:
Userid : "PostgreSQL RPM Repository <pgsql-pkg-yum@lists.postgresql.org>"
Fingerprint: D4BF 08AE 67A0 B4C7 A1DB CCD2 40BC A2B4 08B4 0D20
From : /etc/pki/rpm-gpg/PGDG-RPM-GPG-KEY-RHELStep 4: Install PostgreSQL |
As of the date of this publication, the latest version of Postgres is version 16. We will proceed with this version of Postgres. However, if you want to install a previous version, you can replace the command below with the version number. Now, install PostgreSQL using the following command:
sudo dnf install -y postgresql16-serverStep 5: Initialize the Database |
Initialize the PostgreSQL database to set it up for first-time use:
sudo /usr/pgsql-16/bin/postgresql-16-setup initdbInitializing database ... OKInstall and Configure PostgreSQL on RHEL 9: Initial Configuration
With PostgreSQL installed, some initial configuration steps are necessary.
Step 1: Configure PostgreSQL to Start on Boot |
Enable PostgreSQL to start automatically when the system boots up:
sudo systemctl enable postgresql-16Created symlink /etc/systemd/system/multi-user.target.wants/postgresql-16.service → /usr/lib/systemd/system/postgresql-16.service.Step 2: Start PostgreSQL Service |
Start the PostgreSQL service with the following command:
sudo systemctl start postgresql-16Verify the postgresql service is running:
sudo systemctl status postgresql-16● postgresql-16.service - PostgreSQL 16 database server
Loaded: loaded (/usr/lib/systemd/system/postgresql-16.service; enabled; preset: disabled)
Active: active (running) since Wed 2024-07-17 22:56:36 EDT; 5s ago
Docs: https://www.postgresql.org/docs/16/static/
Process: 7999 ExecStartPre=/usr/pgsql-16/bin/postgresql-16-check-db-dir ${PGDATA} (code=exited, status=0/SUCCESS)
Main PID: 8004 (postgres)
Tasks: 7 (limit: 23155)
Memory: 17.3M
CPU: 68ms
CGroup: /system.slice/postgresql-16.service
├─8004 /usr/pgsql-16/bin/postgres -D /var/lib/pgsql/16/data/
├─8005 "postgres: logger "
├─8006 "postgres: checkpointer "
├─8007 "postgres: background writer "
├─8009 "postgres: walwriter "
├─8010 "postgres: autovacuum launcher "
└─8011 "postgres: logical replication launcher "
...omitted for brevity...Step 3: Set Up Firewall Rules |
Configure your server’s firewall to allow PostgreSQL traffic:
sudo firewall-cmd --add-service=postgresql --permanentsudo firewall-cmd --reloadCreating a Database and User
PostgreSQL uses roles to handle authentication and authorization. Here’s how to create a new role and database.
Step 1: Switch to the PostgreSQL User |
Switch to the PostgreSQL user to access the PostgreSQL prompt:
sudo -i -u postgresStep 2: Create a New Database |
Create a new database by running:
sudo -i -u postgresStep 3: Create a New User |
Create a new user and set a password:
psql -c "CREATE USER myuser WITH PASSWORD 'mypassword';"Step 4: Grant Privileges |
Grant all privileges on the new database to the new user:
psql -c "GRANT ALL PRIVILEGES ON DATABASE mydb TO myuser;"Table of Commands
| Command | Description |
|---|---|
sudo dnf update -y | Update system packages |
sudo dnf install -y pgdg-redhat-repo | Add PostgreSQL repository |
sudo dnf -qy module disable postgresql | Disable built-in PostgreSQL module |
sudo dnf install -y postgresql16-server | Install PostgreSQL |
sudo /usr/pgsql-16/bin/postgresql-16-setup initdb | Initialize the database |
sudo systemctl enable postgresql-16 | Enable PostgreSQL to start on boot |
sudo systemctl start postgresql-16 | Start PostgreSQL service |
sudo firewall-cmd --add-service=postgresql --permanent | Allow PostgreSQL through firewall |
sudo firewall-cmd --reload | Reload firewall |
sudo -i -u postgres | Switch to PostgreSQL user |
createdb mydb | Create a new database |
psql -c "CREATE USER myuser WITH PASSWORD 'mypassword';" | Create a new user |
psql -c "GRANT ALL PRIVILEGES ON DATABASE mydb TO myuser;" | Grant privileges to user |
Configuring Remote Access
By default, PostgreSQL only allows connections from the local machine. To enable remote access, modify the configuration files.
Step 1: Edit |
Open the pg_hba.conf file:
sudo vim /var/lib/pgsql/16/data/pg_hba.confAdd the following line to allow remote access:
host all all 0.0.0.0/0 md5Step 2: Edit |
Open the postgresql.conf file:
sudo vim /var/lib/pgsql/16/data/postgresql.confUncomment and set the listen_addresses line:
listen_addresses = '*'Step 3: Restart PostgreSQL Service |
Restart PostgreSQL to apply the changes:
sudo systemctl restart postgresql-16Starting and Enabling PostgreSQL Service
To ensure PostgreSQL runs smoothly, make sure the service is both started and enabled.
sudo systemctl enable --now postgresql-16Verifying the Installation
Finally, verify that PostgreSQL is running correctly.
sudo systemctl status postgresql-16Test Database Connection |
Connect to the PostgreSQL database using the psql command-line tool:
psql -U myuser -d mydb -h localhost -WYou will be prompted to enter the password. Once connected, you should see the PostgreSQL prompt.


No comments:
Post a Comment