Introduction
Are you eager to set up GitLab CE on your RHEL 9 or CentOS 9 system? Great choice! GitLab is a robust platform for managing your Git repositories, CI/CD pipelines, and much more—all in one place. In this guide, we’ll walk you through the installation process step by step, ensuring a smooth setup on your Red Hat Enterprise Linux or CentOS environment.
Prerequisites
Before diving into the installation, let’s ensure we have all the necessary prerequisites:
- Access to a RHEL 9 or CentOS 9 system with administrative privileges.
- A stable internet connection to download the required packages.
- Basic familiarity with the command line interface.
We’ve configured our RHEL 9 instance with the following settings:
| Hostname | gitlab.naijalabs.net |
| IP address | 192.168.1.24 |
| RAM | 8 GB |
| Cores | 2 |
Install GitLab CE on RHEL 9: Installation Guide
Step 1: Update System Packages |
First things first, let’s ensure our system packages are up to date. Open your terminal and execute the following command:
sudo dnf updateThis command will update all the packages to their latest versions, ensuring compatibility and security patches are in place.
Step 2: Install Dependencies |
GitLab has a few dependencies that need to be installed. Use the following command to install them:
sudo dnf install -y curl policycoreutils openssh-server openssh-clientsStep 3: Install GitLab CE Repositories |
Now it’s time to install the GitLab CE repositories on your system. Run the following command:
curl -sS https://packages.gitlab.com/install/repositories/gitlab/gitlab-ce/script.rpm.sh | sudo bashStep 4: Install GitLab CE Package |
Once the repository is added, install GitLab CE using DNF:
sudo dnf install -y gitlab-ce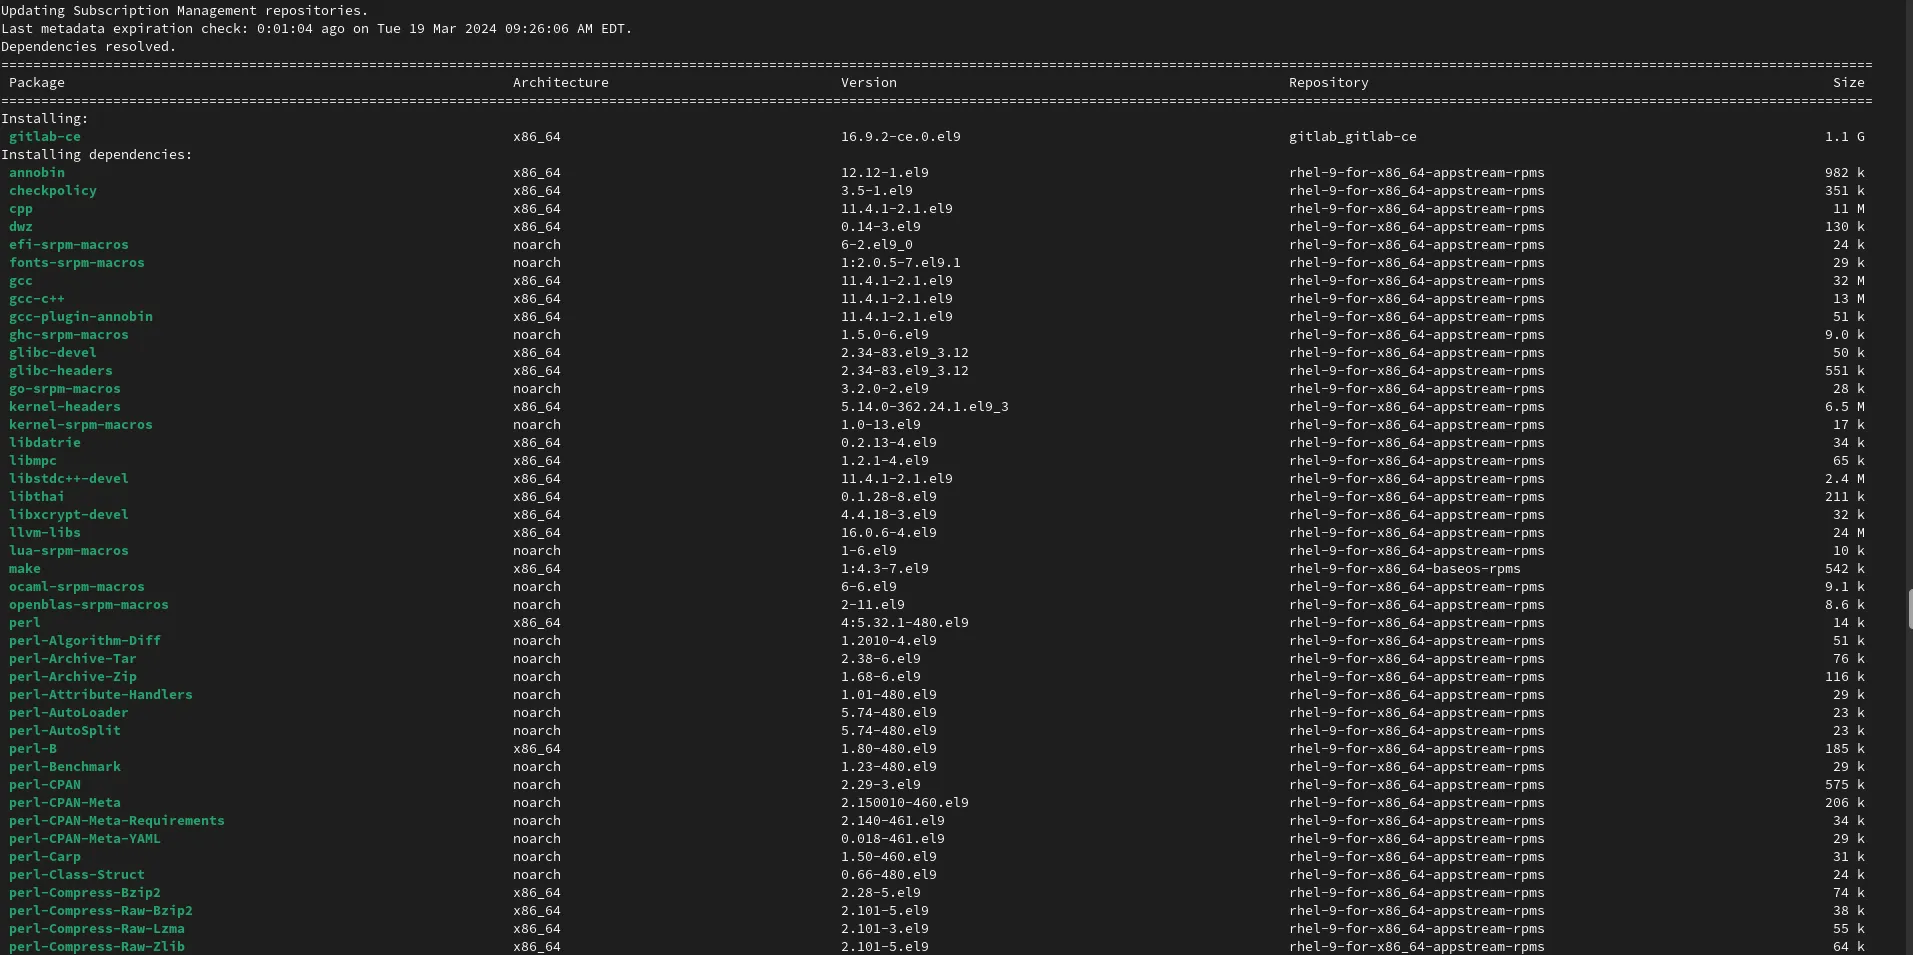
Photo by admingeek from Infotechys
Step 5: Configure GitLab |
After installation, we need to configure GitLab. Open the GitLab configuration file using your preferred text editor. Here, we’ll use Vim:
sudo vim /etc/gitlab/gitlab.rbWithin this file, you can configure various settings according to your preferences, such as external URL, SMTP settings, and more. Make necessary changes, then save and close the file.
## GitLab URL
##! URL on which GitLab will be reachable.
##! For more details on configuring external_url see:
##! https://docs.gitlab.com/omnibus/settings/configuration.html#configuring-the-external-url-for-gitlab
##!
##! Note: During installation/upgrades, the value of the environment variable
##! EXTERNAL_URL will be used to populate/replace this value.
##! On AWS EC2 instances, we also attempt to fetch the public hostname/IP
##! address from AWS. For more details, see:
##! https://docs.aws.amazon.com/AWSEC2/latest/UserGuide/instancedata-data-retrieval.html
external_url 'http://localhost:7000'We’ve adjusted the TCP port for HTTP to 7000 to align with security best practices. In the subsequent sections, we’ll delve into implementing SSL/TLS on the GitLab server using Nginx as a proxy.
Step 6: Reconfigure GitLab |
After modifying the configuration, reconfigure GitLab to apply the changes:
sudo gitlab-ctl reconfigureOpen firewalld ports
Execute the following command(s) to confirm that ports 80, 443, and 7000 are accessible for inbound and outbound traffic:
sudo firewall-cmd --add-port=80/tcp --add-port=443/tcp --add-port=7000/tcp --permanent; sudo firewall-cmd --reloadStep 7: Access GitLab |
Once the reconfiguration is complete, you can access GitLab via your web browser. Simply navigate to the URL you specified in the configuration file (e.g., http://localhost:7000 or server-IP-address:7000).
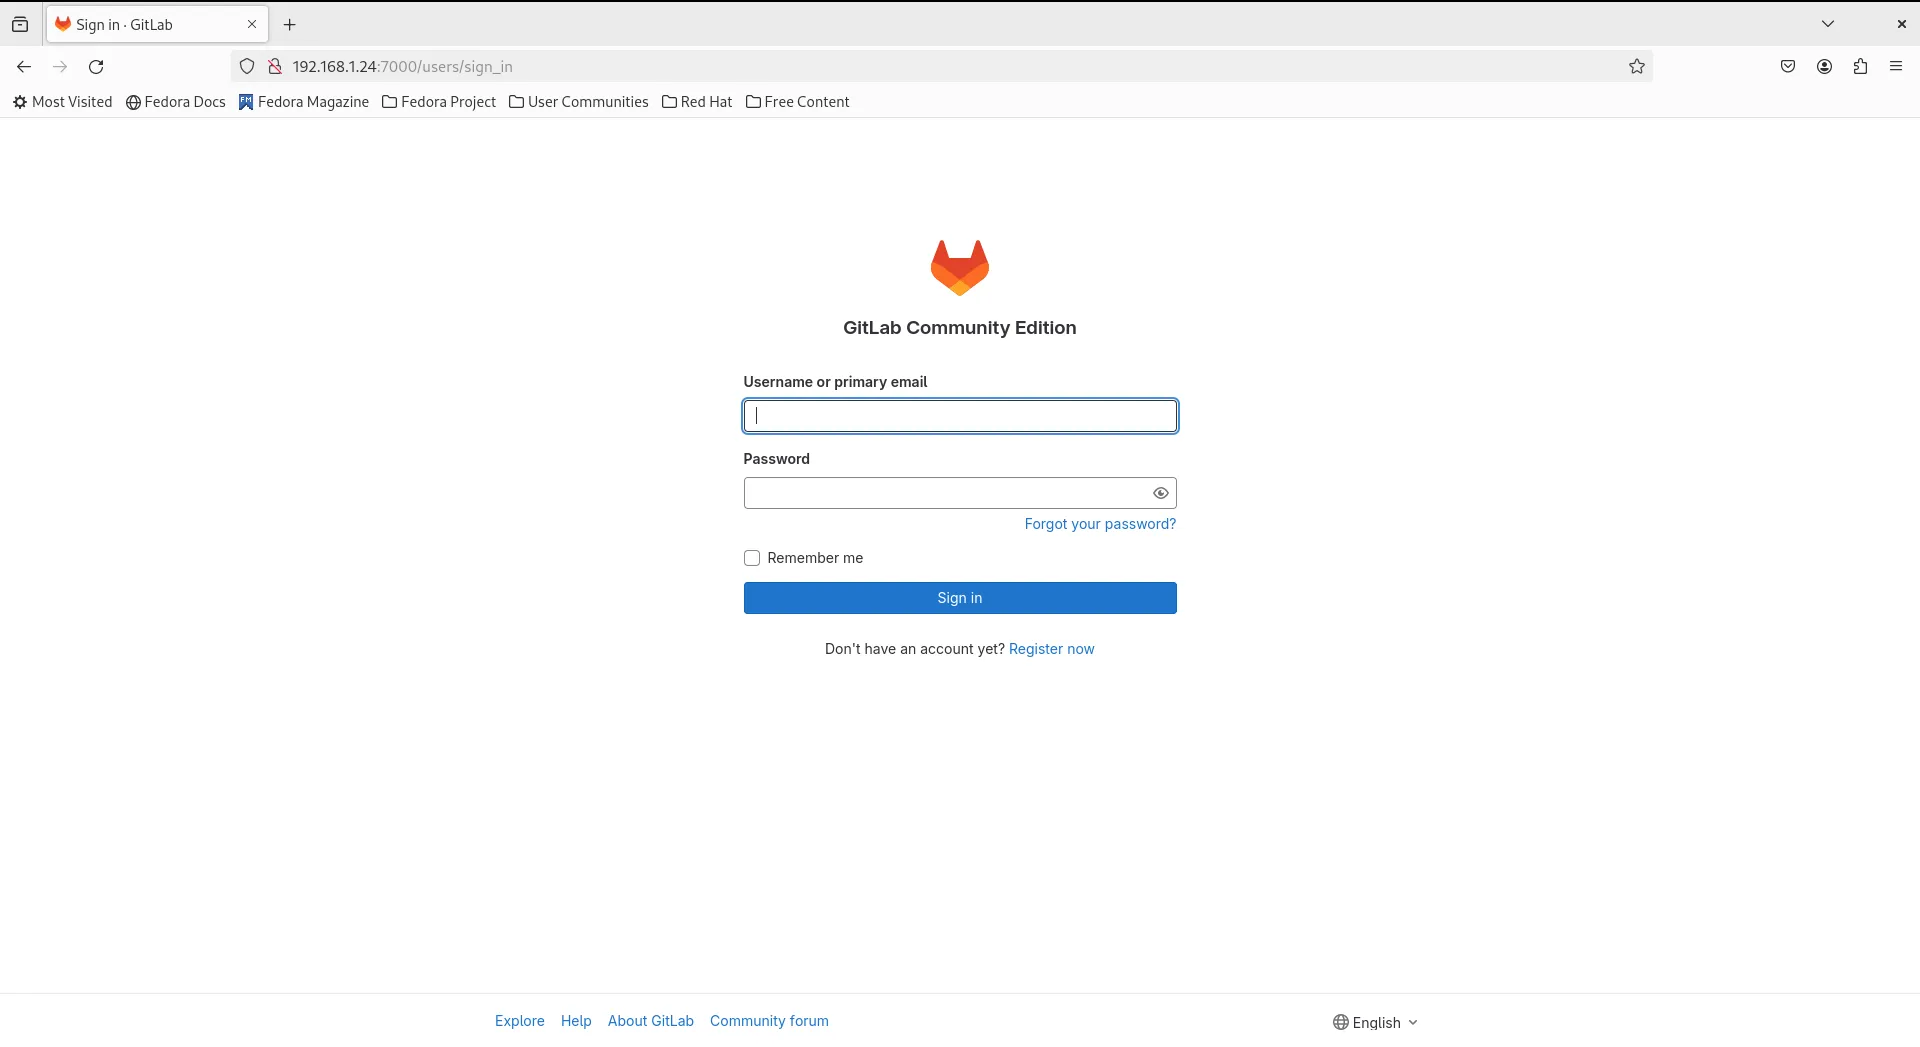
Photo by admingeek from Infotechys
Step 8: Implement SSL/TLS using Nginx |
Let’s enhance the security of our GitLab server by enabling SSL with Nginx as a Proxy. Before proceeding, ensure that your machine possesses the necessary SSL certificate and key files, which should be securely copied into their designated location. In our configuration, we’re utilizing Letsencrypt, and these files are typically located at /etc/letsencrypt/live/.
Install Nginx
Install Nginx with the following command:
sudo dnf -y install nginxCreate a gitlab.conf file to setup nginx as proxy:
sudo vim /etc/nginx/conf.d/gitlab.confCopy and paste the following content into the file. Then, save and exit the file.
server {
        listen      80;
        listen      [::]:80;
        listen      443 ssl http2;
        listen      [::]:443 ssl http2;
        server_name gitlab.naijalabs.net;

        ssl_certificate "/etc/letsencrypt/live/naijalabs.net/fullchain.pem";
        ssl_certificate_key "/etc/letsencrypt/live/naijalabs.net/privkey.pem";
        ssl_session_cache shared:SSL:1m;
        ssl_session_timeout  10m;

        proxy_redirect      off;
        proxy_set_header    X-Real-IP $remote_addr;
        proxy_set_header    X-Forwarded-For $proxy_add_x_forwarded_for;
        proxy_set_header    Host $http_host;

        location / {
                proxy_pass http://localhost:7000;
        }
}💡NOTE: Ensure the paths to |
Start and enable Nginx
Run the following commands to start Nginx and enable it to autostart on boot:
sudo systemctl daemon-reload; sudo systemctl enable --now nginxTo enable network communications between Nginx and GitLab, execute the following commands to adjust the SELinux Boolean accordingly.
sudo setsebool -P httpd_can_network_connect 1; sudo setsebool -P nis_enabled 1Well done! Your GitLab CE instance is now secure and accessible over HTTPS!
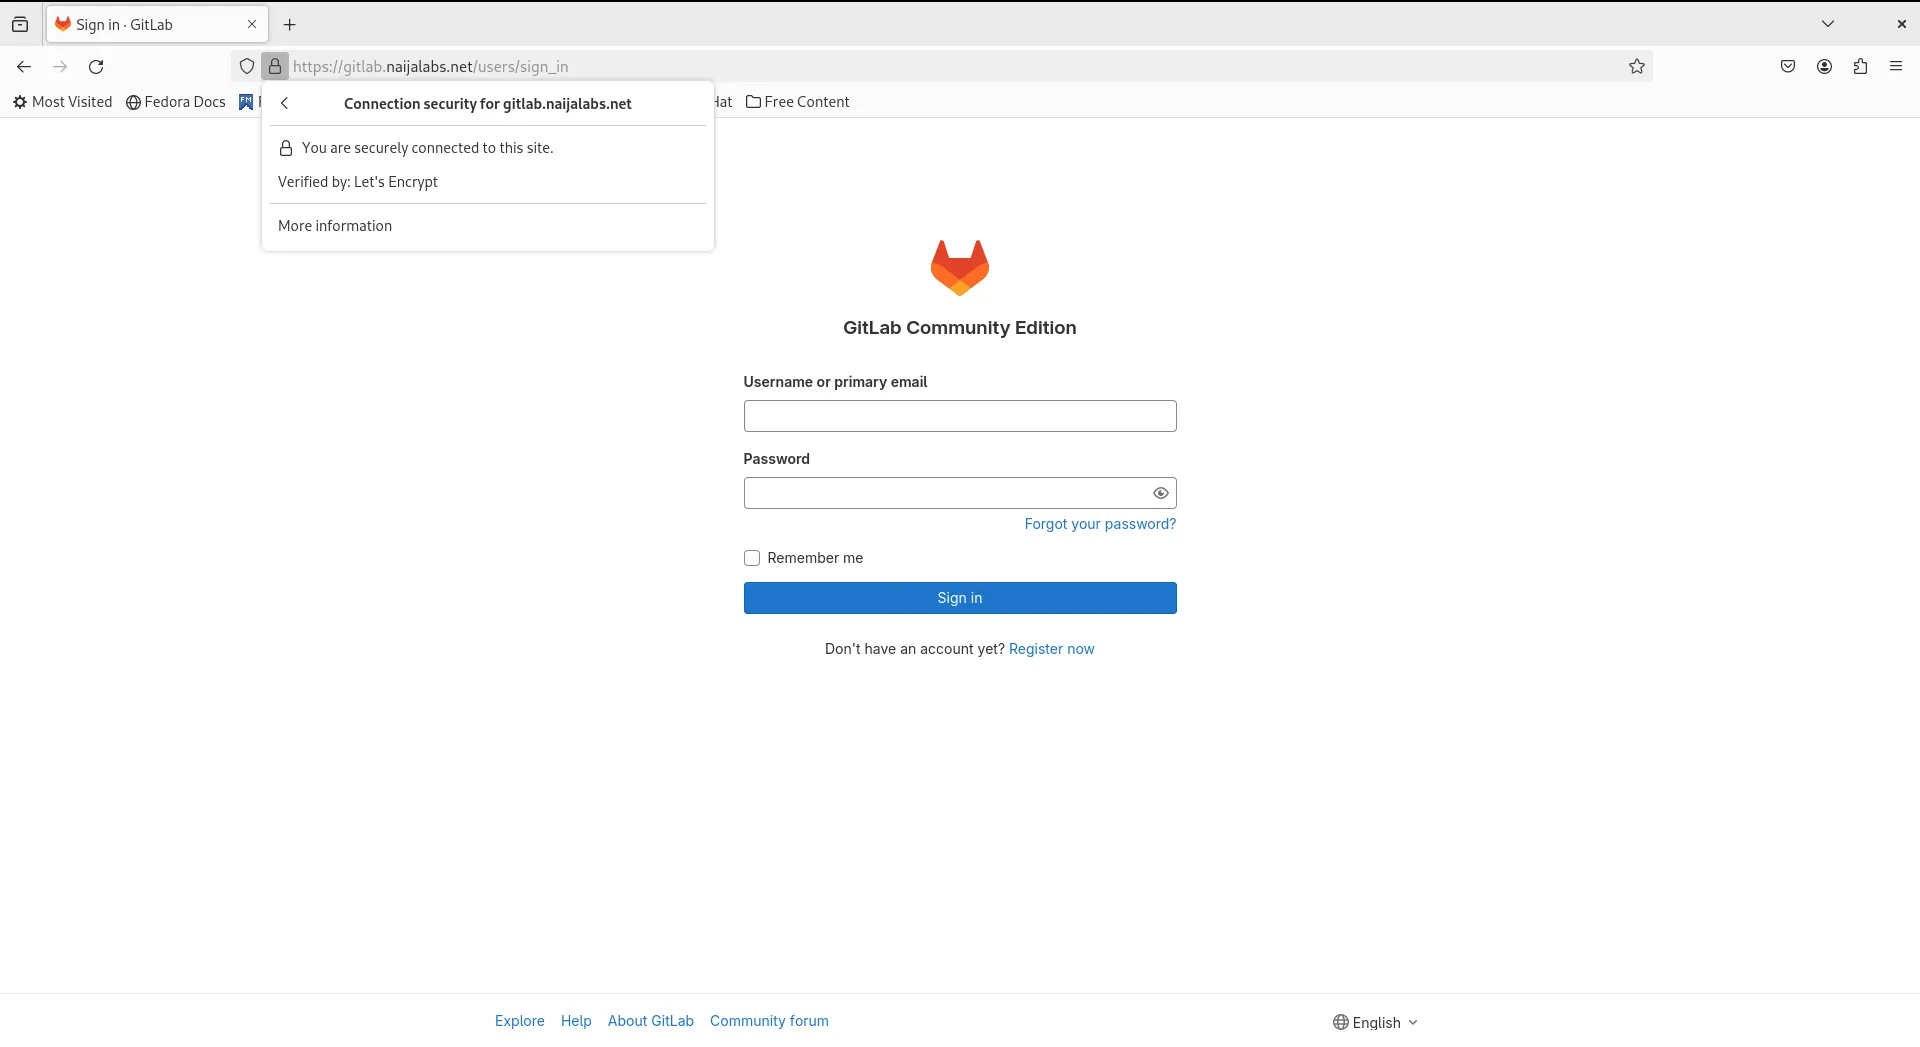
Photo by admingeek from Infotechys
Your initial login credentials are located in the /etc/gitlab/initial_root_password file for the root user. You can also reset the root password with the following command:
sudo gitlab-rake "gitlab:password:reset[root]"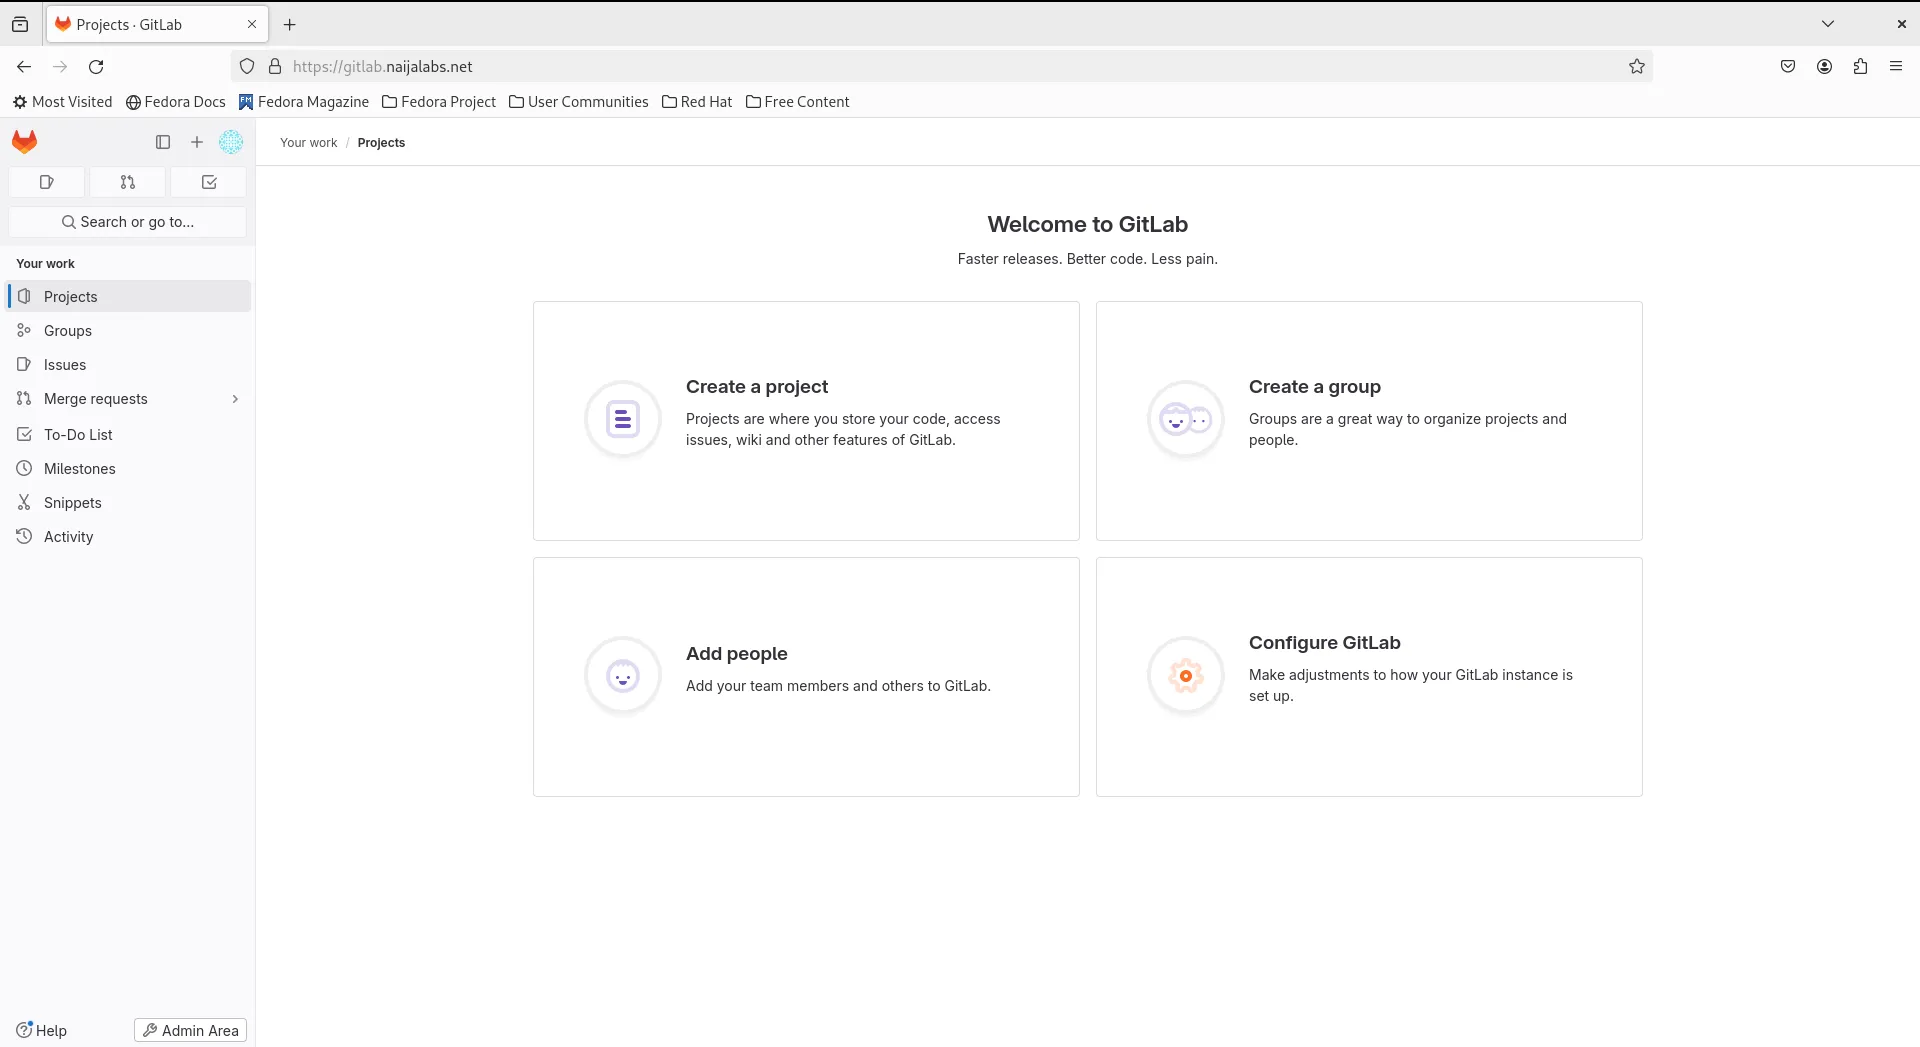
Photo by admingeek from Infotechys


No comments:
Post a Comment