Introduction
In this comprehensive guide, we’ll walk you through the installation of Nice DCV (Desktop Cloud Visualization) on Ubuntu 24.04. This powerful remote display protocol offers high-performance remote desktop experiences, making it a popular choice for enterprises and developers. Whether you’re a system administrator or a developer, this guide will help you set up Nice DCV effectively.
What is Nice DCV?
Nice DCV is a remote desktop solution designed for cloud environments. It allows users to access graphical applications running on remote machines with minimal latency. It is particularly advantageous in fields such as data science, visualization, and high-performance computing (HPC).
Key Features of Nice DCV |
- High-Performance Remote Access: Enjoy seamless performance even with high-resolution graphics.
- Secure Connection: Utilizes TLS encryption to ensure secure data transmission.
- Multi-User Support: Allows multiple users to connect simultaneously without interference.
- Flexibility: Compatible with various Linux distributions and cloud platforms.
Prerequisites
Before we begin, ensure that you have:
- A server or Virtual machine (VM) running Ubuntu 24.04 Desktop.
- Root or sudo access to install packages.
- A stable internet connection.
System Requirements |
| Component | Requirement |
|---|---|
| CPU | 2 GHz or higher |
| RAM | 8 GB or more |
| Disk Space | 20 GB free |
| Network | Minimum 1 Gbps |
Note: With the release of version 2024.0 on October 1, 2024, NICE DCV has been rebranded as Amazon DCV. This new name reflects its integration with AWS managed services, including Amazon WorkSpaces and Amazon AppStream 2.0, which utilize the DCV protocol for enhanced remote desktop experiences.
For this demonstration, we’ve configured our Ubuntu 24.04 instance as follows:
| Hostname | RAM | Cores | IP Address/OS |
| nice.dev.naijalabs.net | 16 | 4 | 192.168.1.223 / Ubuntu 24.04.1 LTS (Noble Numbat) |
Install Nice DCV on Ubuntu 24.04
Step 1: Update Your System |
It’s essential to start by updating your system packages. Open your terminal and execute the following command:
sudo apt update && sudo apt upgrade -yThis command updates the package lists and upgrades the installed packages to their latest versions.
Step 2: Download the Nice DCV Package |
Visit the official Nice DCV download page to get the latest version of the Nice DCV package. You can use wget to download the package directly to your server.
wget https://d1uj6qtbmh3dt5.cloudfront.net/2024.0/Servers/nice-dcv-2024.0-17979-ubuntu2404-x86_64.tgzNow extract the contents of the tarball and navigate to the extracted directory.
tar -xzvf nice-dcv-2024.0-17979-ubuntu2404-x86_64.tgz && cd nice-dcv-2024.0-17979-ubuntu2404-x86_64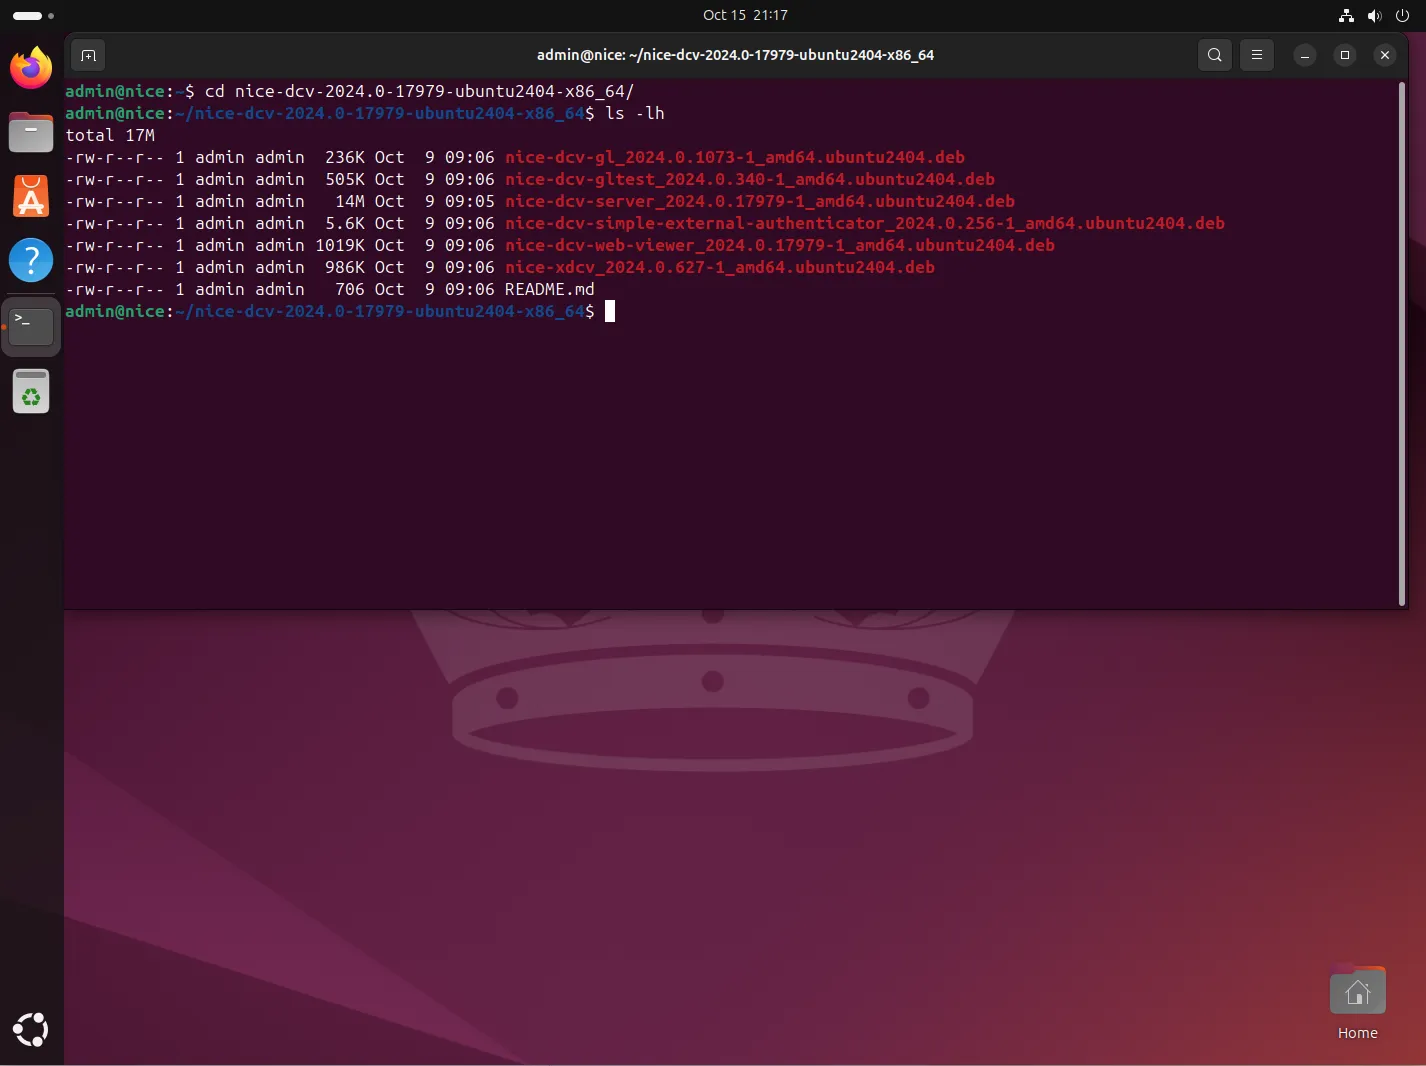
Photo by admingeek from Infotechys
Step 3: Install Dependencies |
Before installing the Nice DCV package, you need to ensure all dependencies are met. Run the following command to install the necessary dependencies:
sudo apt install -y libglib2.0-0 libgtk-3-0 libx11-6 mesa-utils libvdpau1 libxcb-xtest0Dependency Check
| Package | Description |
|---|---|
libglib2.0-0 | Core application library |
libgtk-3-0 | GUI toolkit for graphical interfaces |
libx11-6 | X Window System client library |
mesa-utils | Utilities for the Mesa 3D Graphics Library |
libvdpau1 | Video Decode and Presentation API for Unix |
libxcb-xtest0 | X C Binding extension for X11 Testing |
Step 4: Install Nice DCV |
Now that you have downloaded the package and installed the dependencies, you can install Nice DCV using the following command:
$ sudo dpkg -i *.debIf you encounter any dependency issues, run:
sudo apt --fix-broken installStep 5: Start the Nice DCV Service |
After installation, you need to start the Nice DCV service. Use the following commands to do so:
sudo systemctl start dcvserversudo systemctl enable dcvserverStep 6: Configure Nice DCV |
Configuration is key to optimizing your Nice DCV setup. You can find the configuration file at /etc/dcv/dcv.conf. Open the file using a text editor:
sudo vim /etc/dcv/dcv.confSample Configuration
Here’s a basic configuration example (append to the end of the file):
[server]
port = 8443
max_connections = 10

[authentication]
enable = true
type = passwordExplanation of Configuration Options
| Option | Description |
|---|---|
port | The port on which the DCV server listens |
max_connections | The maximum number of simultaneous connections |
enable | Enables authentication |
type | Type of authentication (password, etc.) |
Save and exit the file.
Step 7: Create User Accounts |
Next, create user accounts for your Nice DCV sessions. You can add users to the system using the following command:
sudo adduser <username>After creating users, you can manage their permissions by editing the /etc/dcv/dcv.conf file accordingly.
Step 8: Accessing Nice DCV |
Once the server is configured and running, you can access it using a web browser or a remote desktop client. To connect, navigate to (https://<your-server-ip>:8443):
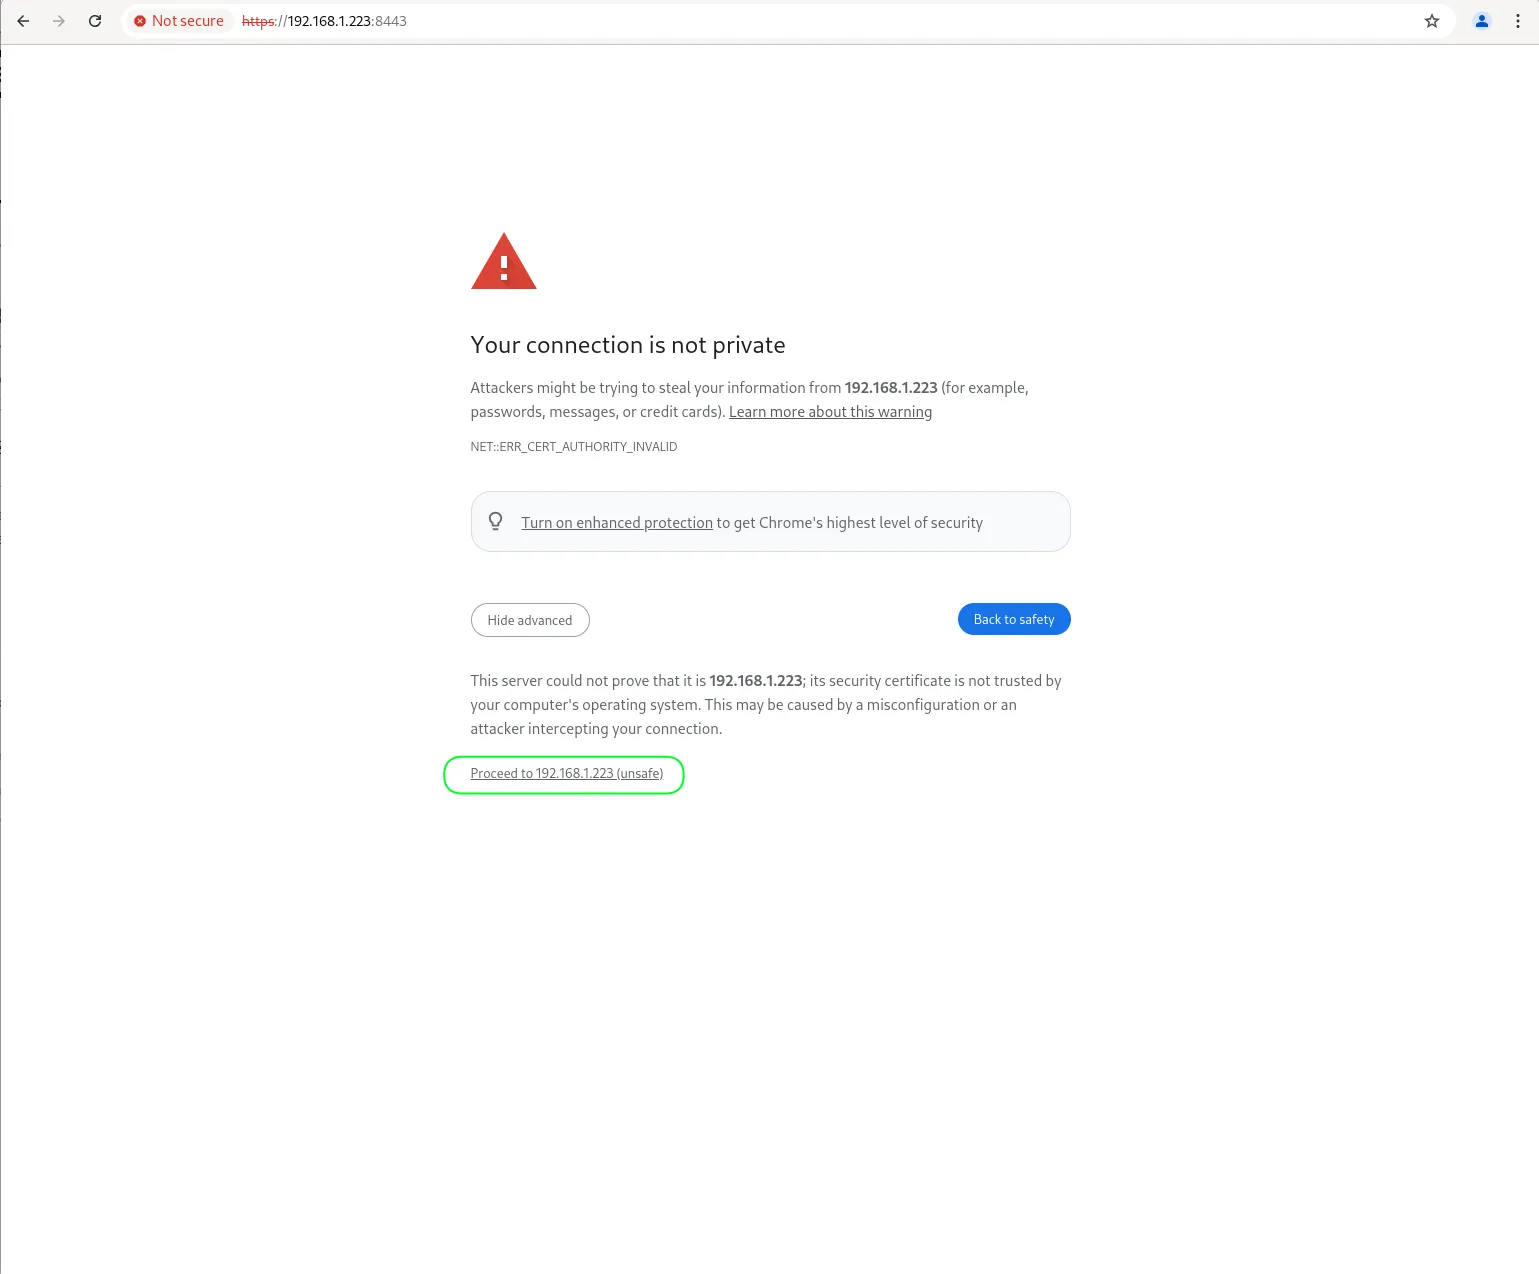
Photo by admingeek from Infotechys
Replace <server-ip> with your server’s IP address. You will be prompted to enter the username and password you set up in the previous step.
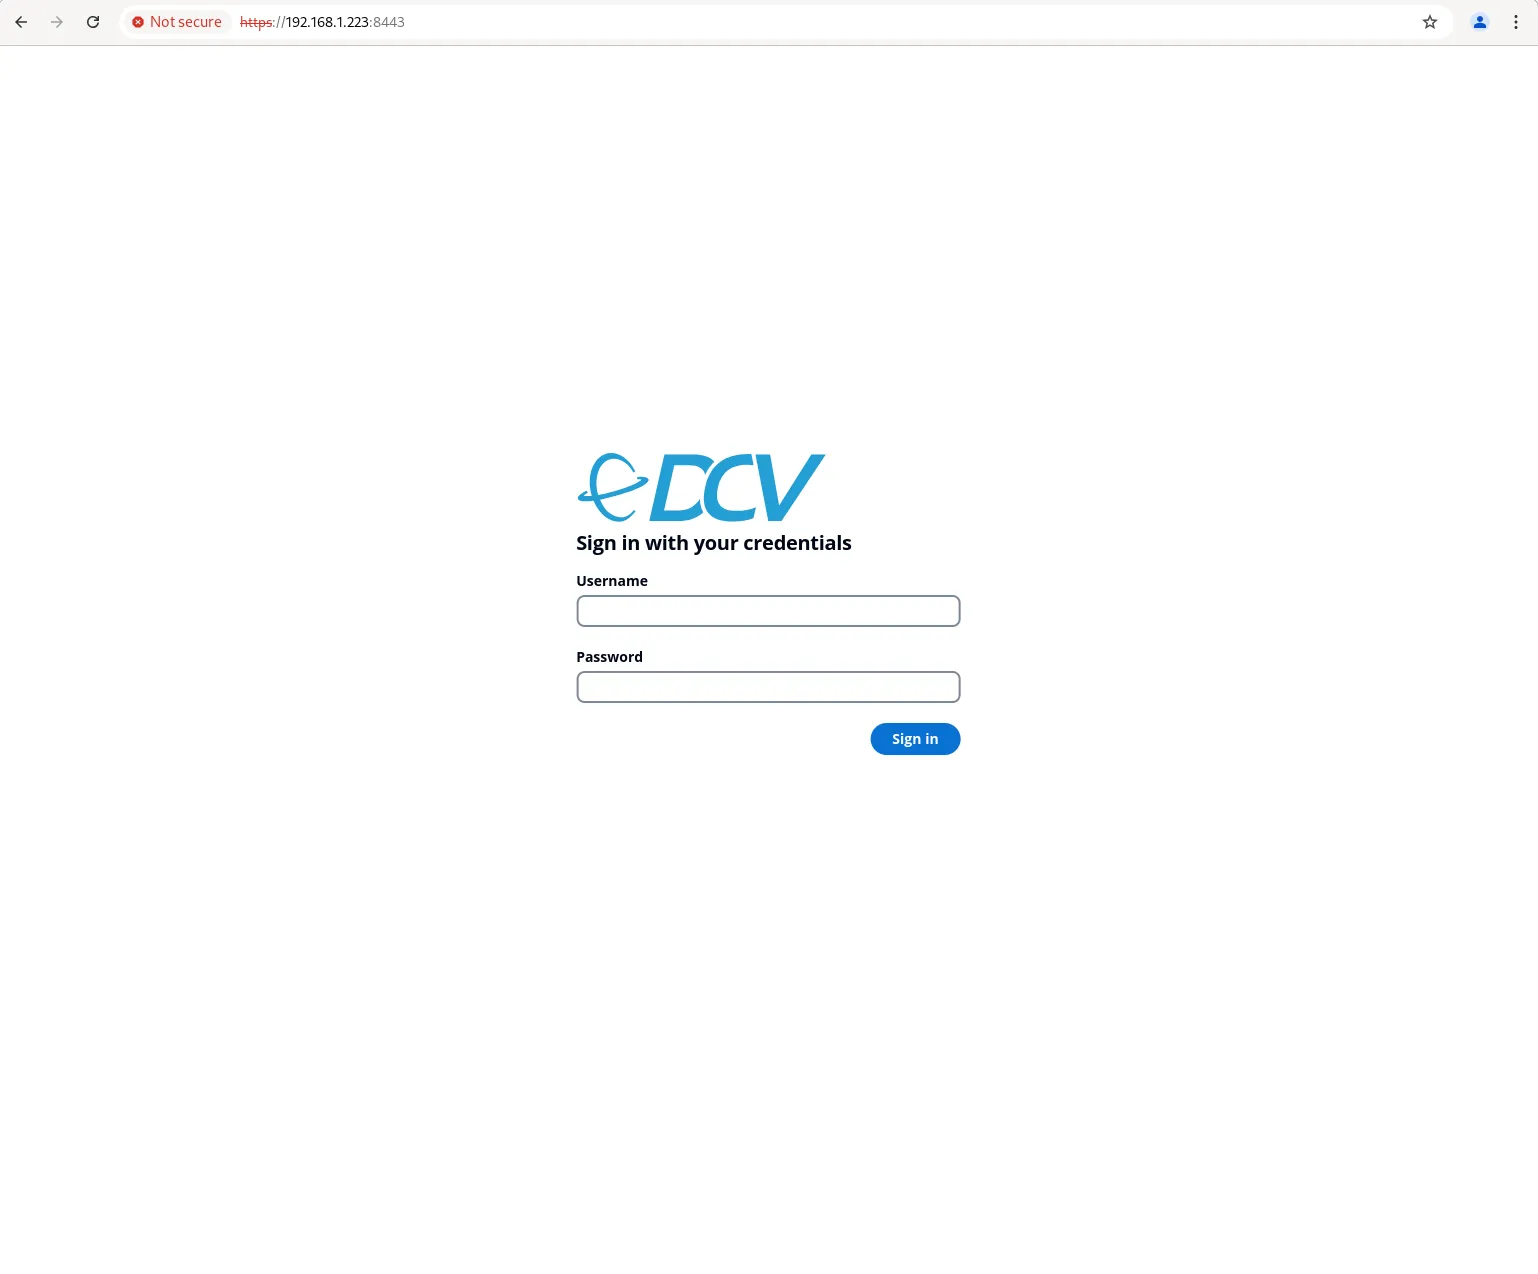
Photo by admingeek from Infotechys
Initial Login (Failsafe Session)
A failsafe session typically features a minimal desktop environment, incorporating a straightforward window manager and terminal. This configuration enables users to troubleshoot session creation issues specific to their preferred environments, like GNOME or KDE.
To check for available sessions, run:
dcv list-sessionsIf there are no sessions available, you can create a failsafe session by generating an initialization script for the user (init.sh):
vim init.shAn example script could look like this:
#!/bin/sh
metacity &
xtermSave and exit the file. Then, give it the execute bit.
chmod +x init.shFinally, execute the following commands to create a new session:
dcv create-session --storage-root %home --init init.sh 1dcv create-session --storage-root %home 1You should now be able to log in with your user credentials and verify your created session.

Photo by admingeek from Infotechys
Step 9: Secure Your Connection with SSL |
For enhanced security, it’s recommended to use SSL/TLS for your connections. You can create a self-signed SSL certificate or obtain one from a certificate authority (CA).
Option #1: Generating a Self-Signed Certificate |
sudo mkdir /etc/dcv/certssudo openssl req -new -x509 -days 365 -keyout /etc/dcv/certs/server.key -out /etc/dcv/certs/server.crtUpdate your dcv.conf to point to the generated certificates:
[ssl]
key_file = /etc/dcv/certs/server.key
cert_file = /etc/dcv/certs/server.crtOption #2: Using Let’s Encrypt |
Using Let’s Encrypt provides a more secure and trusted solution. Follow these steps to obtain and configure a Let’s Encrypt SSL certificate:
Install Certbot: First, install Certbot, the tool used to obtain Let’s Encrypt certificates:
sudo apt install certbot -yObtain a Certificate: Run the following command to obtain your SSL certificate. Replace <your-domain> with your actual domain name.
sudo certbot certonly --standalone -d <your-domain>Follow the prompts to complete the process. Certbot will generate a certificate and save it in the /etc/letsencrypt/live/<your-domain>/ directory.
Update the DCV Configuration: Open the DCV configuration file:
sudo vim /etc/dcv/dcv.confAdd the following lines under the [ssl] section:
[ssl]
key_file = /etc/letsencrypt/live/<your-domain>/privkey.pem
cert_file = /etc/letsencrypt/live/<your-domain>/fullchain.pemAutomate Certificate Renewal: Let’s Encrypt certificates are valid for 90 days. To renew them automatically, add a cron job. Open the cron editor:
sudo crontab -eAdd the following line to run the renewal command daily:
0 0 * * * /usr/bin/certbot renew --quietRestart the DCV Server
After configuring SSL, restart the Nice DCV server to apply the changes:
sudo systemctl restart dcvserverStep 10: Testing Your Installation |
To confirm that your Nice DCV installation is functioning correctly, use the following command to check the status of the service:
sudo systemctl status dcvserverYou should see an active status if everything is working fine.
Troubleshooting Common Issues
Connection Issues |
Firewall Settings: Ensure that the firewall is not blocking the port 8443. You can allow it using:
sudo ufw allow 8443/tcpService Not Running: If you can’t connect, check if the DCV server is running. Restart it if necessary:
sudo systemctl restart dcvserverLog Files |
Logs can be invaluable for troubleshooting. You can find the Nice DCV logs in:
/var/log/dcvserver.log

No comments:
Post a Comment