Introduction
OpenVPN is one of the most popular open-source Virtual Private Network (VPN) solutions, known for its robust security and flexibility. With Ubuntu 24.04, you have access to the latest updates and features, making it an ideal OS for setting up OpenVPN. This guide will walk you through the process of installing and configuring OpenVPN on Ubuntu 24.04, ensuring a secure and stable connection.
Prerequisites
Before diving into the installation, ensure the following:
- Ubuntu 24.04 Server with root or sudo privileges.
- Another machine that will serve as the client.
- Basic familiarity with command-line operations.
- A public IP address or domain name (recommended for remote connections).
For demonstration purposes, we’ve configured our virtual machines as follows:
| Hostname | RAM | Cores | OS |
| openvpn.dev.naijalabs.net (server) | 4 | 2 | Ubuntu 24.04.1 LTS (Noble Numbat) |
| client1.dev.naijalabs.net (client) | 4 | 2 | Red Hat Enterprise Linux release 8.10 (Ootpa) |
Install OpenVPN on Ubuntu 24.04: A Step-by-Step Guide
Step 1: Update the System |
Keeping your system updated is crucial for security and compatibility.
sudo apt update && sudo apt upgrade -yThis command updates the package list and upgrades installed packages to their latest versions. Restart your system to activate the latest kernel and ensure optimal performance.
sudo systemctl rebootStep 2: Install OpenVPN and EasyRSA |
OpenVPN requires the EasyRSA tool to manage certificates. Install both using the following command:
sudo apt install openvpn easy-rsa -yStep 3: Set Up the Certificate Authority (CA) |
OpenVPN relies on a robust Public Key Infrastructure (PKI). EasyRSA simplifies this process.
Create a directory for the PKI |
make-cadir ~/openvpn-caNavigate to the directory |
cd ~/openvpn-caInitialize the PKI |
./easyrsa init-pki
Photo by admingeek from Infotechys
Build the CA |
./easyrsa build-caUsing Easy-RSA 'vars' configuration:
* /root/openvpn-ca/vars
Using SSL:
* openssl OpenSSL 3.0.13 30 Jan 2024 (Library: OpenSSL 3.0.13 30 Jan 2024)
Enter New CA Key Passphrase:
Confirm New CA Key Passphrase:
...omitted for brevity...You’ll be prompted for a passphrase and organizational information (Provide your actual server name). Keep the passphrase secure.
Step 4: Generate Server and Client Certificates |
Create the server certificate and key:
./easyrsa gen-req server nopass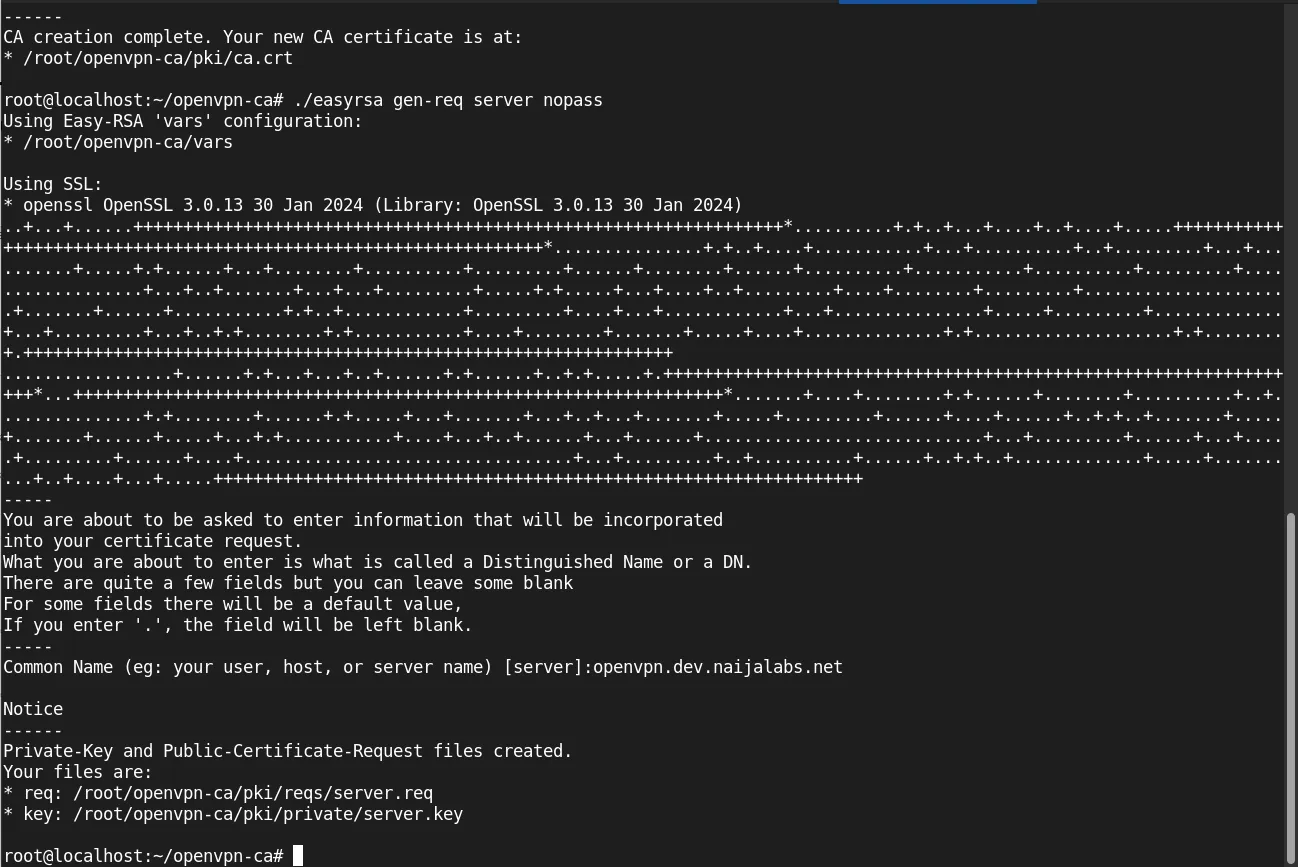
Photo by admingeek from Infotechys
./easyrsa sign-req server serverUsing Easy-RSA 'vars' configuration:
* /root/openvpn-ca/vars
Using SSL:
* openssl OpenSSL 3.0.13 30 Jan 2024 (Library: OpenSSL 3.0.13 30 Jan 2024)
You are about to sign the following certificate:
Please check over the details shown below for accuracy. Note that this request
has not been cryptographically verified. Please be sure it came from a trusted
source or that you have verified the request checksum with the sender.
Request subject, to be signed as a server certificate
for '825' days:
subject=
commonName = openvpn.dev.naijalabs.net
Type the word 'yes' to continue, or any other input to abort.
Confirm request details: yes
Using configuration from /root/openvpn-ca/pki/openssl-easyrsa.cnf
Enter pass phrase for /root/openvpn-ca/pki/private/ca.key:
Check that the request matches the signature
Signature ok
The Subject's Distinguished Name is as follows
commonName :ASN.1 12:'openvpn.dev.naijalabs.net '
Certificate is to be certified until Feb 27 01:06:13 2027 GMT (825 days)
Write out database with 1 new entries
Database updated
Notice
------
Certificate created at:
* /root/openvpn-ca/pki/issued/server.crtCreate a Diffie-Hellman key exchange file:
./easyrsa gen-dh...omitted for brevity...
DH parameters appear to be ok.
Notice
------
DH parameters of size 2048 created at:
* /root/openvpn-ca/pki/dh.pemGenerate client certificates for individual users:
./easyrsa gen-req client1 nopassYou are about to be asked to enter information that will be incorporated
into your certificate request.
What you are about to enter is what is called a Distinguished Name or a DN.
There are quite a few fields but you can leave some blank
For some fields there will be a default value,
If you enter '.', the field will be left blank.
-----
Common Name (eg: your user, host, or server name) [client1]:client1.dev.naijalabs.net
Notice
------
Private-Key and Public-Certificate-Request files created.
Your files are:
* req: /root/openvpn-ca/pki/reqs/client1.req
* key: /root/openvpn-ca/pki/private/client1.key./easyrsa sign-req client client1Using Easy-RSA 'vars' configuration:
* /root/openvpn-ca/vars
Using SSL:
* openssl OpenSSL 3.0.13 30 Jan 2024 (Library: OpenSSL 3.0.13 30 Jan 2024)
You are about to sign the following certificate:
Please check over the details shown below for accuracy. Note that this request
has not been cryptographically verified. Please be sure it came from a trusted
source or that you have verified the request checksum with the sender.
Request subject, to be signed as a client certificate
for '825' days:
subject=
commonName = client1.dev.naijalabs.net
Type the word 'yes' to continue, or any other input to abort.
Confirm request details: yes
Using configuration from /root/openvpn-ca/pki/openssl-easyrsa.cnf
Enter pass phrase for /root/openvpn-ca/pki/private/ca.key:
Check that the request matches the signature
Signature ok
The Subject's Distinguished Name is as follows
commonName :ASN.1 12:'client1.dev.naijalabs.net'
Certificate is to be certified until Feb 27 01:20:15 2027 GMT (825 days)
Write out database with 1 new entries
Database updated
Notice
------
Certificate created at:
* /root/openvpn-ca/pki/issued/client1.crtStep 5: Configure the OpenVPN Server |
Copy the required files to the OpenVPN directory:
sudo cp ~/openvpn-ca/pki/ca.crt /etc/openvpnsudo cp ~/openvpn-ca/pki/issued/server.crt /etc/openvpnsudo cp ~/openvpn-ca/pki/private/server.key /etc/openvpnsudo cp ~/openvpn-ca/pki/dh.pem /etc/openvpnCreate the server configuration file. Open a text editor:
sudo vim /etc/openvpn/server.confAdd the following configuration (then save and exit the file):
port 1194
proto udp
dev tun
ca ca.crt
cert server.crt
key server.key
dh dh.pem
server 10.8.0.0 255.255.255.0
push "redirect-gateway def1"
push "dhcp-option DNS 8.8.8.8"
keepalive 10 120
cipher AES-256-CBC
user nobody
group nogroup
persist-key
persist-tun
status openvpn-status.log
log-append /var/log/openvpn.log
verb 3Enable packet forwarding by editing the sysctl configuration file:
sudo vim /etc/sysctl.confUncomment the following line (then save and exit the file):
# Uncomment the next line to enable packet forwarding for IPv4
net.ipv4.ip_forward=1Apply the changes:
sudo sysctl -pnet.ipv4.ip_forward = 1Configure firewall rules to allow VPN traffic:
sudo ufw allow 1194/udpRules updated
Rules updated (v6)Step 6: Start and Enable OpenVPN Service |
Start the OpenVPN service:
sudo systemctl start openvpn@serverEnable the service to start on boot:
sudo systemctl enable openvpn@serverCreated symlink /etc/systemd/system/multi-user.target.wants/openvpn@server.service → /usr/lib/systemd/system/openvpn@.service.Verify that the service is running:
sudo systemctl status openvpn@server● openvpn@server.service - OpenVPN connection to server
Loaded: loaded (/usr/lib/systemd/system/openvpn@.service; disabled; preset: enabled)
Active: active (running) since Sun 2024-11-24 02:16:24 UTC; 2s ago
Docs: man:openvpn(8)
https://community.openvpn.net/openvpn/wiki/Openvpn24ManPage
https://community.openvpn.net/openvpn/wiki/HOWTO
Main PID: 2031 (openvpn)
Status: "Initialization Sequence Completed"
Tasks: 1 (limit: 10)
Memory: 1.7M (peak: 1.9M)
CPU: 22ms
CGroup: /system.slice/system-openvpn.slice/openvpn@server.service
└─2031 /usr/sbin/openvpn --daemon ovpn-server --status /run/openvpn/server.status 10 --cd /etc/openvpn --script-se>
Nov 24 02:16:24 localhost systemd[1]: Starting openvpn@server.service - OpenVPN connection to server...
Nov 24 02:16:24 localhost systemd[1]: Started openvpn@server.service - OpenVPN connection to server.Step 7: Configure Client Devices (RHEL 8 Virtual Machine) |
To connect a RHEL 8 virtual machine as an OpenVPN client, you’ll need to install the OpenVPN client and configure it with the necessary credentials.
Install the OpenVPN Client on RHEL 8 |
Update the RHEL 8 system:
sudo dnf update -yInstall the OpenVPN client package:
sudo dnf install -y openvpn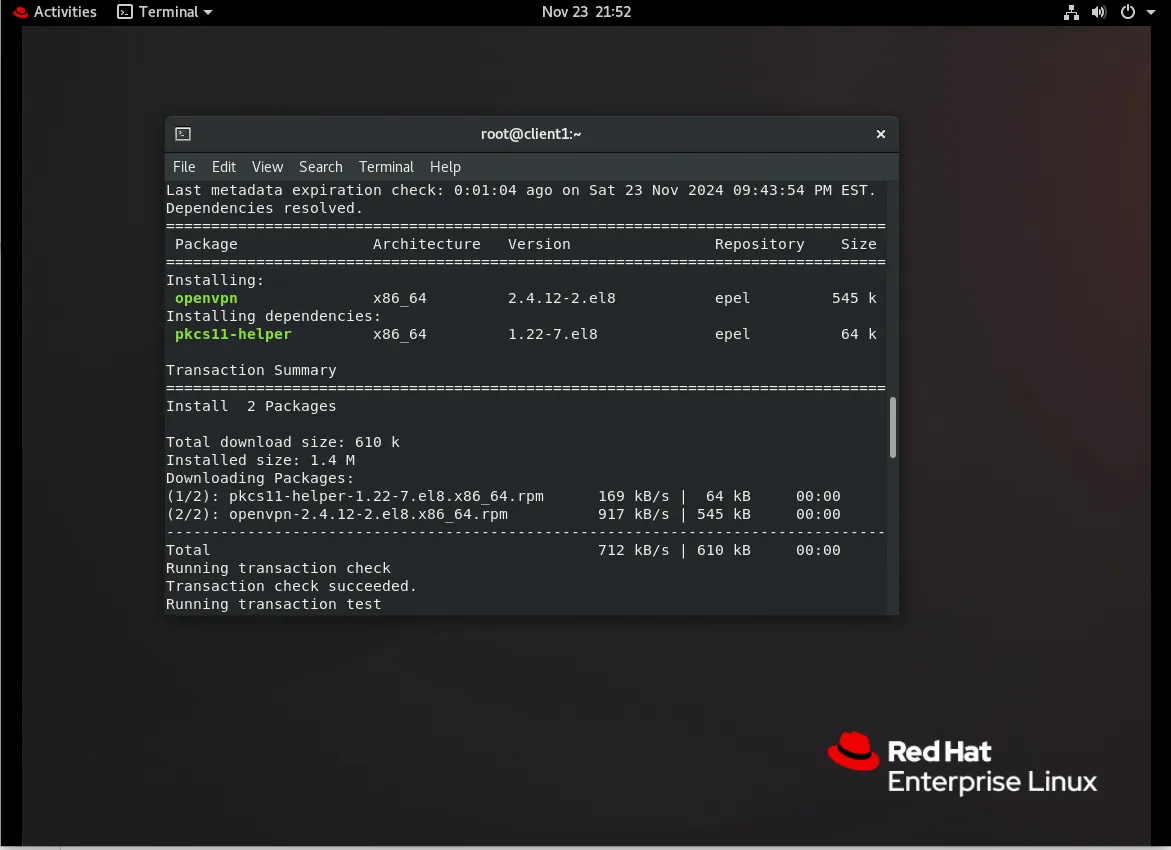
Photo by admingeek from Infotechys
Generate Client Configuration File on the Ubuntu (OpenVPN) Server |
Create the client configuration file on the OpenVPN server:
sudo vim ~/client1.ovpnAdd the following content, customizing the placeholders as needed (then, save and exit the file):
client
dev tun
proto udp
remote YOUR_SERVER_IP 1194
resolv-retry infinite
nobind
persist-key
persist-tun
ca ca.crt
cert client1.crt
key client1.key
cipher AES-256-CBC
verb 3Replace YOUR_SERVER_IP with the public IP address of your OpenVPN server. Then, on the client machine (RHEL8.10 workstation in this example), transfer the client certificates, keys, and configuration file from the OpenVPN server. Use a secure method like scp:
scp root@YOUR_OPENVPN_SERVER_IP:~/client1.ovpn .scp root@YOUR_OPENVPN_SERVER_IP:~/openvpn-ca/pki/ca.crt .scp root@YOUR_OPENVPN_SERVER_IP:~/openvpn-ca/pki/issued/client1.crt .scp root@YOUR_OPENVPN_SERVER_IP:~/openvpn-ca/pki/private/client1.key .Configure OpenVPN on the RHEL 8 Virtual Machine |
Move the configuration and certificate files to the appropriate location:
sudo mv ~/client1.ovpn /etc/openvpn/sudo mv ~/ca.crt /etc/openvpn/sudo mv ~/client1.crt /etc/openvpn/sudo mv ~/client1.key /etc/openvpn/Start the OpenVPN client service with the provided configuration file:
cd /etc/openvpn && sudo openvpn --config /etc/openvpn/client1.ovpn...omitted for brevity...
Sat Nov 23 22:54:34 2024 /sbin/ip route add 0.0.0.0/1 via 10.8.0.5
Sat Nov 23 22:54:34 2024 /sbin/ip route add 128.0.0.0/1 via 10.8.0.5
Sat Nov 23 22:54:34 2024 /sbin/ip route add 10.8.0.1/32 via 10.8.0.5
Sat Nov 23 22:54:34 2024 WARNING: this configuration may cache passwords in memory -- use the auth-nocache option to prevent this
Sat Nov 23 22:54:34 2024 Initialization Sequence CompletedVerify the connection by checking the OpenVPN logs:
sudo journalctl -u openvpn@clientEnable Automatic Connection at Boot (Optional) |
To ensure the VPN connection is established automatically upon boot, create a systemd service file:
Create the service file:
sudo vim /etc/systemd/system/openvpn-client@client1.serviceAdd the following content:
[Unit]
Description=OpenVPN Client for %i
After=network-online.target
Wants=network-online.target

[Service]
ExecStart=/usr/sbin/openvpn --config /etc/openvpn/%i.ovpn
Restart=on-failure
RestartSec=5s

[Install]
WantedBy=multi-user.targetEnable and start the service:
sudo systemctl enable --now openvpn-client@client1Test VPN Connection |
To confirm the VPN connection is active:
Check your IP address to verify traffic is routed through the VPN:
curl ifconfig.meEnsure the output matches your VPN server’s IP address. Finally, test connectivity to internal resources or services that require the VPN connection.
Troubleshooting
Common Issues and Solutions
| Issue | Solution |
|---|---|
| Client cannot connect to the server | Ensure firewall rules are correctly configured and port 1194 is open. |
| VPN is connected, but no internet | Verify push "redirect-gateway def1" and dhcp-option DNS in server config. |
| Service fails to start | Check /var/log/openvpn.log for errors. |


No comments:
Post a Comment