Introduction
Red Hat Enterprise Linux (RHEL) is a leading enterprise-grade Linux distribution known for its stability, security, and support, making it a go-to choice for developers and IT professionals alike. With RHEL 8.10, Red Hat has introduced new features, improved performance, and enhanced security protocols, making it an excellent choice for setting up a powerful workstation environment.
In this blog post, we’ll guide you through the process of installing RHEL 8.10 Workstation in 12 easy steps. Whether you’re a beginner or an experienced Linux user, this guide will make the process straightforward and efficient.
Let’s get started!
Pre-Installation Requirements
Before starting the installation process, make sure your system meets the following minimum hardware requirements:
| Component | Requirement |
|---|---|
| Processor | 2 GHz or faster (64-bit architecture) |
| Memory (RAM) | Minimum 2 GB (4 GB recommended) |
| Storage | 10 GB free disk space (20 GB or more recommended) |
| Graphics | VGA graphics adapter (for GUI) |
| Network | Network card with internet access (optional but recommended for updates) |
You’ll also need:
- A USB drive (at least 16 GB in size)
- A working internet connection for updates
- A valid Red Hat subscription or a free developer account (for software packages)
Install RHEL8.10 Workstation
Step 1: Download the RHEL 8.10 ISO |
Start by downloading the RHEL 8.10 ISO image from the official Red Hat website. You’ll need a Red Hat account to access the download page. If you don’t already have one, you can create a free developer account.
Visit the following URL to download the RHEL 8.10 ISO:
After logging in, select the appropriate ISO for your system architecture (x86_64 is most common). Make sure to select the DVD version.
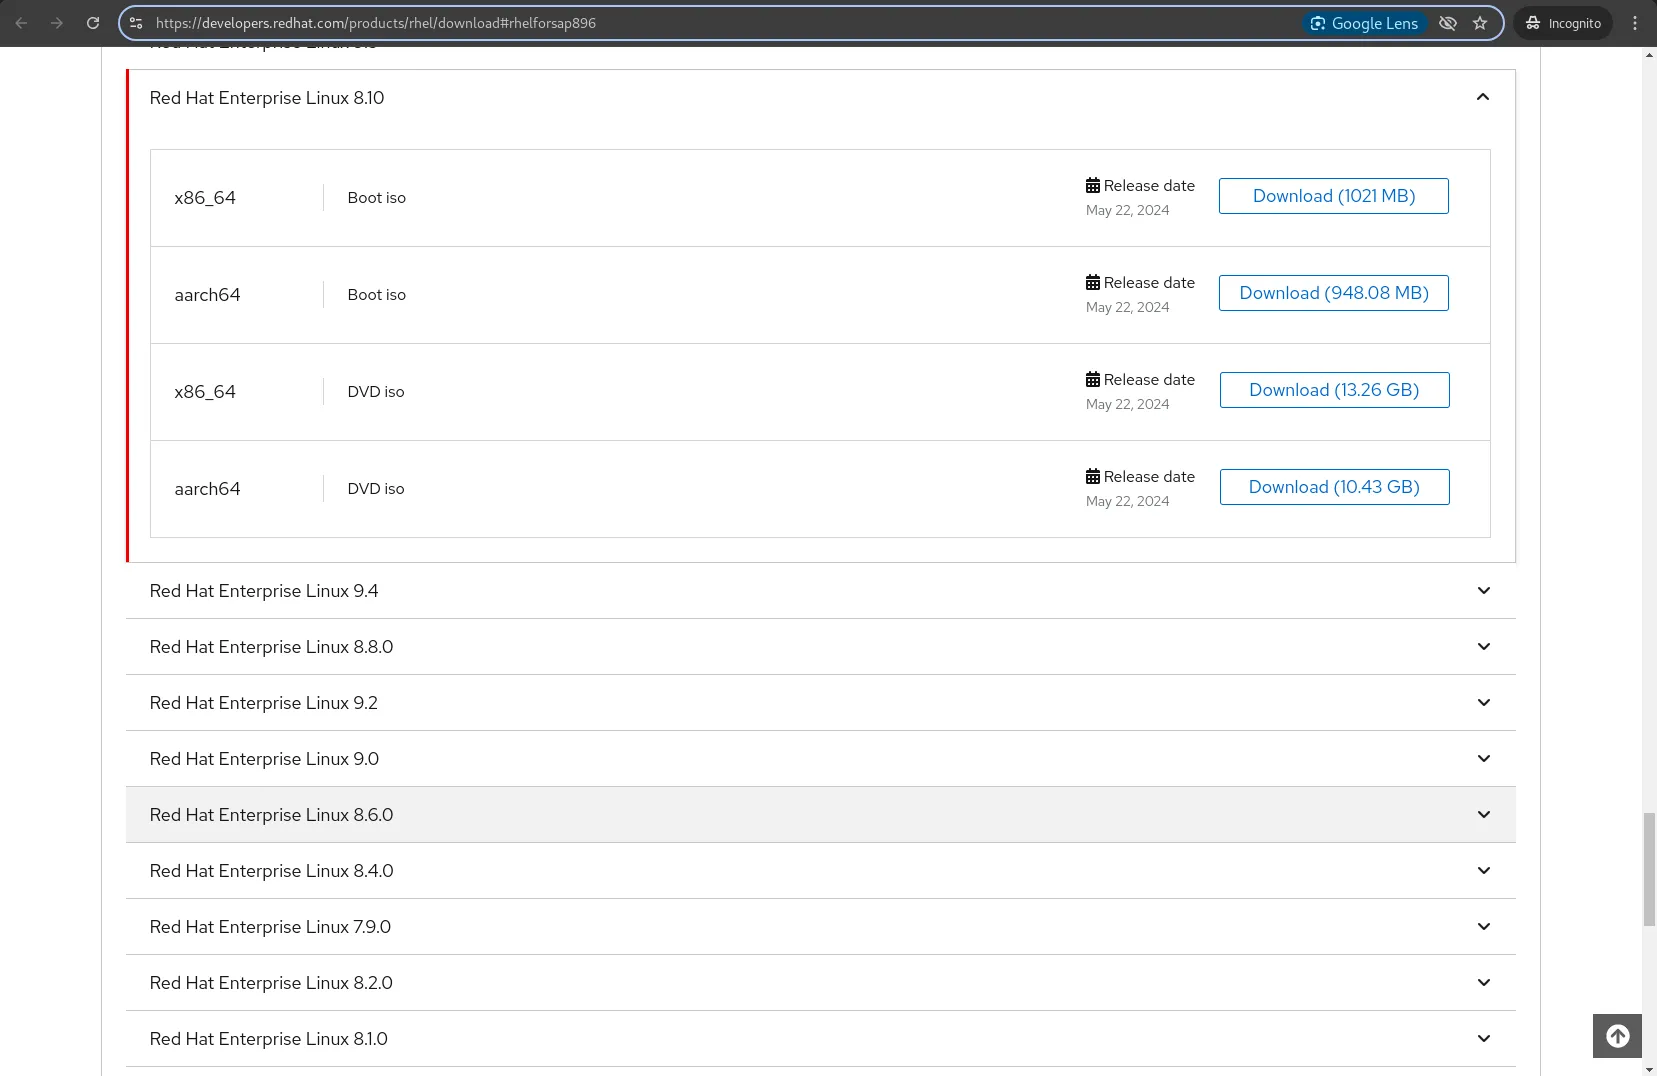
Photo by admingeek from Infotechys
Step 2: Prepare a Bootable USB |
To install RHEL 8.10, you need to create a bootable USB drive. This can be done on any system that supports USB booting. Below are the steps using Rufus (on Windows) and dd (on Linux/macOS):
On Windows:
- Download and install Rufus from rufus.ie.
- Insert your USB drive into the computer.
- Open Rufus and select the ISO image you downloaded.
- Select your USB drive from the device dropdown.
- Ensure the partition scheme is set to GPT (for UEFI systems) or MBR (for legacy BIOS systems).
- Click “Start” to create the bootable USB.
On Linux/macOS:
Open a terminal and use the dd command. Replace /path/to/rhel-8.10-x86_64-dvd.iso with the actual path to your ISO file and /dev/sdX with your USB drive.
sudo dd if=/path/to/rhel-8.10-x86_64-dvd.iso of=/dev/sdX bs=4M status=progress oflag=syncOnce the process is complete, eject the USB drive.
Step 3: Boot from USB Drive |
Insert the USB drive into the machine you want to install RHEL 8.10 on. Reboot the system, and during the boot process, press the appropriate key to enter the BIOS/UEFI settings (usually F2,F8,F9,F10, Esc`, or Del depending on the manufacturer).
From the boot menu, select the USB drive as the boot device.
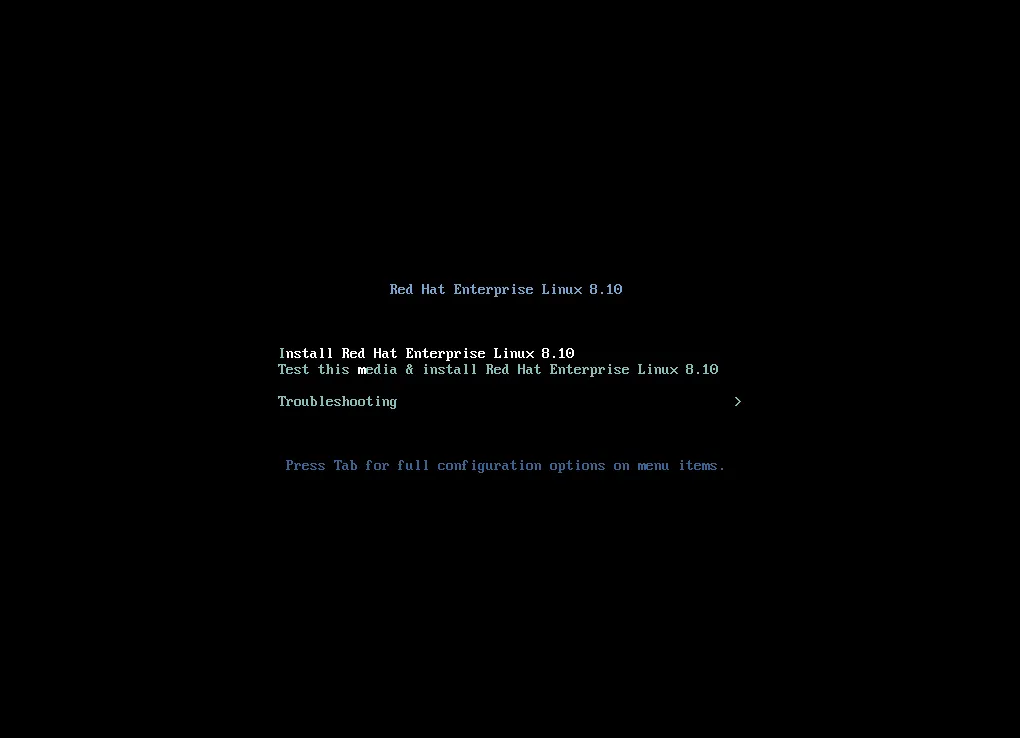
Photo by admingeek from Infotechys
Step 4: Select Installation Language and Keyboard Layout |
Once RHEL 8.10 starts, you will be presented with the installation screen.
- Select your language and keyboard layout.
- You can also configure timezone and language support at this stage, though the default settings are usually fine for most users.
Click Continue to proceed.
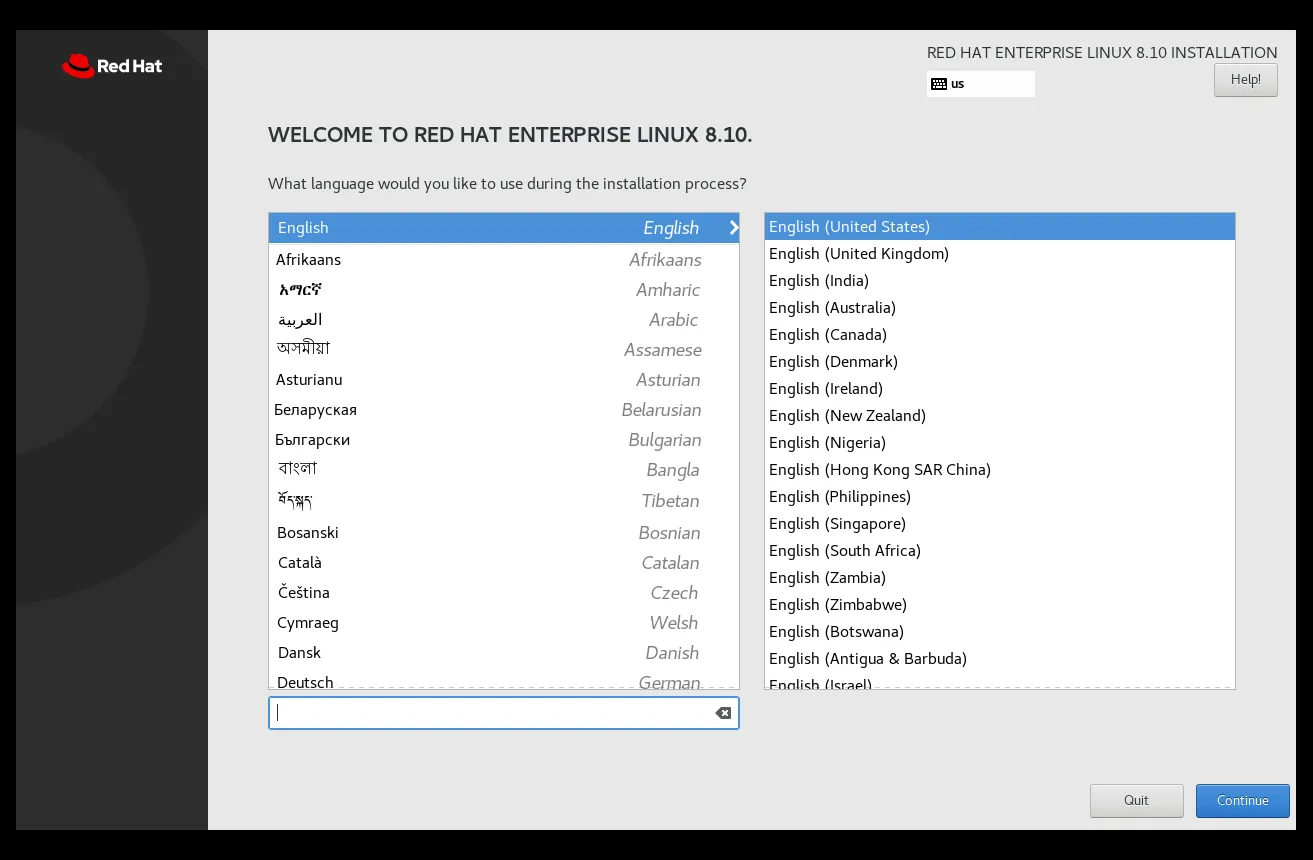
Photo by admingeek from Infotechys
Step 5: Configure Disk Partitioning |
On the installation summary page, you’ll need to configure your disk partitioning.
- Click on the Installation Destination to select the disk where RHEL will be installed.
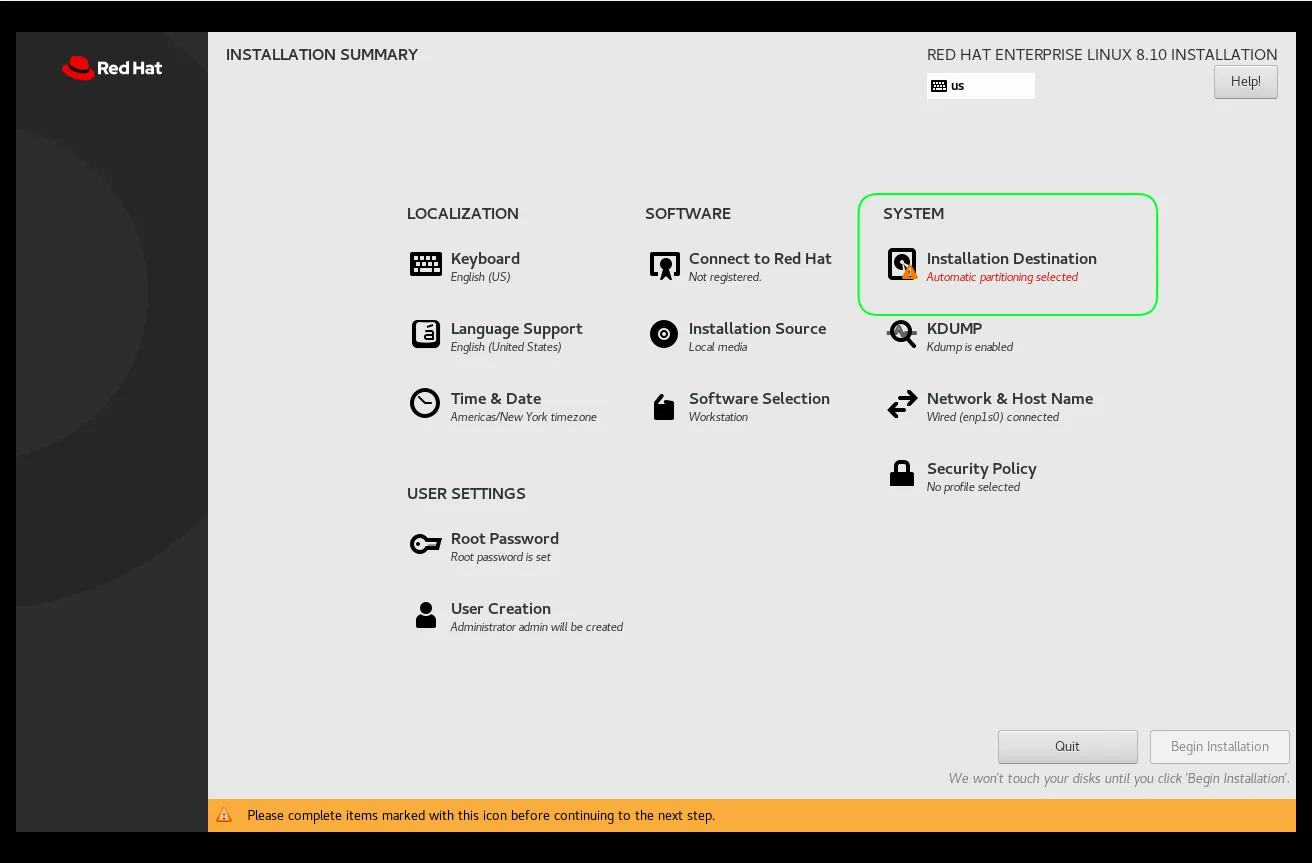
Photo by admingeek from Infotechys
- You can either use the automatic partitioning option (recommended for most users) or configure custom partitions.
- For automatic partitioning, simply select the disk and choose Done.
- For custom partitioning, you’ll need to create separate partitions for
/,/home, and swap, for example.
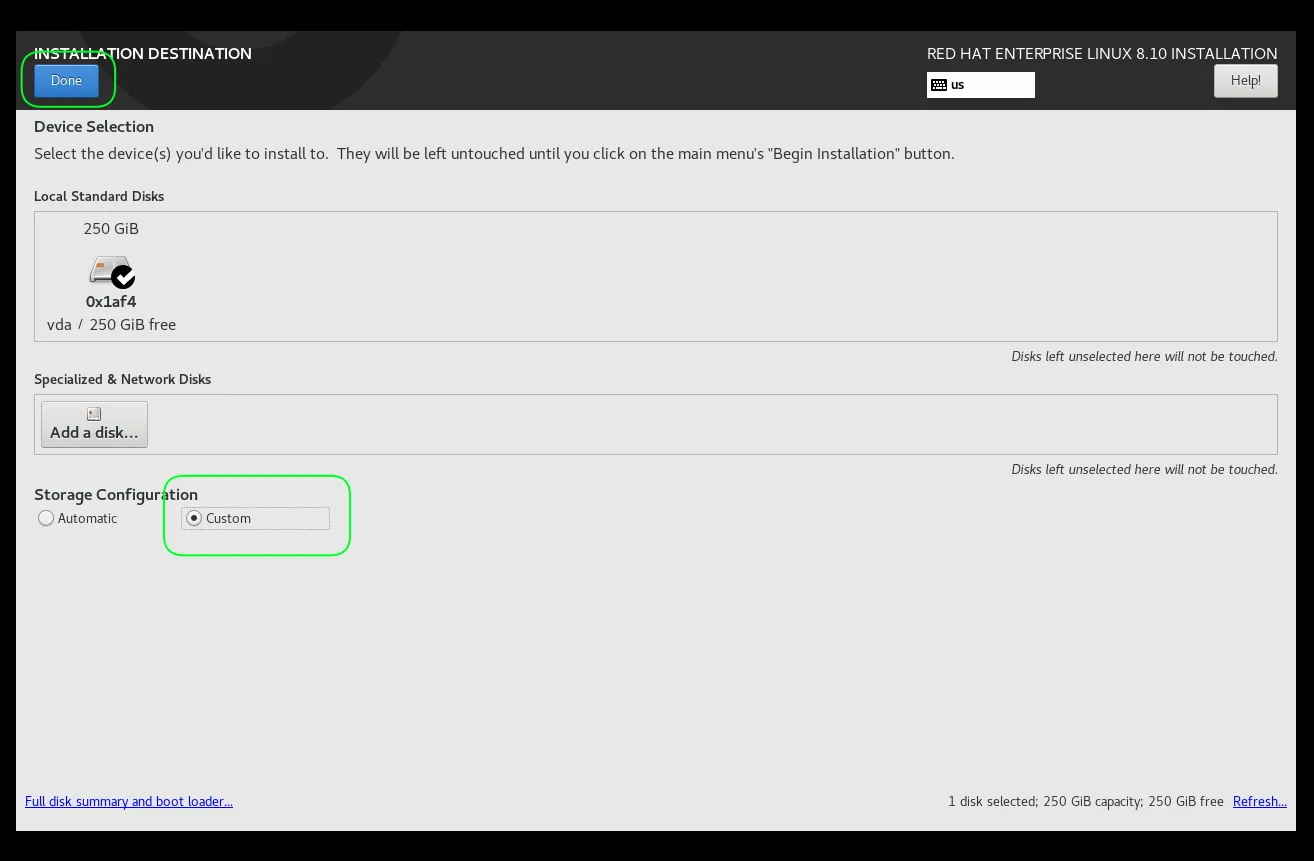
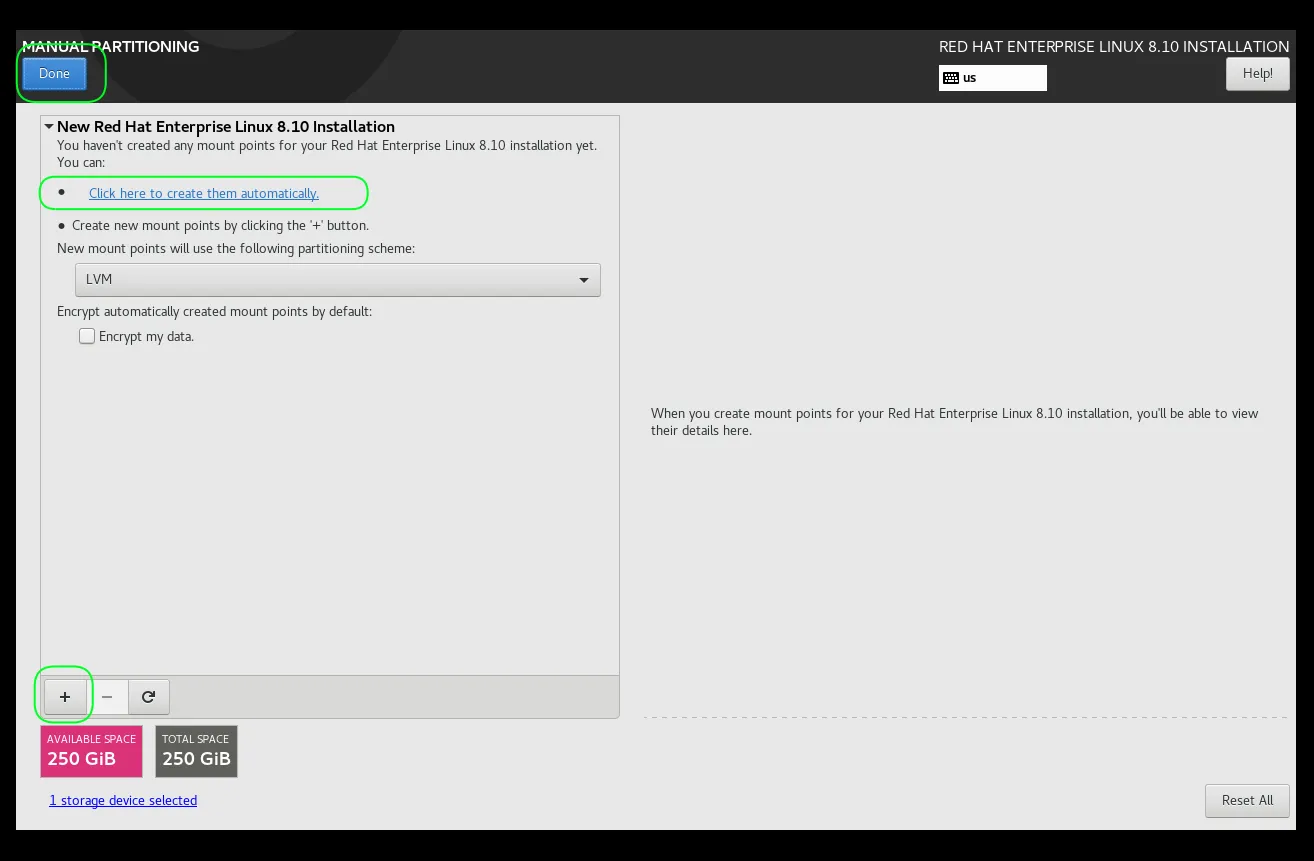
Photo by admingeek from Infotechys
Recommended Partition Layout (for advanced users):
| Partition | Size | Mount Point |
|---|---|---|
/boot | 1 GB | /boot |
/ | 20 GB | / |
/home | Remaining Space | /home |
swap | 4 GB (or more) | N/A |
After configuring the partitions, click Done. Then, click the Accept Changes button to continue.
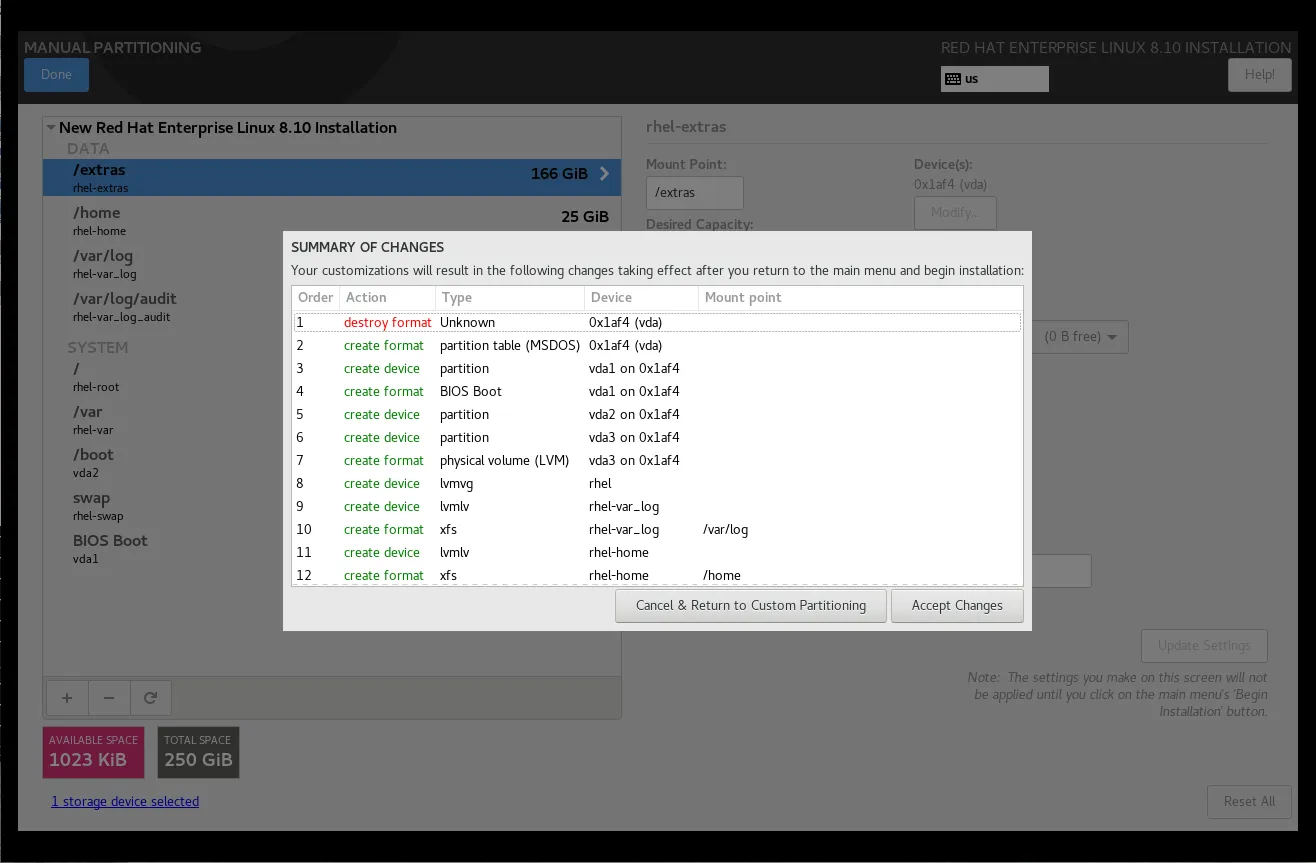
Photo by admingeek from Infotechys
Step 6: Set Up Network and Hostname |
Next, configure your network settings. Click on Network & Hostname to:
- Set your hostname (e.g.,
rhel-workstation). - Configure your network interface. If you have a wired connection, it should automatically connect. For wireless, select your Wi-Fi network and enter the password.
Ensure that Automatic IP Configuration is selected unless you are using a static IP address.
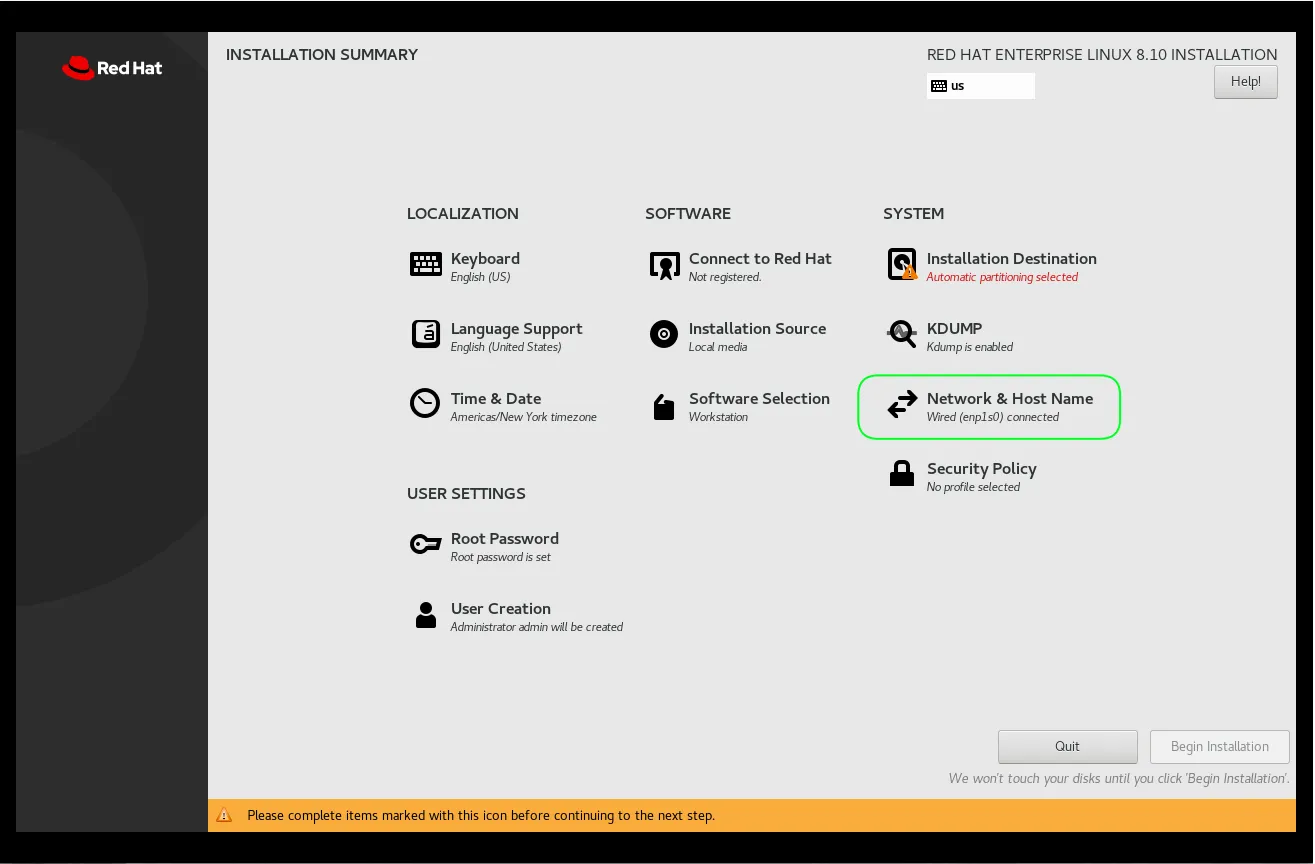
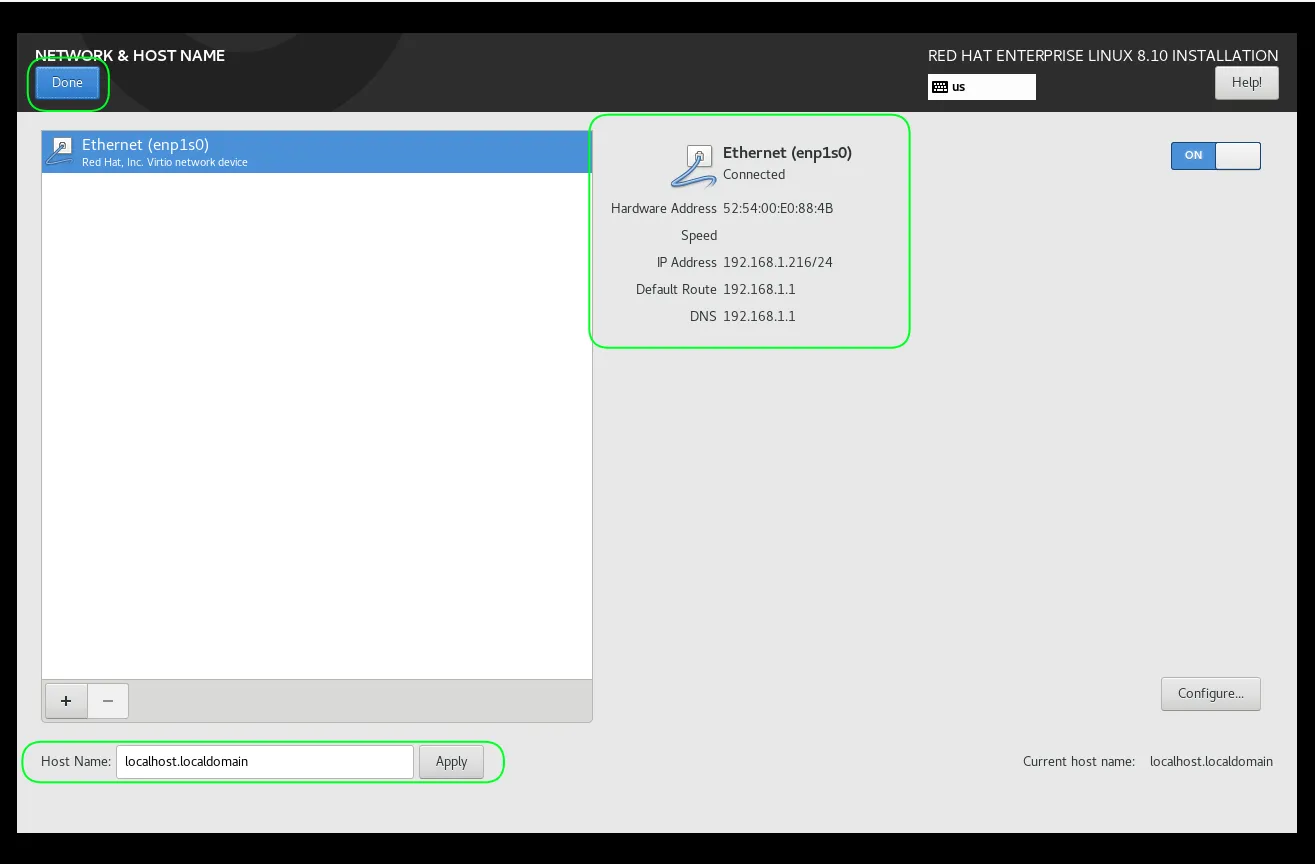
Photo by admingeek from Infotechys
Click Done once you’ve configured your network settings.
Step 7: Select Software Installation |
Here, you can choose what type of software you want to install. For a workstation, select the Workstation option, which includes the GNOME desktop environment, graphical utilities, and other essential software.
- Optionally, you can choose additional software by selecting Software Selection.
- You can add software like Development Tools, Web Server, or Virtualization.
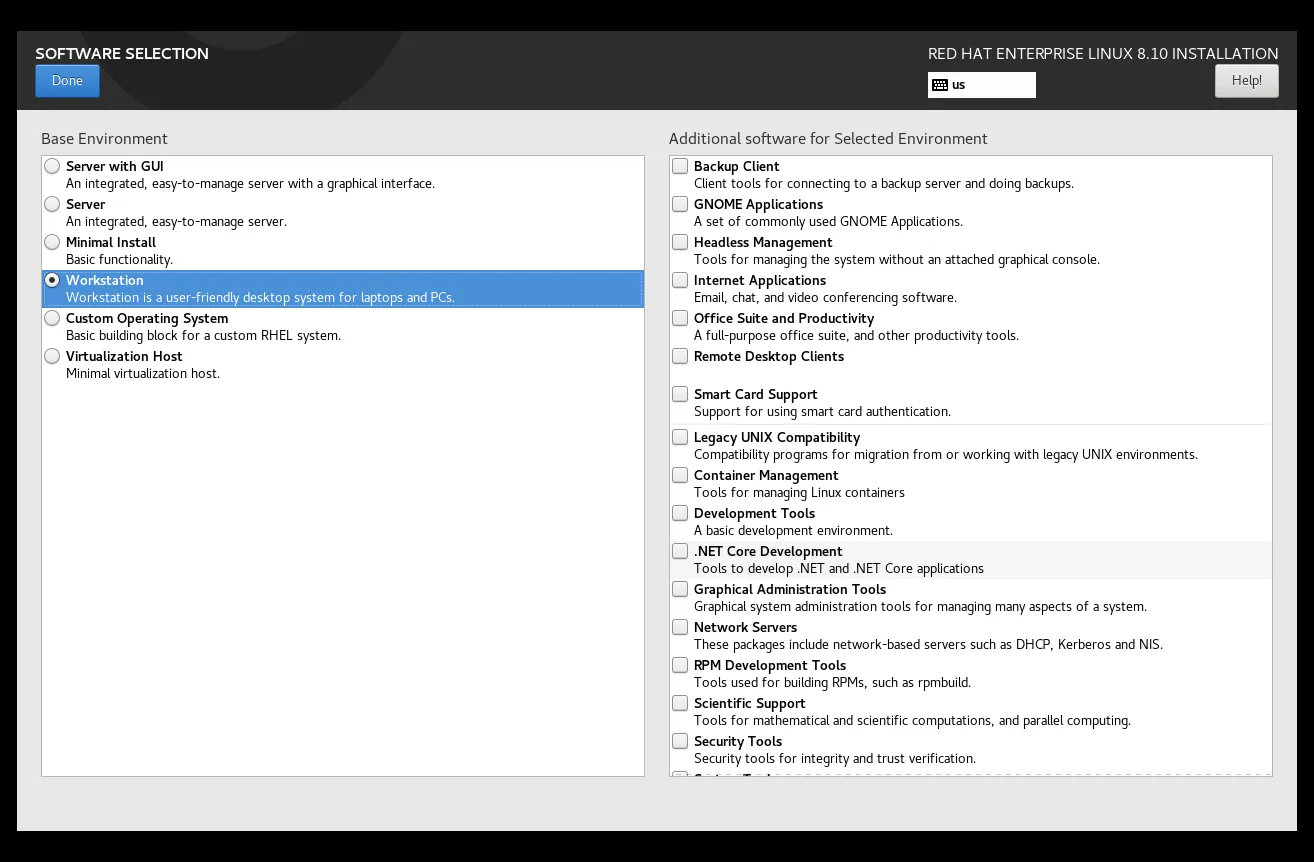
Photo by admingeek from Infotechys
Click Done to proceed.
Step 8: Set Root Password and Create User Accounts |
While the installation process runs in the background, you will be prompted to:
- Set the root password (the administrator account for your system).
- Create a user account with standard privileges.
Be sure to choose strong passwords to enhance system security.
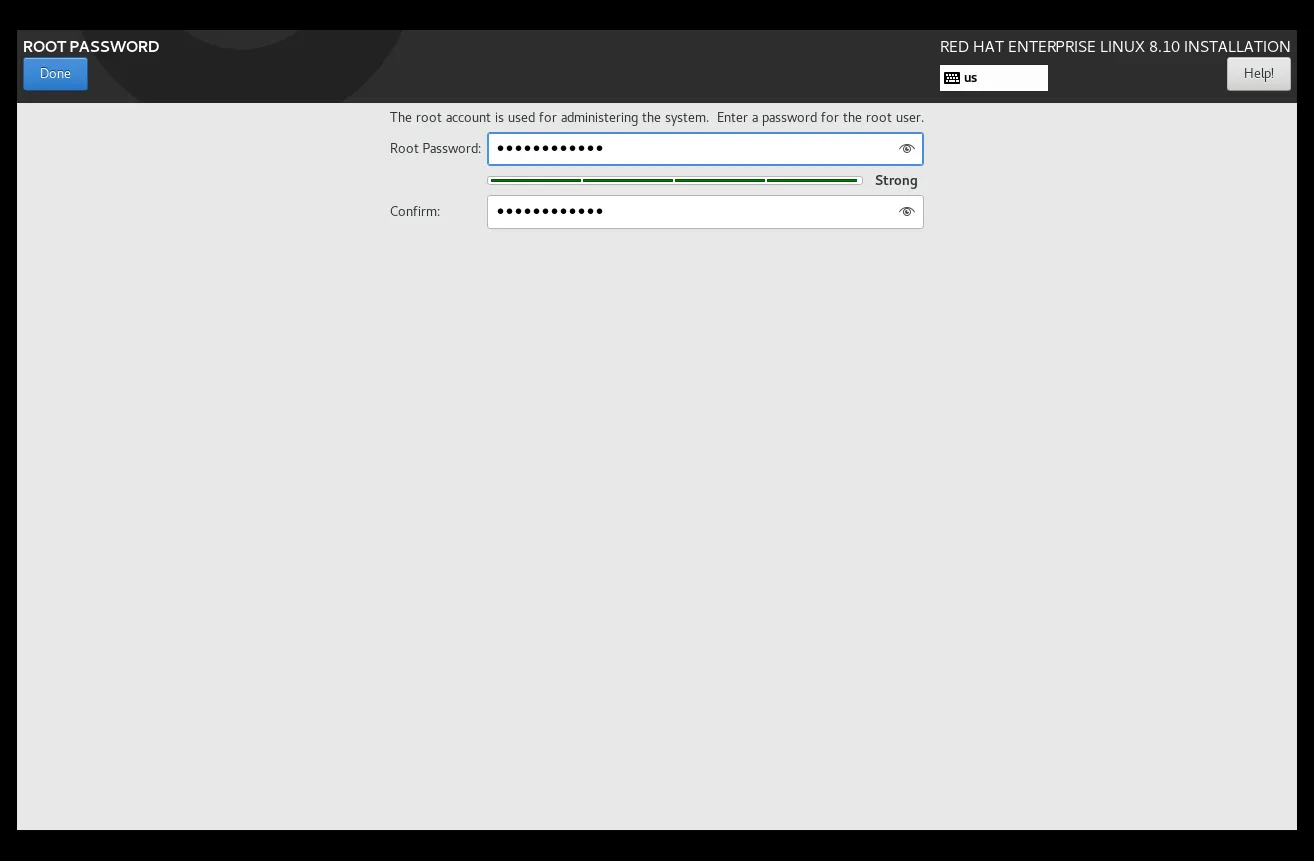
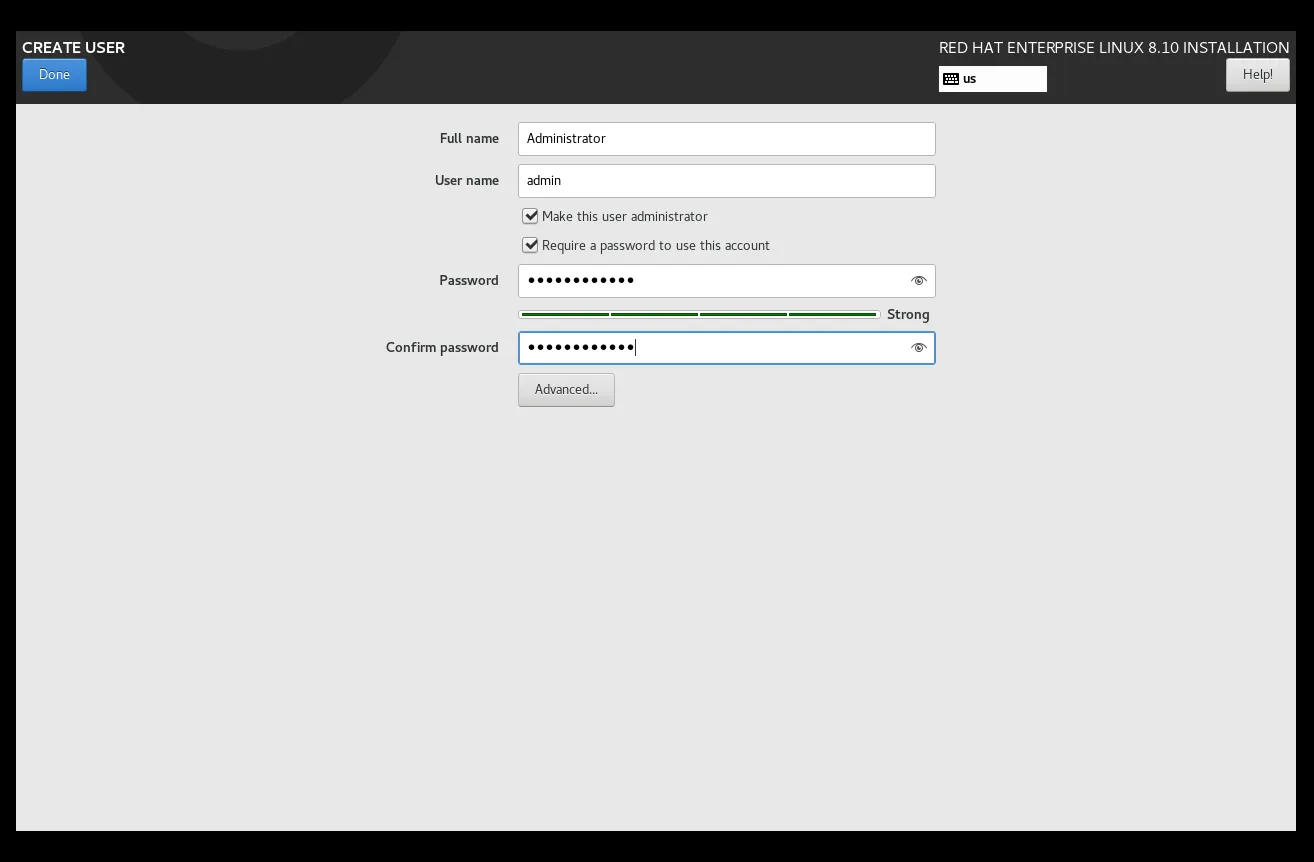
Photo by admingeek from Infotechys
Once these steps are completed, you’re ready to begin the installation.
Step 9: Begin Installation |
After configuring everything, click Begin Installation. The installer will now start copying files to your disk. This process might take some time, depending on your system’s speed and the selected software packages.
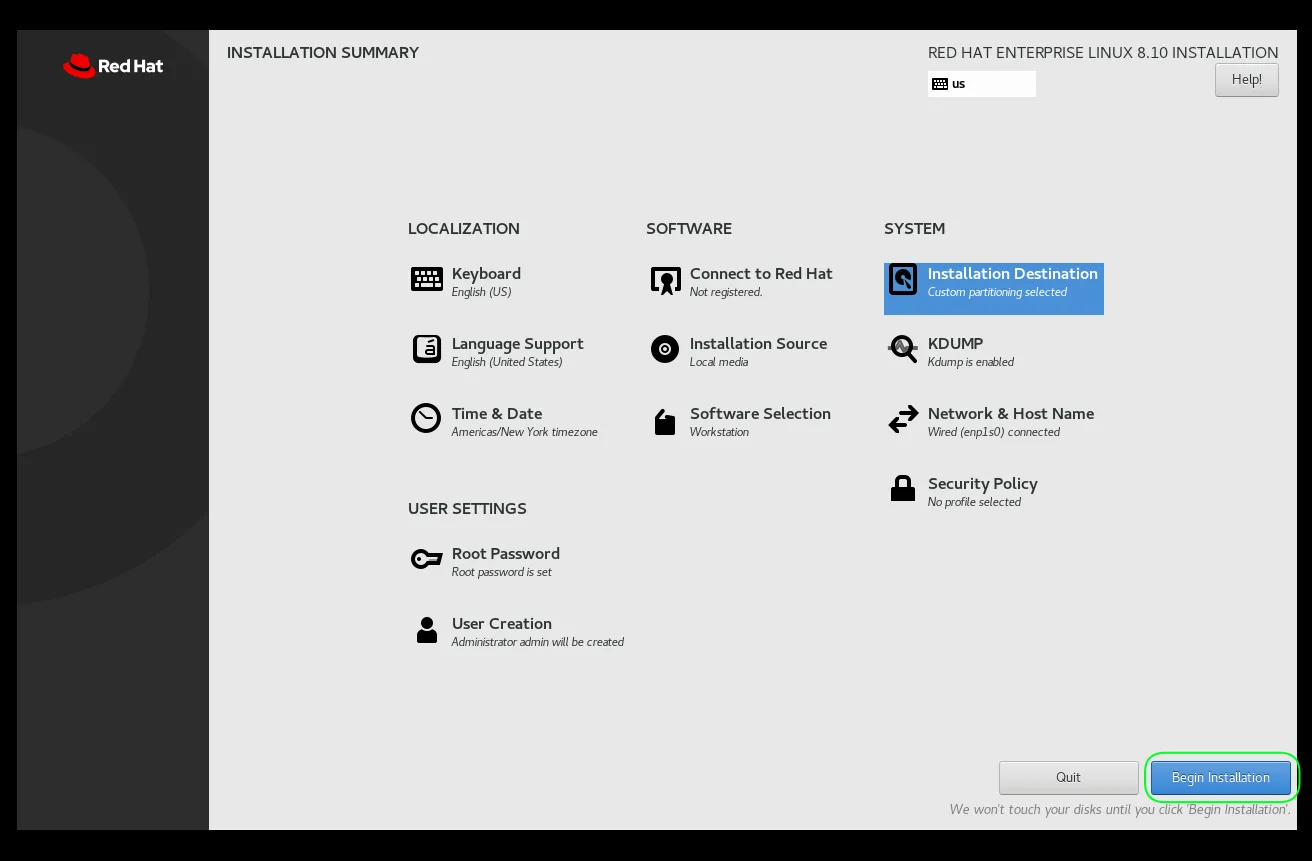
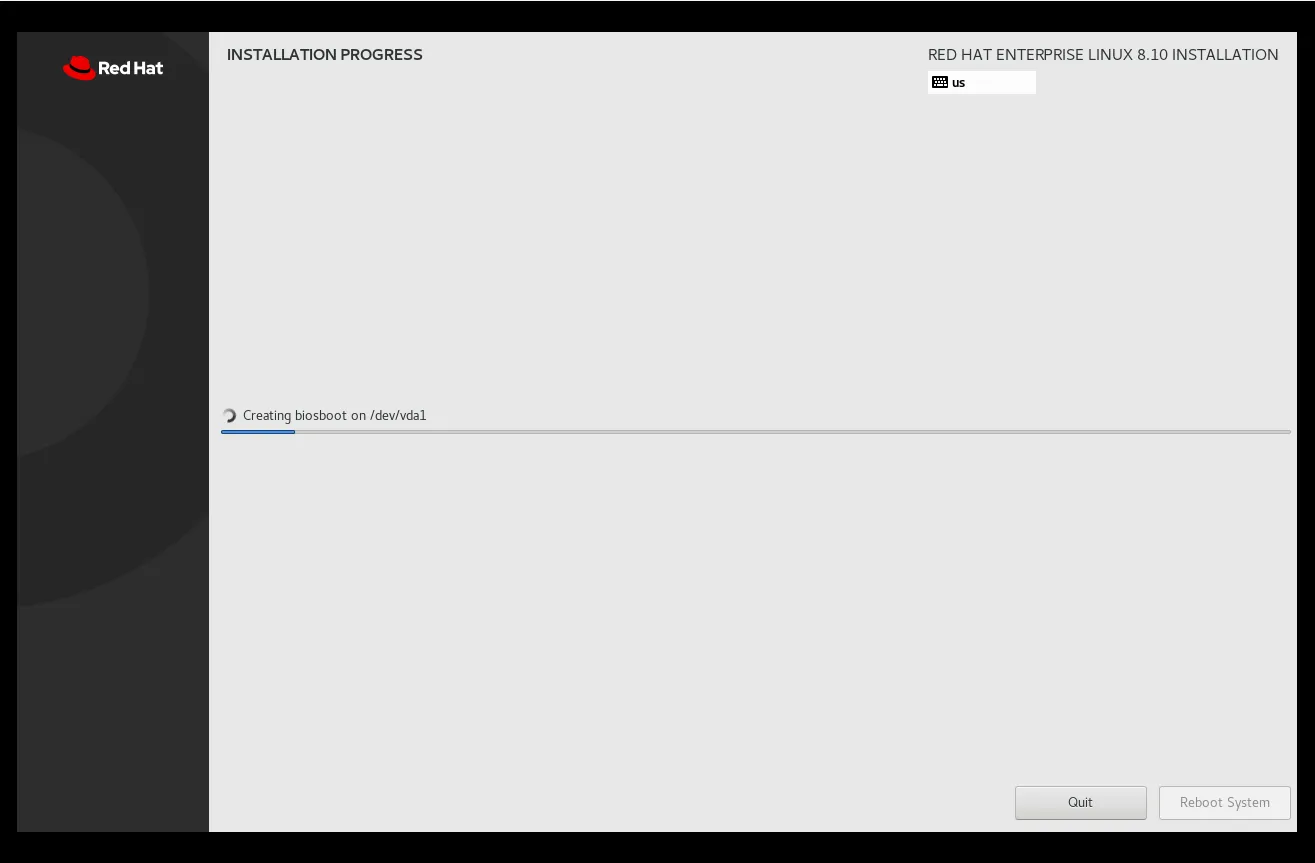
Photo by admingeek from Infotechys
Step 10: Reboot the System |
After the installation is complete, the system will prompt you to reboot. Click Reboot and remove the USB drive from the system to avoid booting from it again.
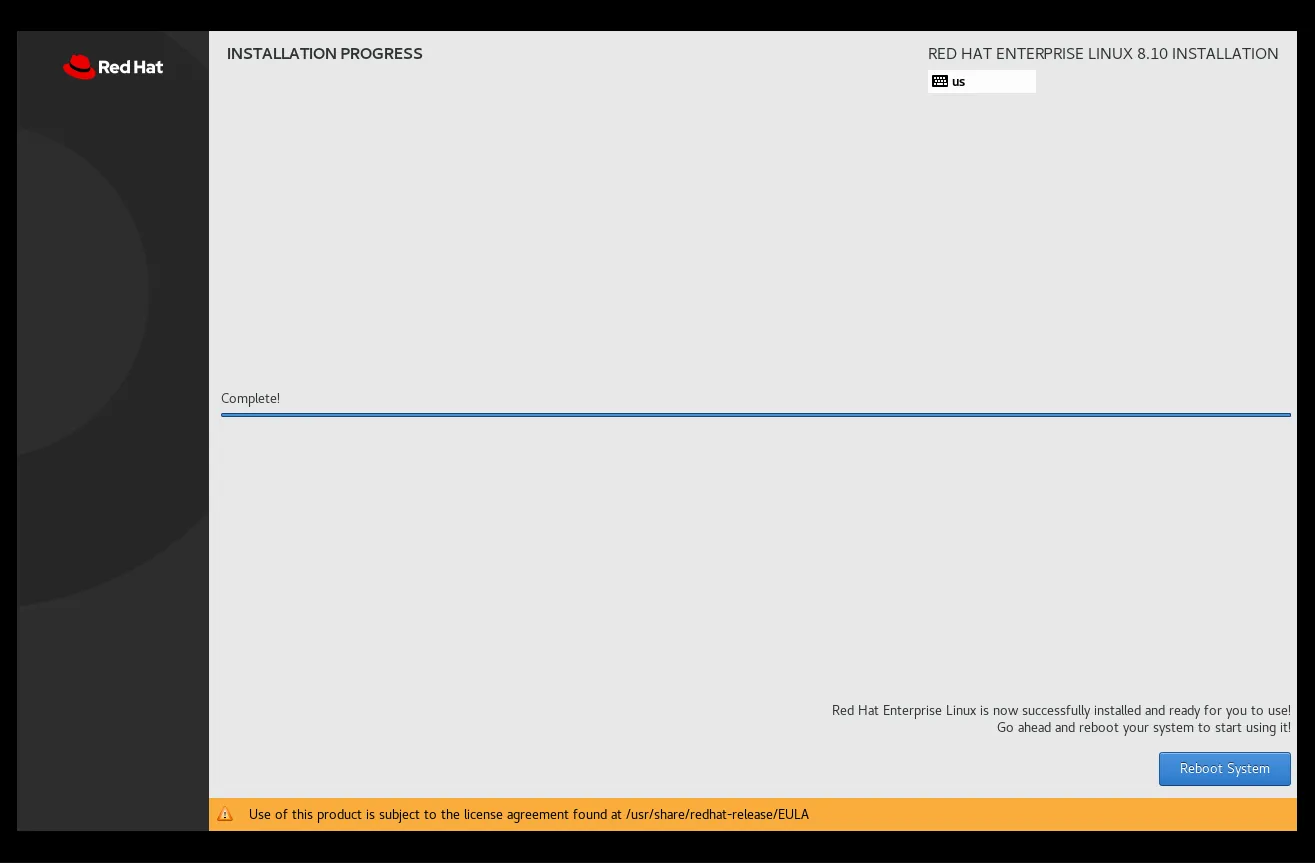
Photo by admingeek from Infotechys
The system will now boot into your newly installed RHEL 8.10 workstation.
Step 11: Post-Installation Setup |
Once you’ve booted into RHEL 8.10, you’ll want to perform a few post-installation tasks (e.g. Accept End User License Agreement or register your machine using Red Hat’s Subscription Manager):
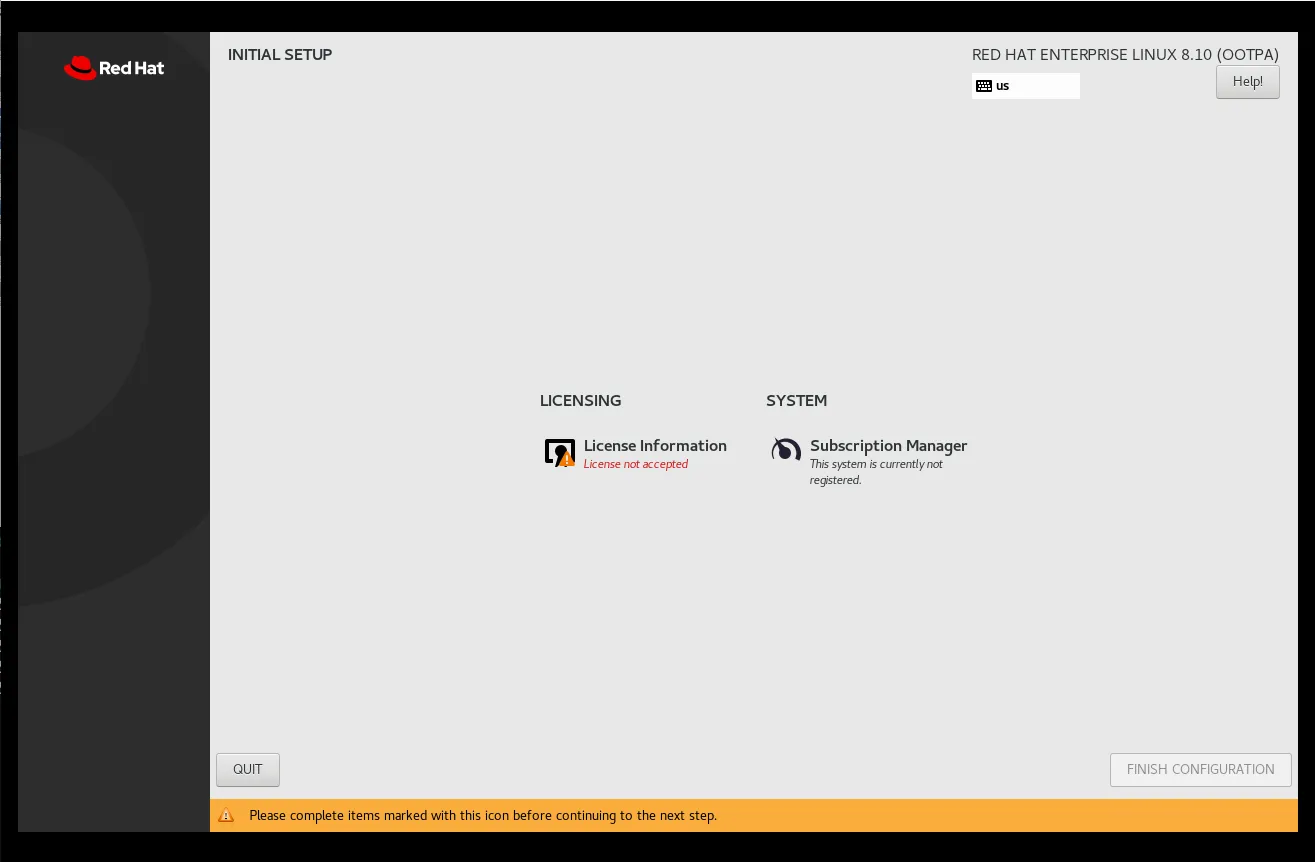
Photo by admingeek from Infotechys
Update Your Machine
It’s a good practice to run the command below after installation to make sure you have the latest security updates:
sudo dnf update -yInstall additional drivers or packages
Depending on your use case, you can install additional packages or drivers after installation. For example, run the following command to install the Broadcom driver:
sudo dnf install broadcom-wlEnable Firewall Service
Depending on your environment, you may also want to enable certain security services, such as a firewall.
sudo systemctl enable --now firewalld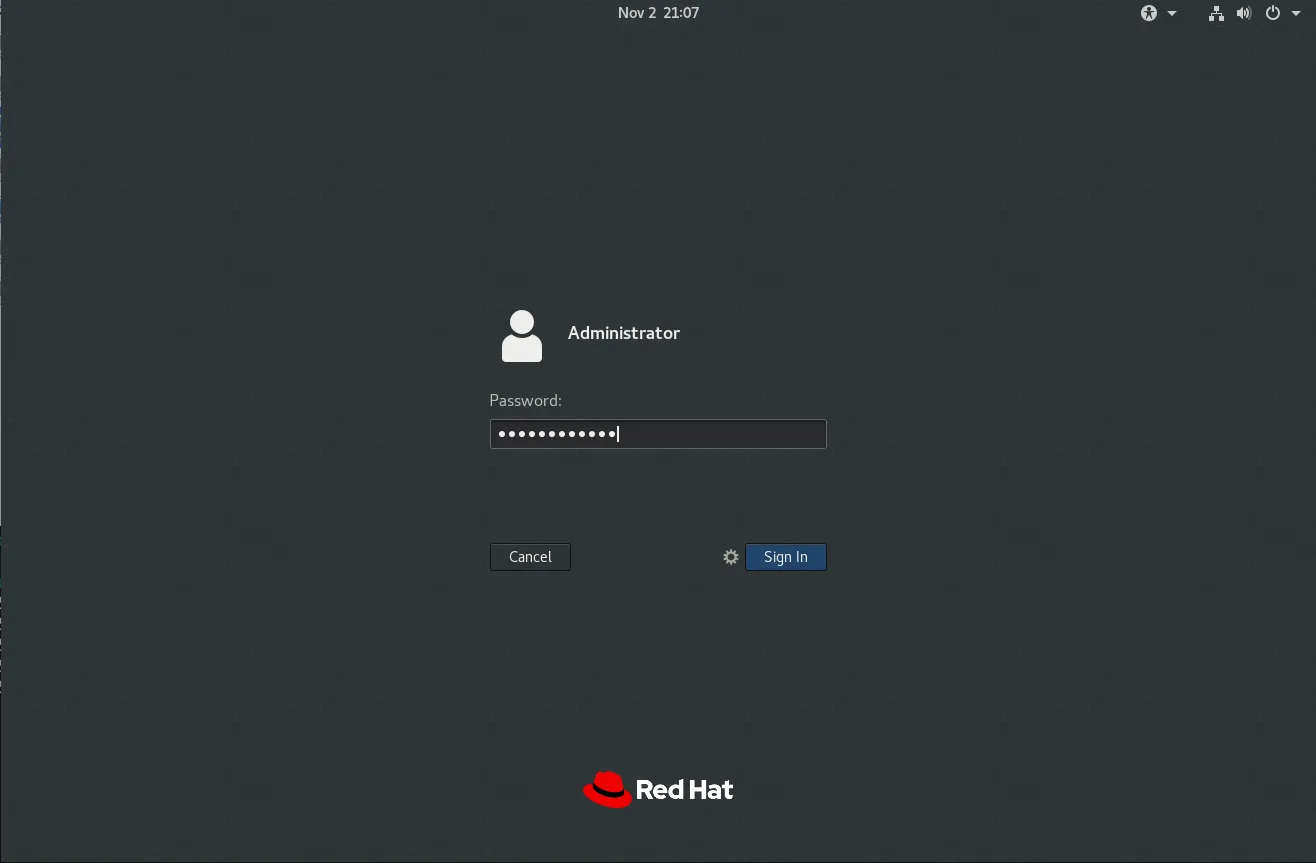
Photo by admingeek from Infotechys


No comments:
Post a Comment