Introduction
Rancher is an open-source platform that makes it easy to deploy, manage, and secure Kubernetes clusters. This guide will walk you through the process of installing Rancher on RHEL 9 and CentOS 9, ensuring that you can efficiently manage your Kubernetes environments. By following these steps, you’ll not only have a running Rancher instance but also optimize your installation for better performance and scalability.
Prerequisites
Before you begin the installation, ensure that you have the following:
- A RHEL 9 or CentOS 9 server with a minimum of 2 GB RAM.
- Sudo or root access to the server.
- A reliable internet connection.
System Requirements |
| Component | Minimum Requirement |
|---|---|
| CPU | 2 vCPUs |
| RAM | 2 GB |
| Disk Space | 20 GB |
| OS | RHEL 9 / CentOS |
For demonstration purposes, we will utilize the following hostname and IP address for our server:
# Rancher VM
192.168.1.224	rancher.dev.naijalabs.net rancher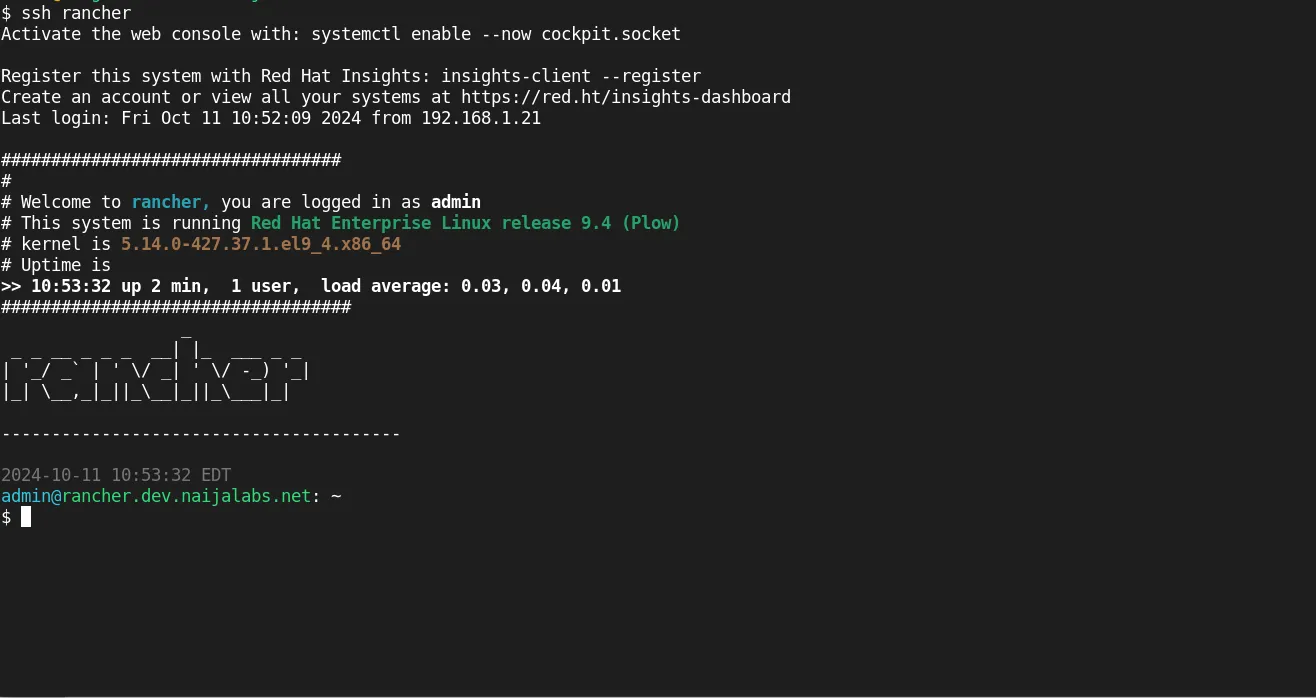
Photo by admingeek from Infotechys
Install Rancher on RHEL 9 | CentOS 9: Step-by-Step Instructions
Step 1: Update Your System |
Before installing any packages, it’s crucial to update your system to ensure all existing packages are up-to-date. Run the following command:
$ sudo dnf update -yThis command will update all installed packages to their latest versions, providing you with the latest security patches and performance improvements.
Step 2: Install Docker |
Rancher runs as a Docker container, so you need to install Docker on your system. Follow these steps to install Docker on RHEL 9 or CentOS 9:
Add the Docker repository |
$ sudo dnf config-manager --add-repo=https://download.docker.com/linux/centos/docker-ce.repoAdding repo from: https://download.docker.com/linux/centos/docker-ce.repoInstall Docker |
$ sudo dnf install docker-ce docker-ce-cli containerd.io -yStart and enable Docker |
$ sudo systemctl enable --now dockerCreated symlink /etc/systemd/system/multi-user.target.wants/docker.service → /usr/lib/systemd/system/docker.service.Verify Docker installation |
You can verify that Docker is running correctly with the following command:
$ sudo docker run hello-world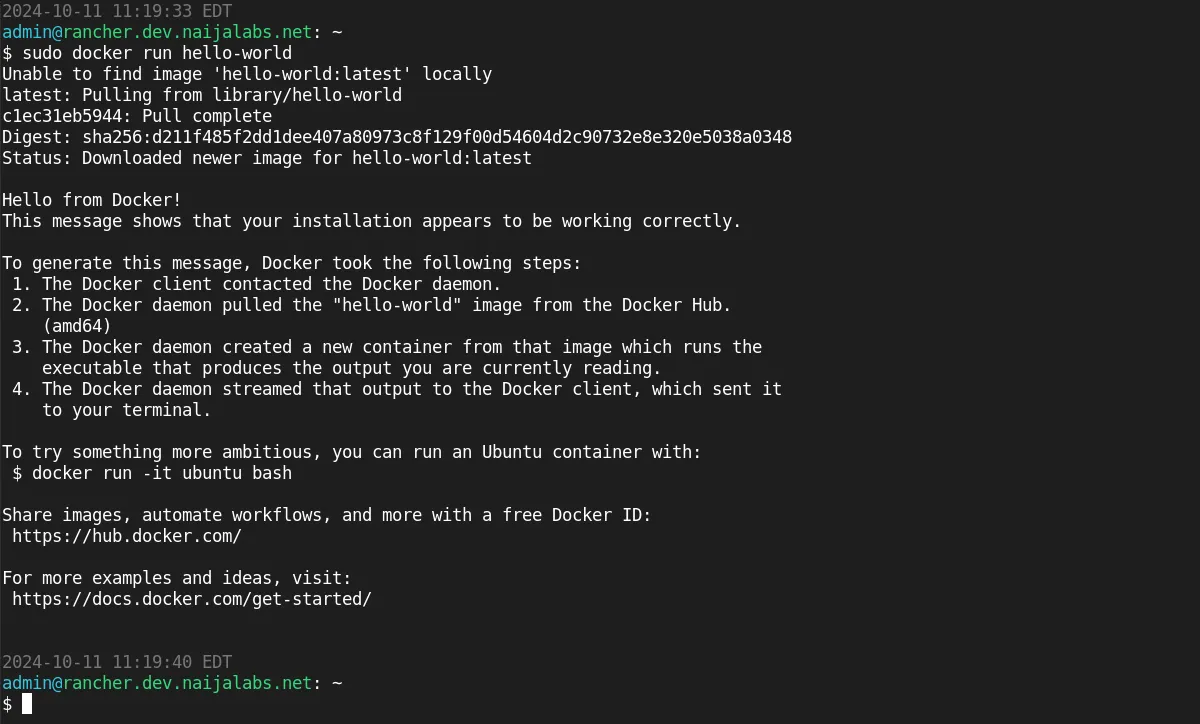
Photo by admingeek from Infotechys
If Docker is installed correctly, you should see a confirmation message (above).
Step 3: Install Rancher |
With Docker installed, you can now install Rancher. First, pull down the latest rancher image (Rancher version 2.9.2 as of the date of this publication):
$ sudo docker pull rancher/rancher...omitted for brevity...
967086fd121e: Pull complete
9b1f5f3a8e71: Pull complete
5973bb25bfb0: Pull complete
3568bc303555: Pull complete
ccd876f3e682: Pull complete
Digest: sha256:9c2435827884627a3f7472f63b87989724a1229079654e83073ac9160b8dbd08
Status: Downloaded newer image for rancher/rancher:latest
docker.io/rancher/rancher:latestNext, ensure the necessary kernel modules are loaded with the modprobe command:
$ sudo modprobe ip_conntrack$ sudo modprobe ip_tables$ sudo modprobe ipt_state$ sudo modprobe iptable_filterThen, run rancher as a Docker container image using the following command:
$ sudo docker run -d --restart=unless-stopped --privileged --network bridge -p 80:80 -p 443:443 rancher/rancherGlossary: Commands
|
Open firewall for port 80 and 443 |
$ sudo firewall-cmd --permanent --add-port=80/tcp --add-port=443/tcp && sudo firewall-cmd --reloadStep 4: Accessing the Rancher UI |
Once Rancher is up and running, you can access the Rancher UI through your web browser. Open your browser and navigate to: http://your-server-IP-address or https://your-server-IP-address :
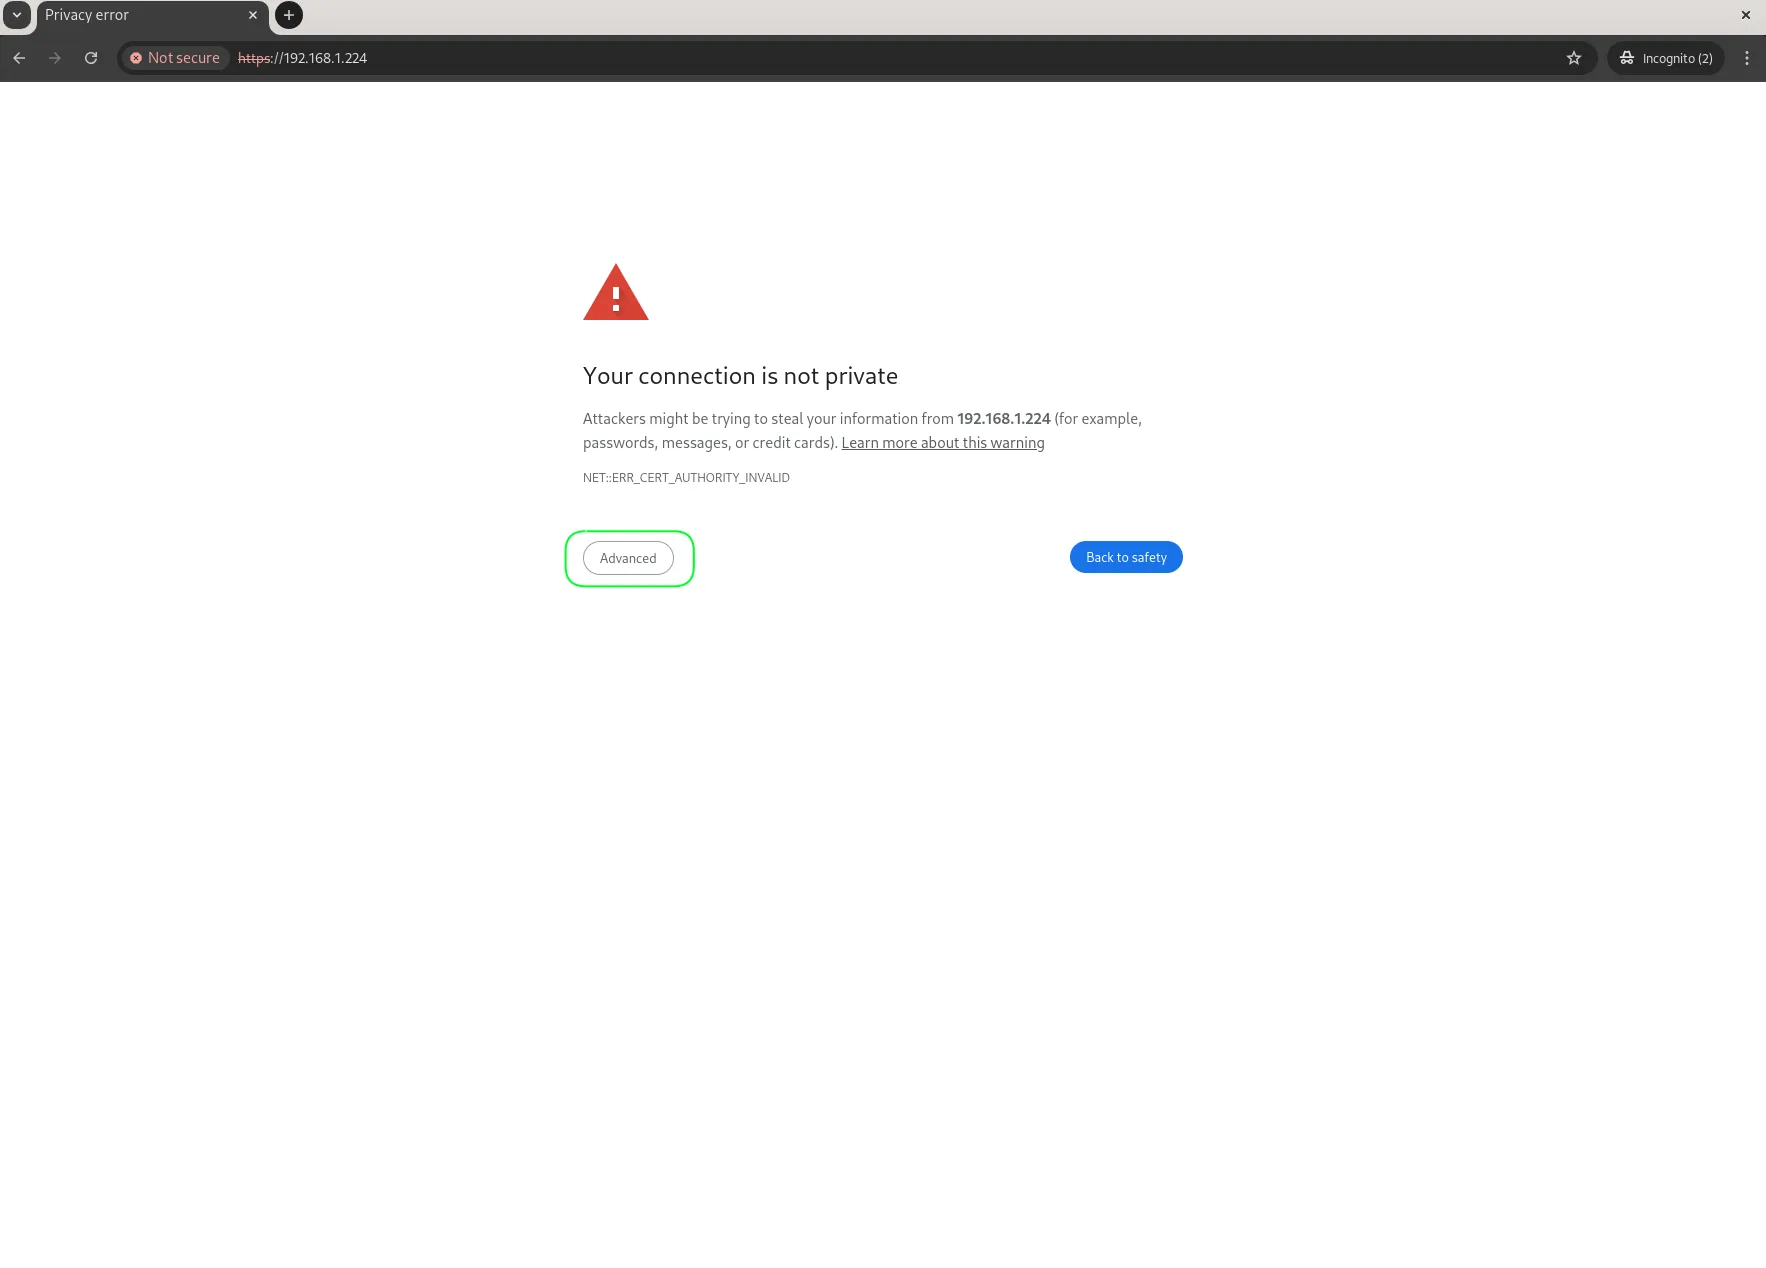
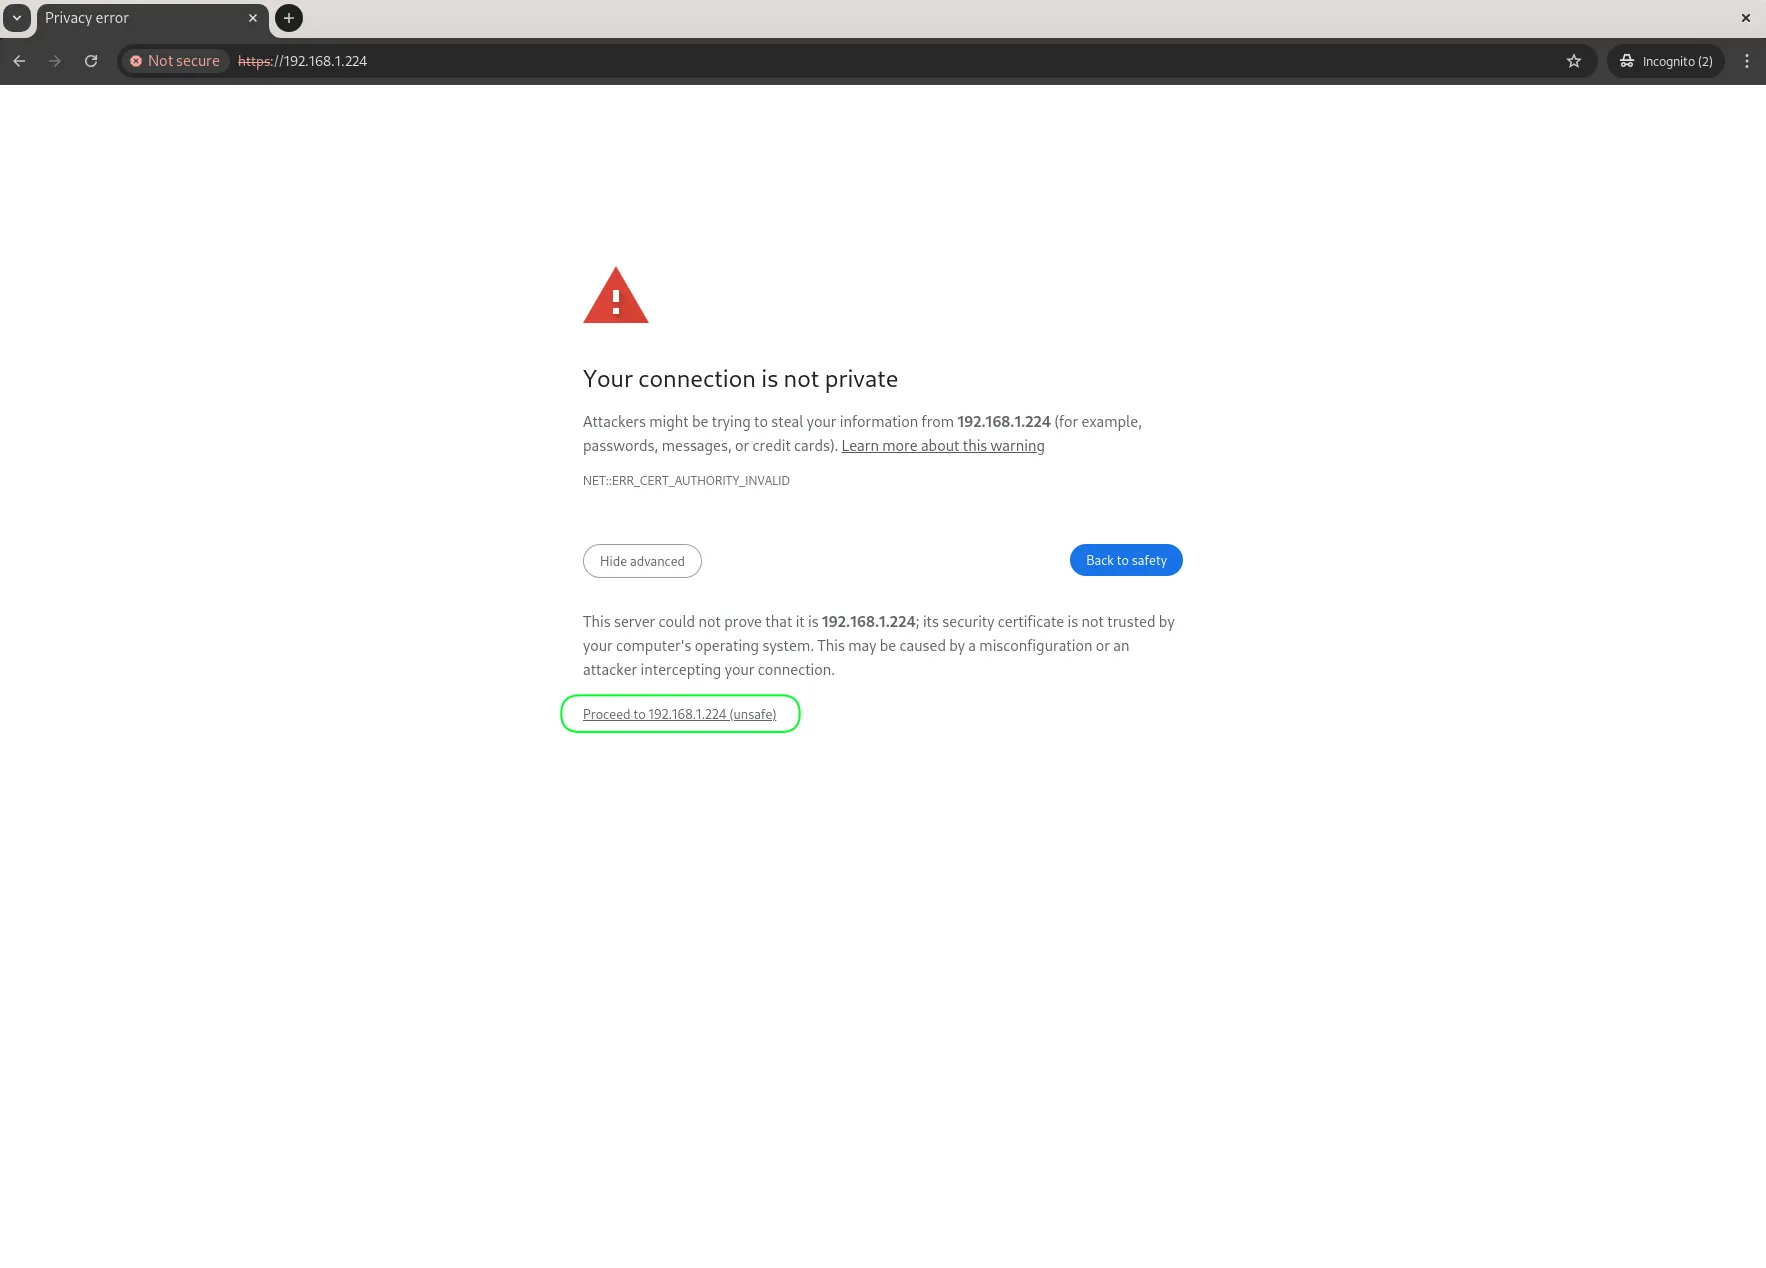
Photo by admingeek from Infotechys
Initially, the Rancher interface will be insecure due to the absence of SSL certificates. Depending on your browser, you may need to click a button to acknowledge the risk and proceed.
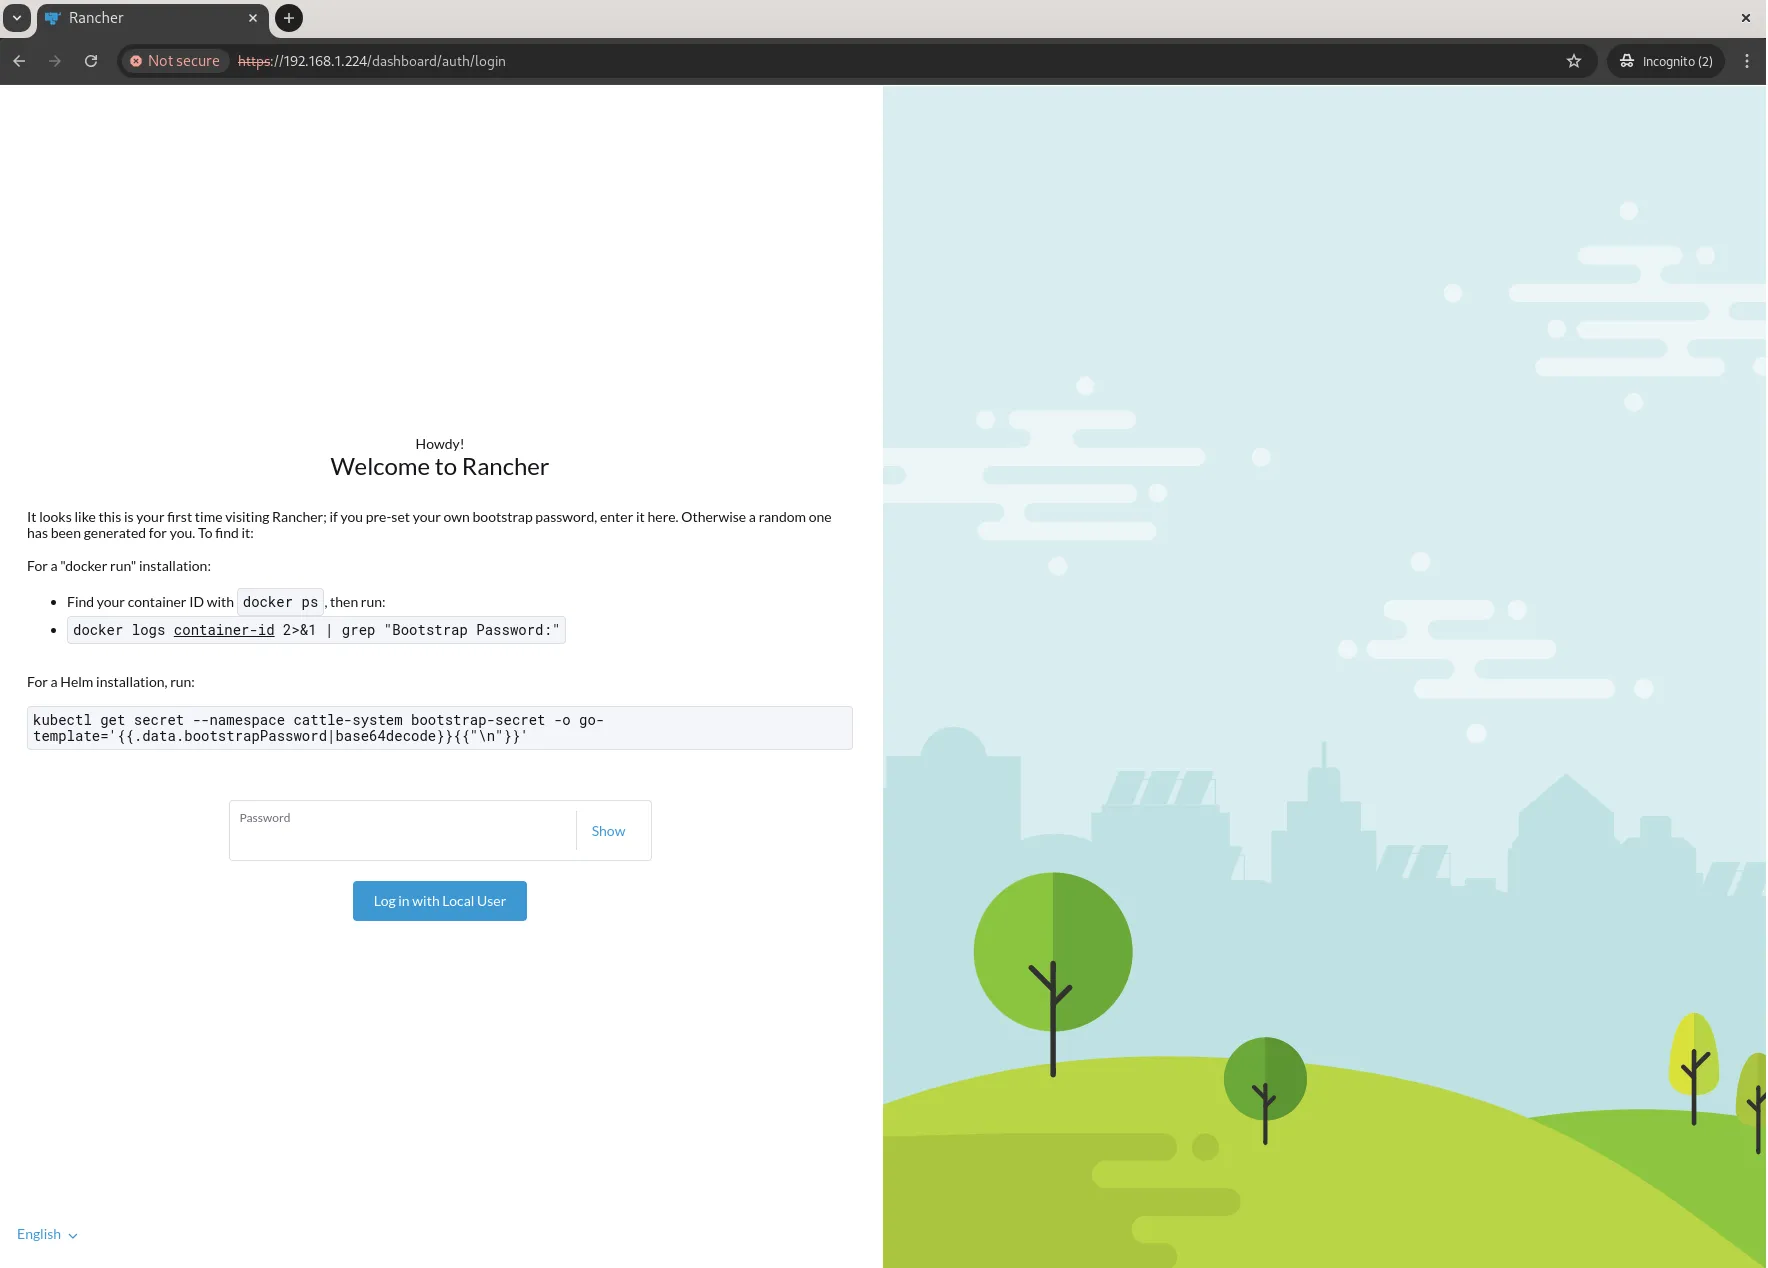
Photo by admingeek from Infotechys
On your first visit, you will be prompted to set an admin or bootstrap password. Make sure to choose a strong password for security purposes. Run the following command to extract your container ID:
$ sudo docker ps | awk '{ print $1 }' | tail -n 10e0d1a8c3d80Then, locate your initial “Bootstrap Password” with the following command (Replace 0e0d1a8c3d80 with your actual container ID:):
$ sudo docker logs 0e0d1a8c3d80 2>&1 | grep "Bootstrap Password:"2024/10/11 16:32:21 [INFO] Bootstrap Password: 9b4vfnh8z72bwhxmghbff674c2qkshp2jthlwnhjl6qlmgfs8qg44sYou can either set your own password or use the randomly generated one. For this demonstration, we’ll choose to set our own password.
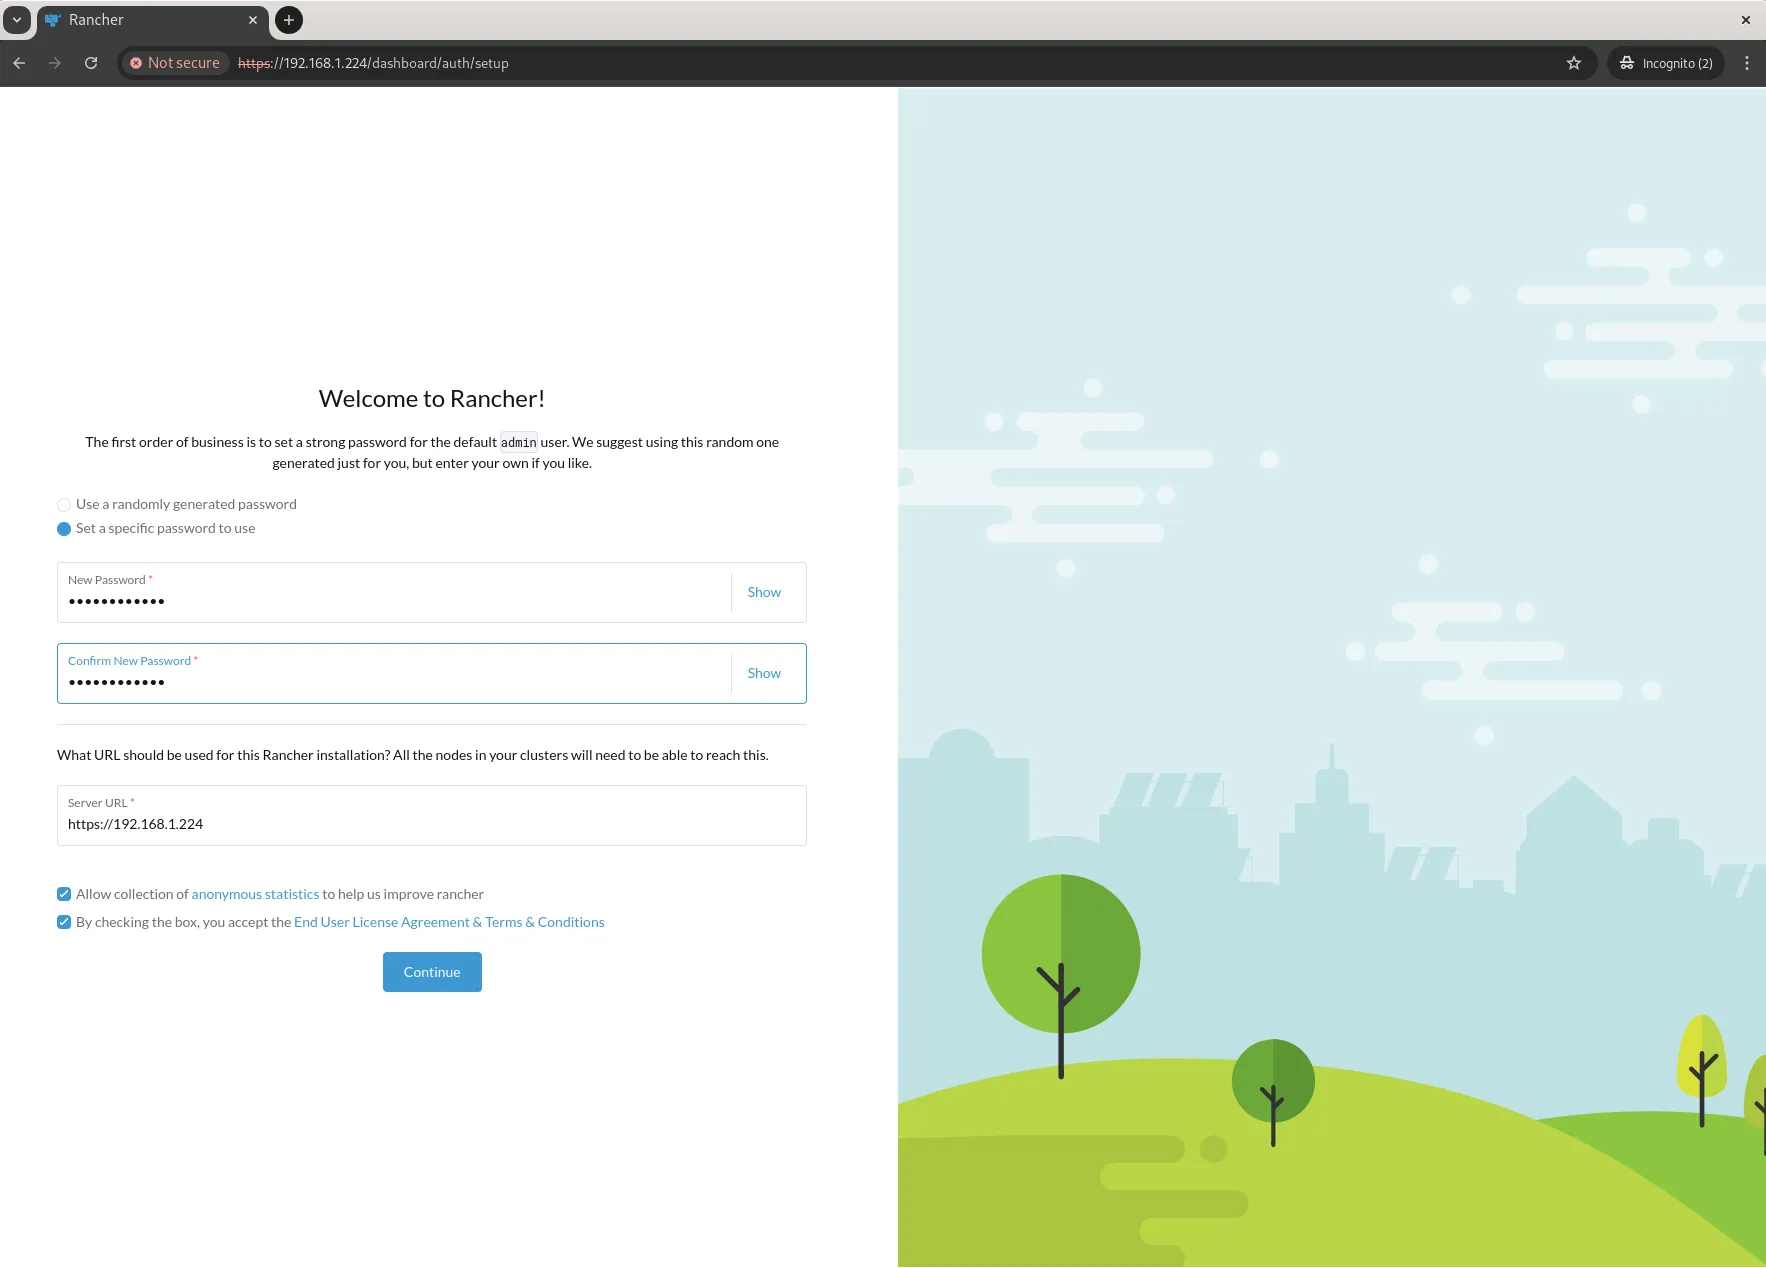
Photo by admingeek from Infotechys
Check the box to accept the terms and conditions, then click the Continue button to proceed to the dashboard.
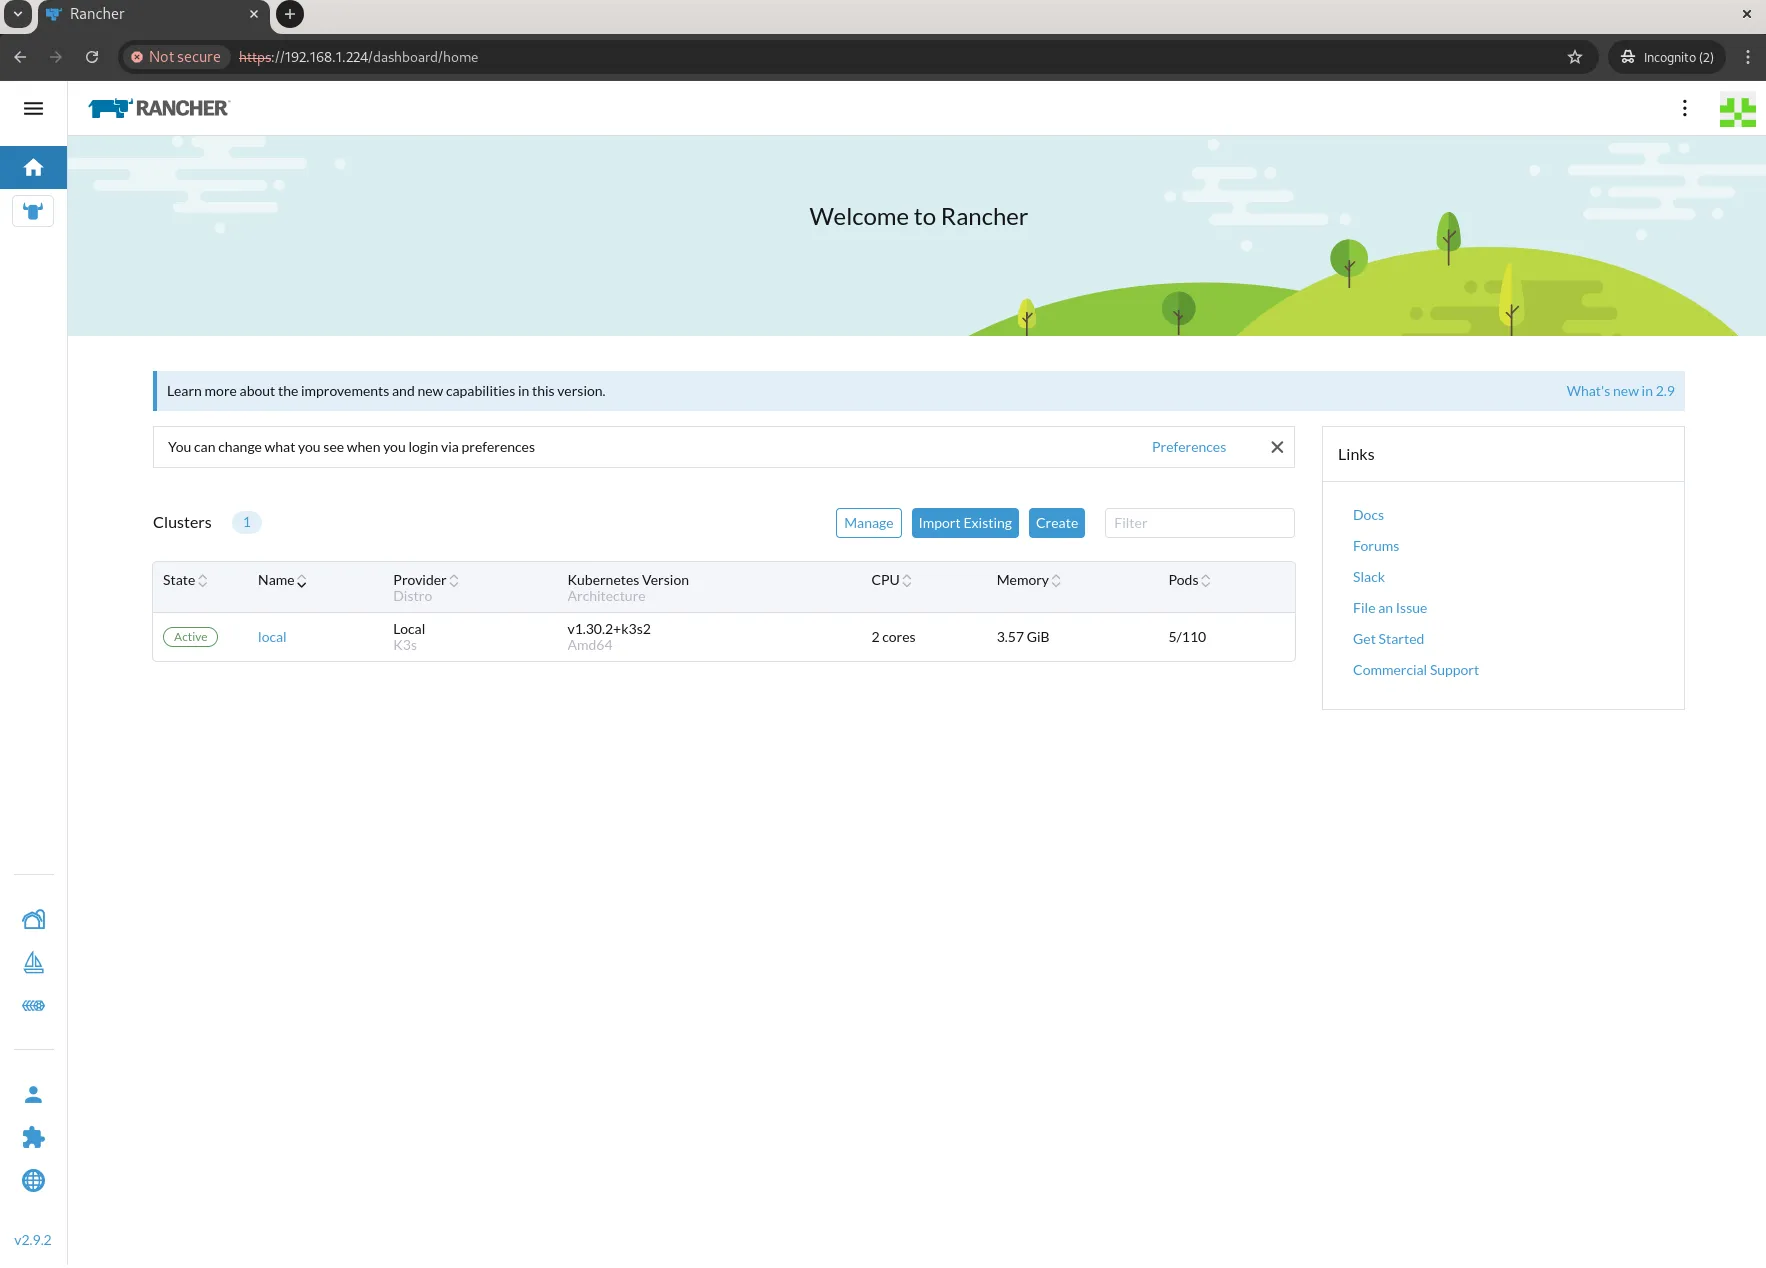
Photo by admingeek from Infotechys
Install Rancher on RHEL 9 | CentOS 9: Post-Installation Configuration
After installing Rancher, there are a few additional configurations you might want to perform:
Configure SSL Certificates |
For production environments, it’s highly recommended to configure SSL certificates. You can use Let’s Encrypt for free SSL certificates. To enable SSL, you can follow these commands:
Install Certbot |
$ sudo dnf install certbot -yObtain a certificate |
$ sudo certbot certonly --standalone -d yourdomain.comConfigure Rancher to use the certificates |
You can mount the SSL certificates in your Rancher container by modifying the docker run command:
However, you’ll need to first stop your running rancher container:
$ sudo docker psCONTAINER ID IMAGE COMMAND CREATED STATUS PORTS NAMES
0e0d1a8c3d80 rancher/rancher "entrypoint.sh" 3 hours ago Up 2 hours 0.0.0.0:80->80/tcp, :::80->80/tcp, 0.0.0.0:443->443/tcp, :::443->443/tcp pedantic_heisenberg$ sudo docker stop <your-container-ID or Name>Then, modify the docker run command to point to the locations of your certificate and key files.
$ sudo docker run -d --restart=unless-stopped --privileged --network bridge -p 80:80 -p 443:443 -v /etc/letsencrypt/live/naijalabs.net/fullchain.pem:/etc/rancher/ssl/cert.pem -v /etc/letsencrypt/live/naijalabs.net/privkey.pem:/etc/rancher/ssl/key.pem rancher/rancher136af551e01b574c3c5ef9c8407fa1e42dab775aac177f10c7e72f5f812ba6e6Verify your new container is operational:
$ sudo docker psCONTAINER ID IMAGE COMMAND CREATED STATUS PORTS NAMES
136af551e01b rancher/rancher "entrypoint.sh" 11 seconds ago Up 9 seconds 0.0.0.0:80->80/tcp, :::80->80/tcp, 0.0.0.0:443->443/tcp, :::443->443/tcp hardcore_cohenBackup Rancher |
Backing up your Rancher instance is essential for data safety. You can create a backup using the following command:
$ sudo docker exec -it <RANCHER_CONTAINER_ID> rancher backupReplace <RANCHER_CONTAINER_ID> with the actual container ID of your Rancher installation.
Troubleshooting Common Issues
Issue 1: Docker Fails to Start |
If Docker fails to start, check the logs for errors:
$ sudo journalctl -u docker.serviceIssue 2: Unable to Access Rancher UI |
If you’re unable to access the Rancher UI, ensure that the ports are correctly mapped and that any firewall settings allow traffic on ports 80 and 443. You can check the firewall status with:
$ sudo firewall-cmd --staterunningTo allow traffic on ports 80 and 443, run:
$ sudo firewall-cmd --permanent --add-port=80/tcp --add-port=443/tcp && sudo firewall-cmd --reload

No comments:
Post a Comment