Introduction
Visual Studio Code (VSCode) is a powerful, free source-code editor developed by Microsoft, designed to support a wide array of programming languages and frameworks. In this guide, we’ll go through the steps to install VSCode on Fedora 40 Workstation Edition, covering both the official and repository-based installation methods. This comprehensive tutorial ensures you get the latest version of VSCode up and running with minimal effort. We’ll also include table charts and CLI examples to make your setup as efficient as possible.
Prerequisites |
Before installing VSCode on Fedora 40, ensure that your system meets the following prerequisites:
| Requirement | Description |
|---|---|
| Fedora OS Version | Fedora 40 |
| User Privileges | Sudo privileges (for package management) |
| Internet Connection | Needed to download packages and dependencies |
Installing VSCode on Fedora 40 |
There are two primary ways to install Visual Studio Code on Fedora 40:
- Using the RPM package provided by Microsoft.
- Setting up the VSCode repository, which enables easy updates.
Installing via RPM Package |
The RPM package provides a straightforward way to install VSCode. Follow these steps:
Download the Latest VSCode RPM Package |
Open your terminal and download the VSCode package using the following command:
curl -L "https://code.visualstudio.com/sha/download?build=stable&os=linux-rpm-x64" -o vscode.rpm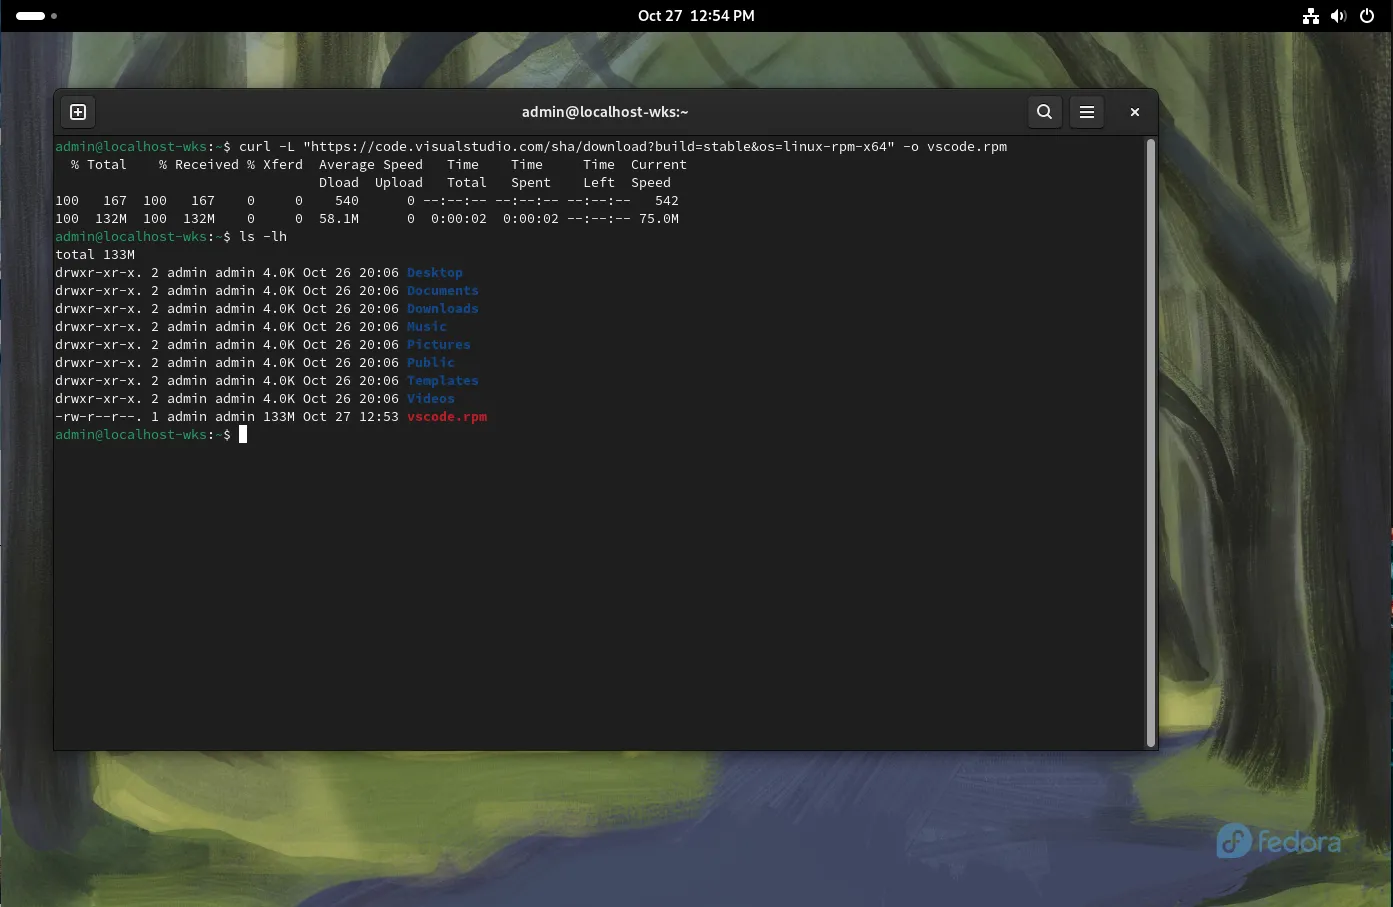
Photo by admingeek from Infotechys
Install the RPM Package |
Use the dnf package manager to install the downloaded package.
sudo dnf install ./vscode.rpm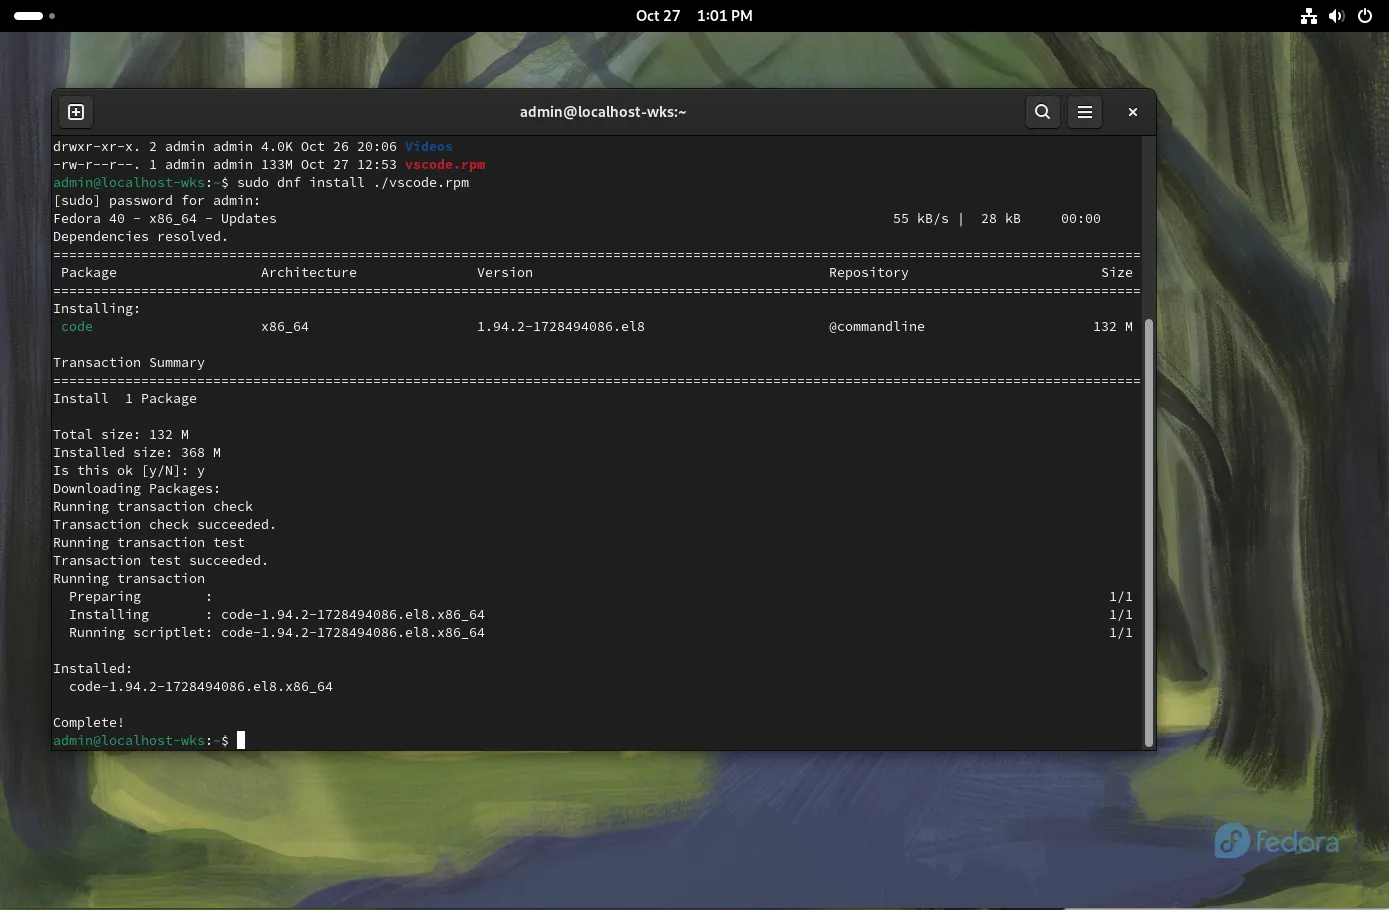
Photo by admingeek from Infotechys
Confirm Installation |
To verify that VSCode has been installed, you can run the following command to check the installed version:
code --version1.94.2
384ff7382de624fb94dbaf6da11977bba1ecd427
x64Installing via Repository |
Installing VSCode via its official repository is recommended for long-term use, as it makes updates easier.
Add the Microsoft Repository |
Microsoft offers an official repository for VSCode, which can be added by creating a .repo file.
sudo rpm --import https://packages.microsoft.com/keys/microsoft.ascsudo sh -c 'echo -e "[code]\nname=Visual Studio Code\nbaseurl=https://packages.microsoft.com/yumrepos/vscode\nenabled=1\ngpgcheck=1\ngpgkey=https://packages.microsoft.com/keys/microsoft.asc" > /etc/yum.repos.d/vscode.repo'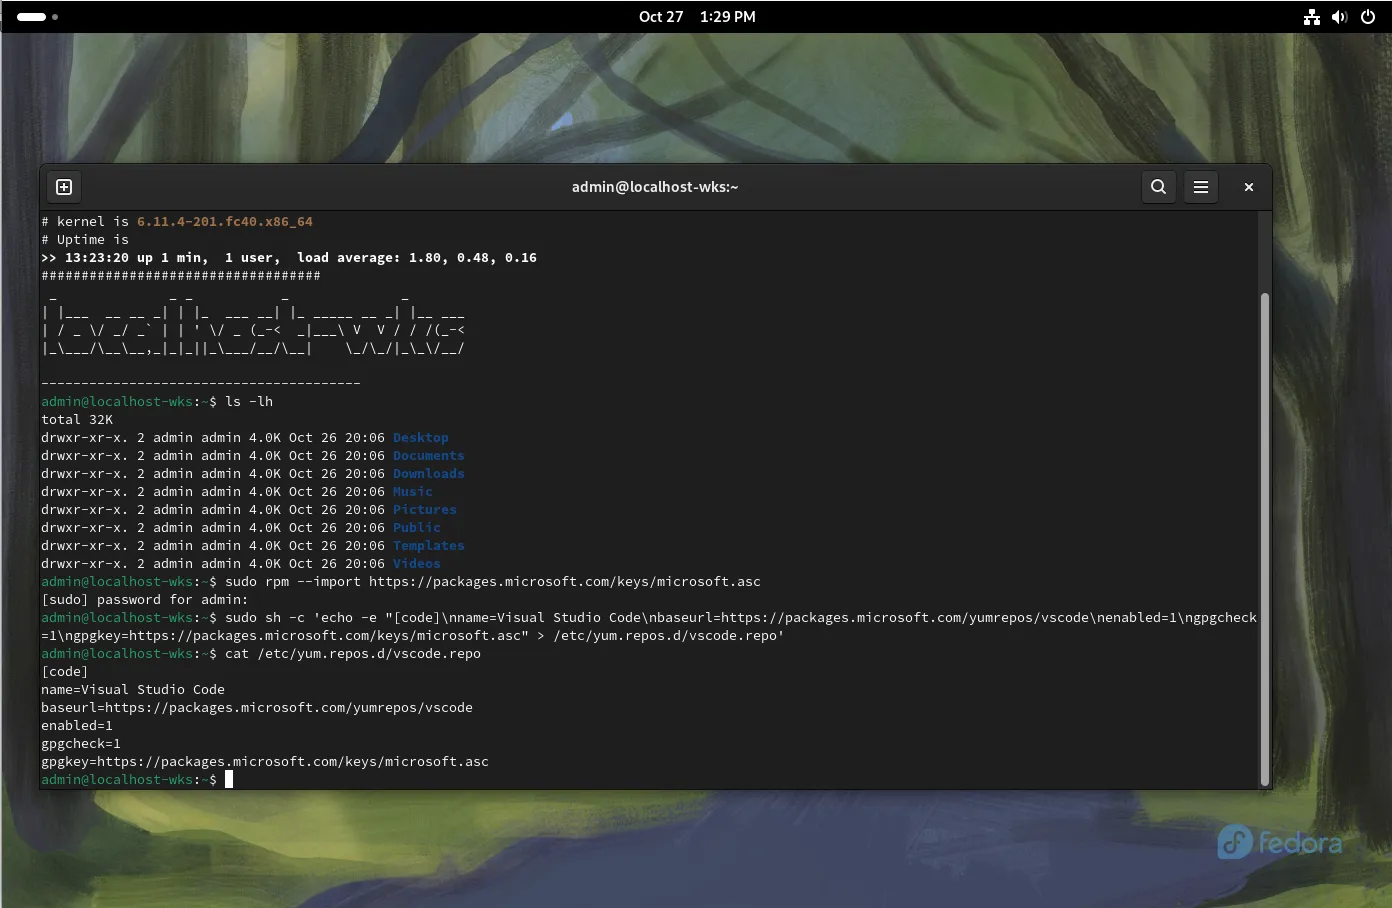
Photo by admingeek from Infotechys
Install VSCode Using DNF |
Now, install VSCode from the repository.
sudo dnf install code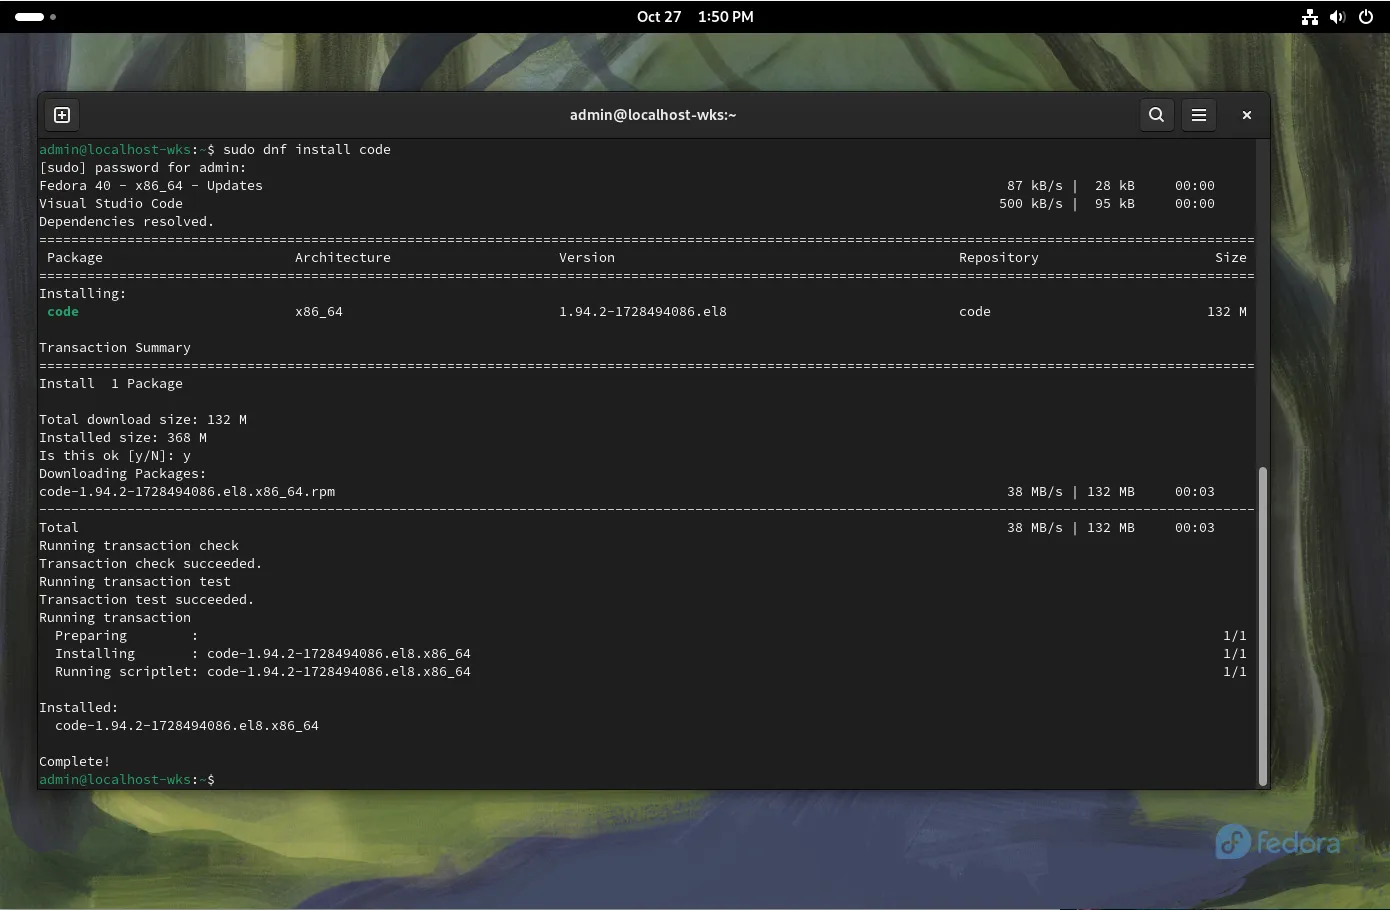
Photo by admingeek from Infotechys
Verify the Installation |
Check that VSCode was successfully installed by running:
code --versionIf installed correctly, this command will output the version number of VSCode, confirming a successful setup. Here’s a summary of both methods:
| Method | Commands | Advantages |
|---|---|---|
| RPM Package | curl -L “https://code.visualstudio.com/sha/download?build=stable&os=linux-rpm-x64” -o vscode.rpm sudo dnf install ./vscode.rpm | Quick installation |
| Official Repository | sudo rpm –import https://packages.microsoft.com/keys/microsoft.asc sudo sh -c ‘echo -e “[code] name=Visual Studio Code baseurl=https://packages.microsoft.com/yumrepos/vscode enabled=1 gpgcheck=1 gpgkey=https://packages.microsoft.com/keys/microsoft.asc” > /etc/yum.repos.d/vscode.repo’ sudo dnf install code | Automatic updates via dnf |
Launching VSCode
After installation, VSCode can be launched in a few different ways:
Via Terminal: |
codeThrough the Application Menu: |
- Open your application launcher (Gnome Activities or KDE Menu).
- Search for “Visual Studio Code” and click to open.

Photo by admingeek from Infotechys
Optional Configuration
Now that VSCode is installed, you may want to customize your environment with extensions, themes, and other configurations.
Installing Extensions |
VSCode extensions allow for enhanced development experiences. Here are some popular ones:
| Extension | Purpose | Installation Command |
|---|---|---|
| Python | Python development tools | code --install-extension ms-python.python |
| C/C++ | C/C++ language support | code --install-extension ms-vscode.cpptools |
| Prettier – Code Formatter | Code formatting | code --install-extension esbenp.prettier-vscode |
To install an extension, use:
code --install-extension <extension-id>For example, to install Python support:
code --install-extension ms-python.pythonInstalling extensions...
Installing extension 'ms-python.python'...
Extension 'ms-python.debugpy' v2024.12.0 was successfully installed.
Extension 'ms-python.python' v2024.16.1 was successfully installed.
Extension 'ms-python.vscode-pylance' v2024.10.1 was successfully installed.Configuring Themes |
To change themes:
- Launch VSCode.
- Go to File > Preferences > Color Theme.
- Choose a theme that fits your preferences.
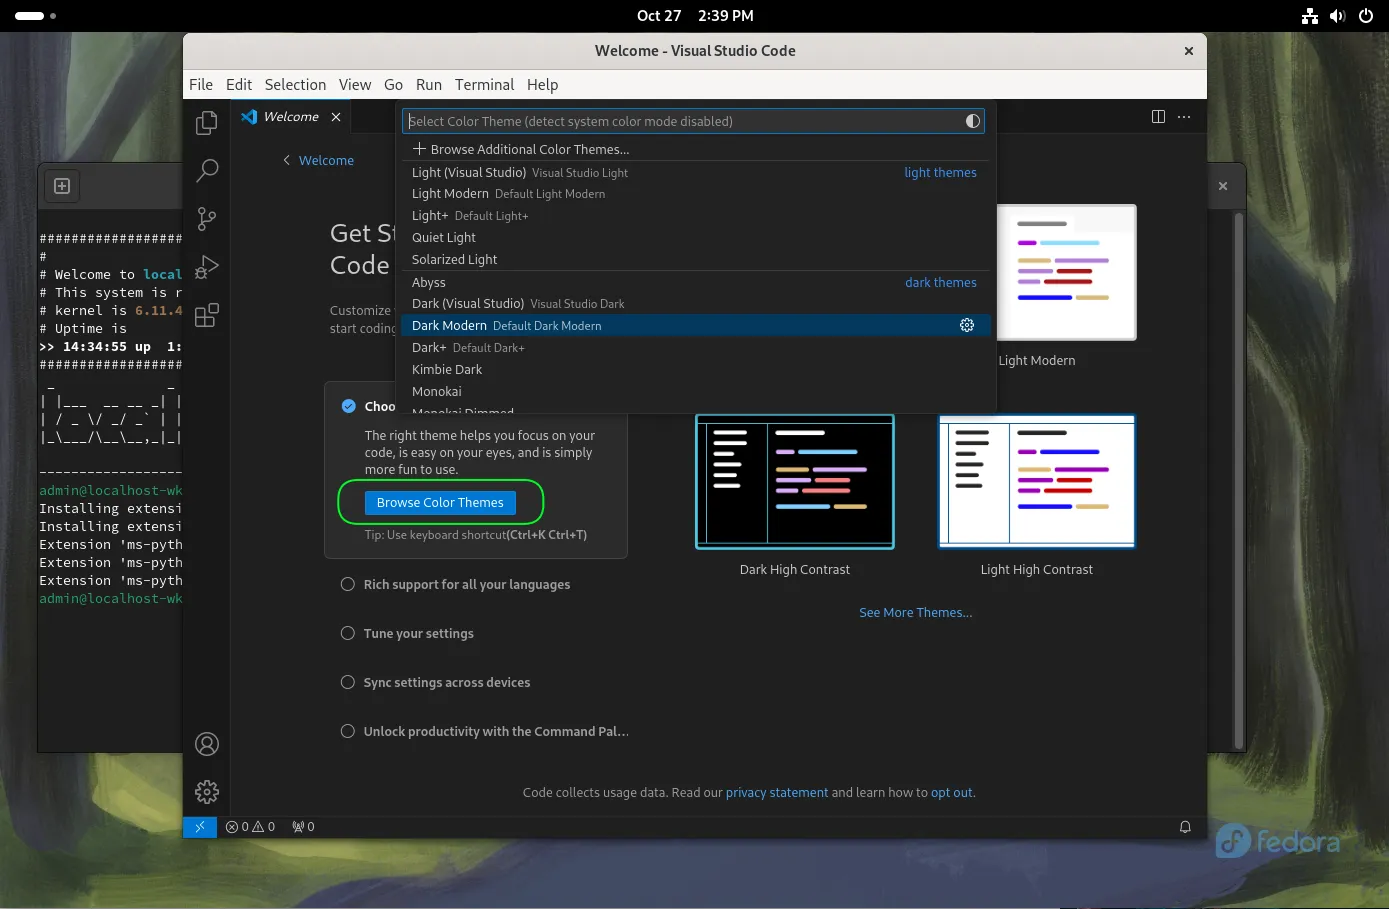
Photo by admingeek from Infotechys
Alternatively, you can click the Browse Color Themes button on the welcome screen to explore a variety of light and dark themes. For additional themes, install them from the marketplace, such as the popular “One Dark Pro” theme:
code --install-extension zhuangtongfa.material-themeInstalling extensions...
Installing extension 'zhuangtongfa.material-theme'...
Extension 'zhuangtongfa.material-theme' v3.17.5 was successfully installed.Troubleshooting
If you encounter any issues during installation, here are some troubleshooting tips:
Problem: |
Solution: Make sure the installation completed successfully. Restart your terminal or log out and log back in to apply the PATH changes.
Problem: |
Solution: Verify that the GPG key was imported correctly with the following command:
sudo rpm --import https://packages.microsoft.com/keys/microsoft.asc

No comments:
Post a Comment