Introduction
In the realm of terminal multiplexers, Tmux stands tall as a powerful tool for managing multiple terminal sessions within a single window. Whether you’re a seasoned developer, a sysadmin, or a casual user, mastering Tmux can significantly enhance your productivity and workflow. In this guide, we’ll delve into the installation process and explore the myriad functionalities of Tmux on Linux or Debian distributions.
Why Tmux?
Before we dive into the installation process, let’s understand why Tmux is such a valuable tool. Tmux allows users to create and manage multiple terminal sessions within a single window. This means you can split your terminal window into multiple panes, run different commands simultaneously, and easily switch between them. Additionally, Tmux sessions persist even after you logout, making it perfect for remote server management.
Installing and Using Tmux: Installation Procedures
Installing Tmux on Linux or Debian is a straightforward process. First, ensure that your system’s package manager is up to date by running:
RHEL/CentOS/Fedora:
$ sudo yum update -y$ sudo dnf update -y # On Latest Versions of the OS (e.g. RHEL8 or CentOS9)Ubuntu/Debian/Kali Linux:
$ sudo apt update -y; sudo apt upgrade -yArch Linux:
$ sudo pacman -SyuInstalling Tmux
Once your package manager is updated, you can install Tmux using the following command:
RHEL/CentOS8+:
$ sudo dnf install tmux -yUbuntu/Debian/Kali Linux:
$ sudo apt install tmux -yArch Linux:
$ sudo pacman -S tmuxAfter the installation is complete, you can verify the installation by typing:
$ tmux -VThis command should display the installed version of Tmux.
Installing and Using Tmux: Basic Usage Examples
Now that Tmux is installed, let’s explore some basic usage scenarios.
Starting a New Session
To start a new Tmux session, simply type:
$ tmuxThis will create a new Tmux session with a single window.
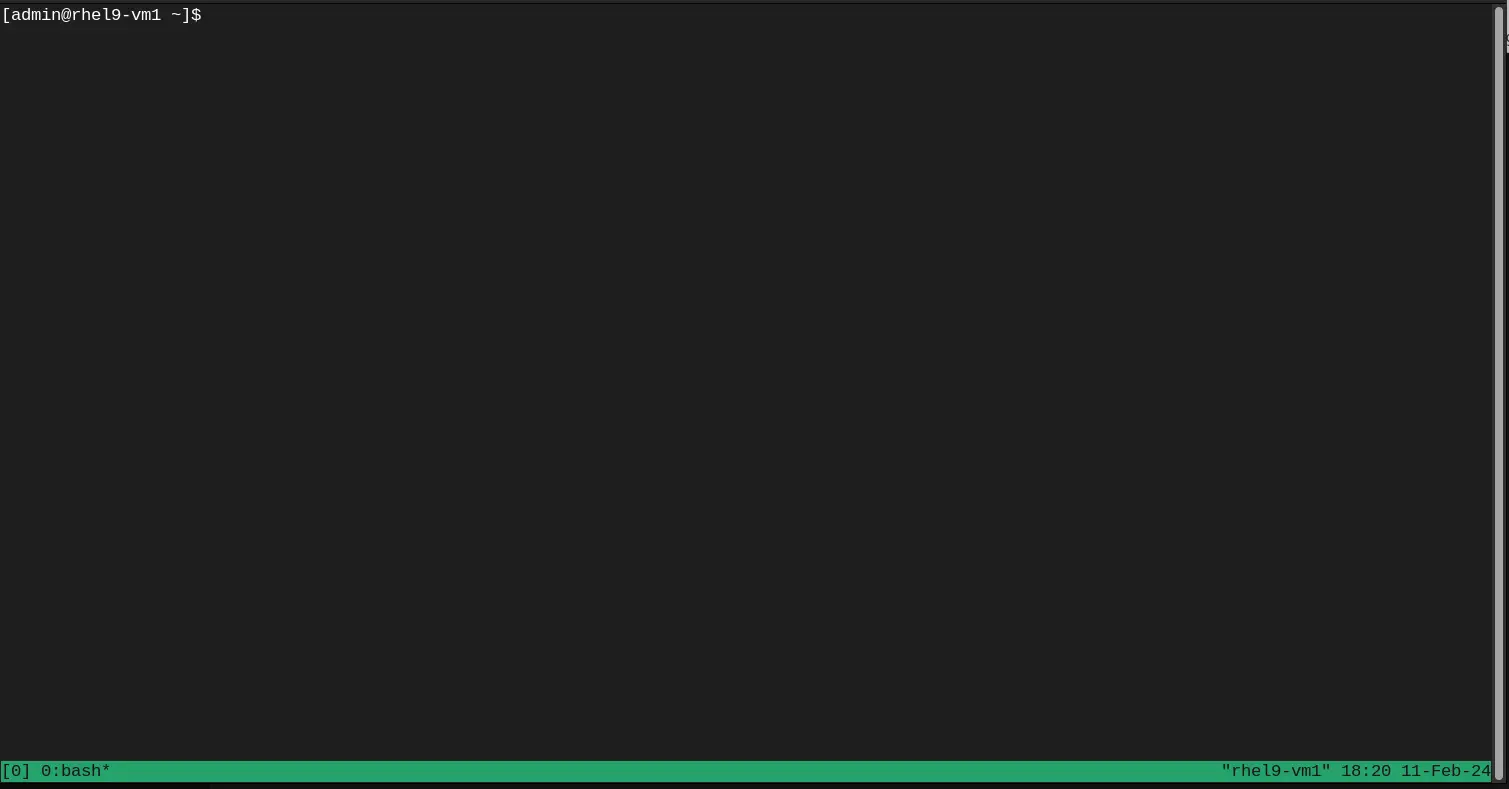
Photo by admingeek from Infotechys
Splitting Panes
One of the most powerful features of Tmux is the ability to split your terminal window into multiple panes. You can split horizontally by typing: Ctrl + b
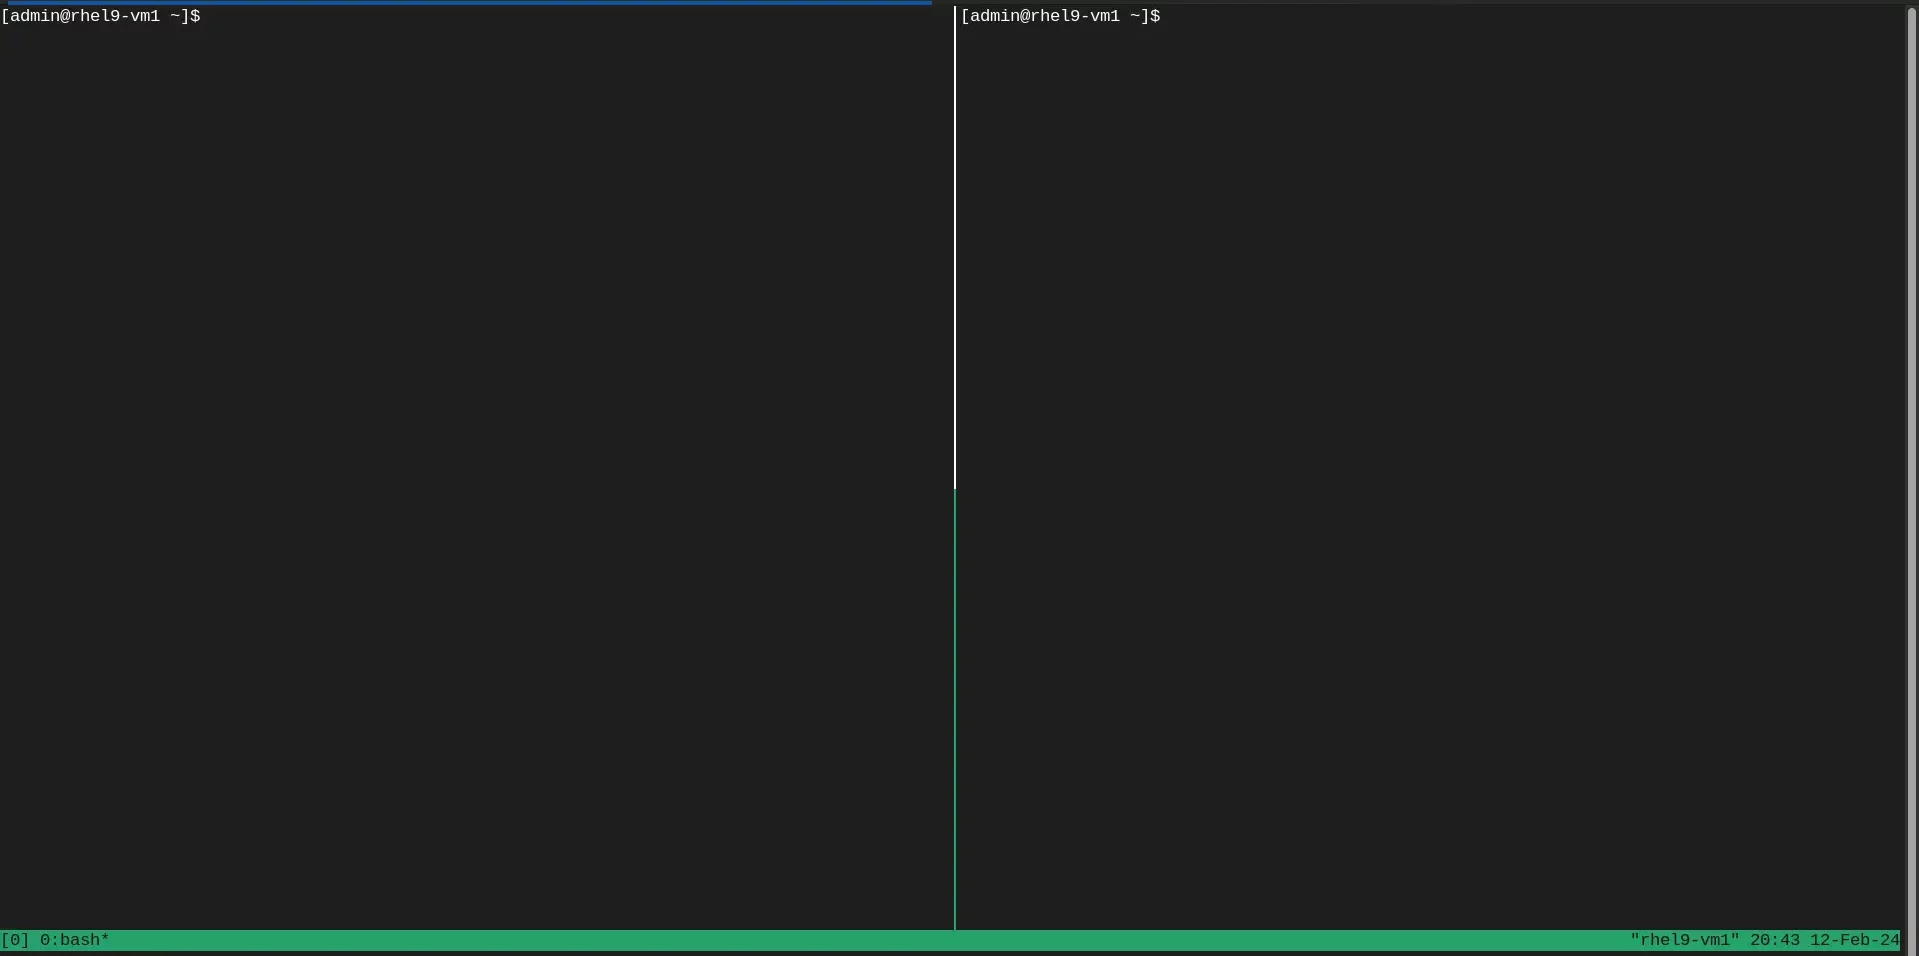
Photo by admingeek from Infotechys
The Ctrl + b keys are the prefix that inform Tmux to anticipate commands. Now enter the Shift + 5 keys for the % sign. This will split the window pane vertically as shown in the image above.
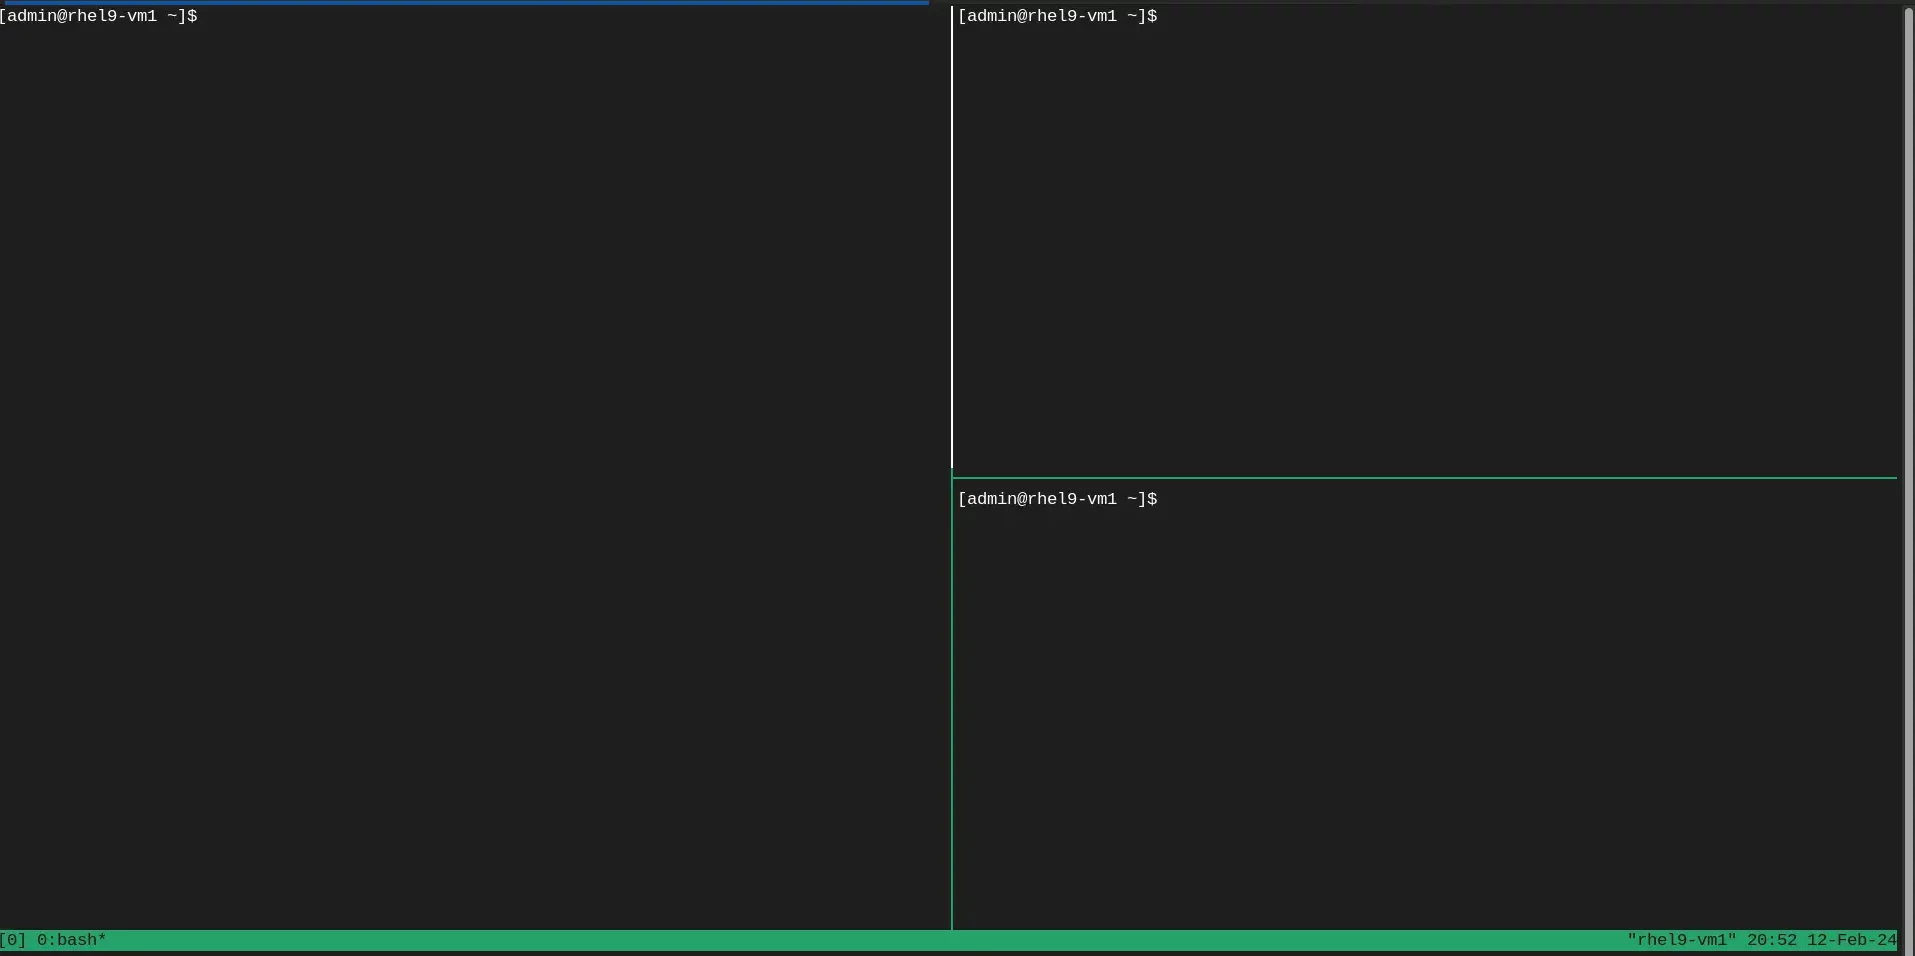
Photo by admingeek from Infotechys
To split window pane horizontally, Press Ctrl + b keys. Then the double quote Shift + (") key. This will split the pane horizontally as shown in the image above.
Navigating the Panes
To navigate between the panes, press the Ctrl + b key and the hit the arrow keys ←↑→ to navigate between panes.
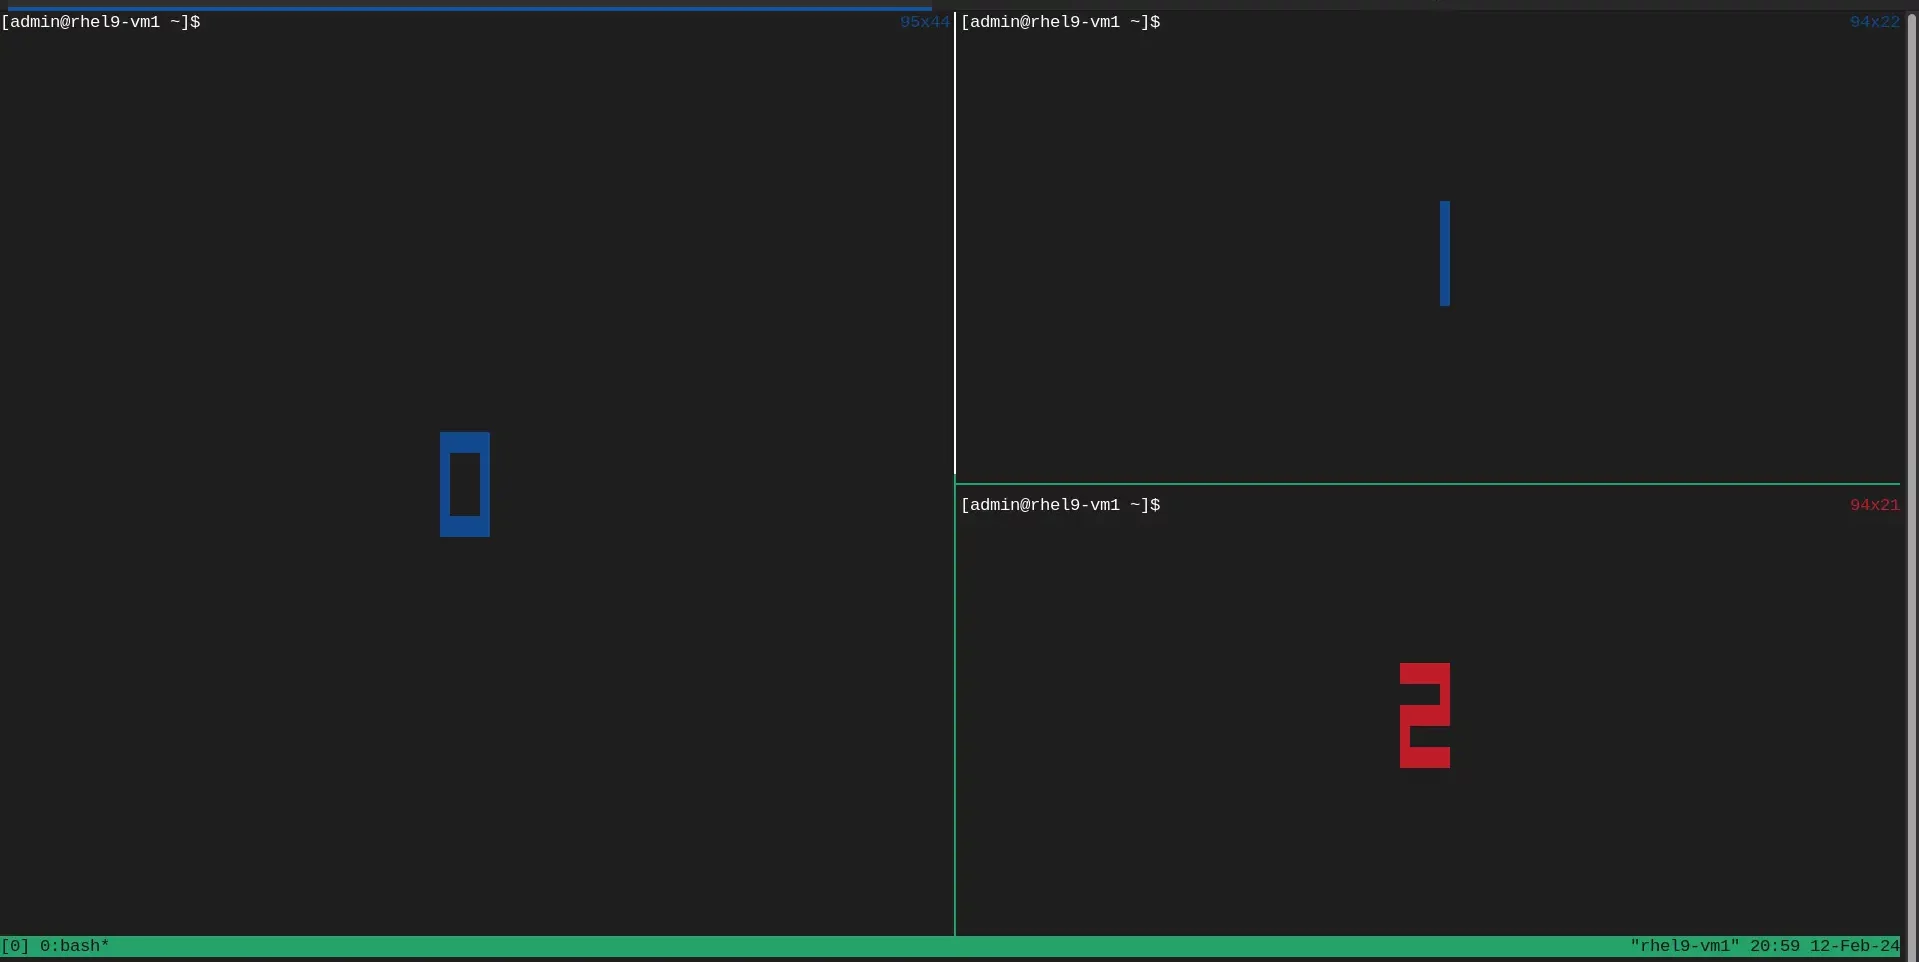
Photo by admingeek from Infotechys
Also, the Ctrl + b + q key will display an index number for each pane (as shown above). Meaning, you can enter Ctrl + b + q + index to navigate to the pane of your choice.
Creating Windows
You can create multiple windows by again hitting the Ctrl + b key and then, press the c key. As you can see (image below in red square), we’ve created multiple windows within our tmux session.
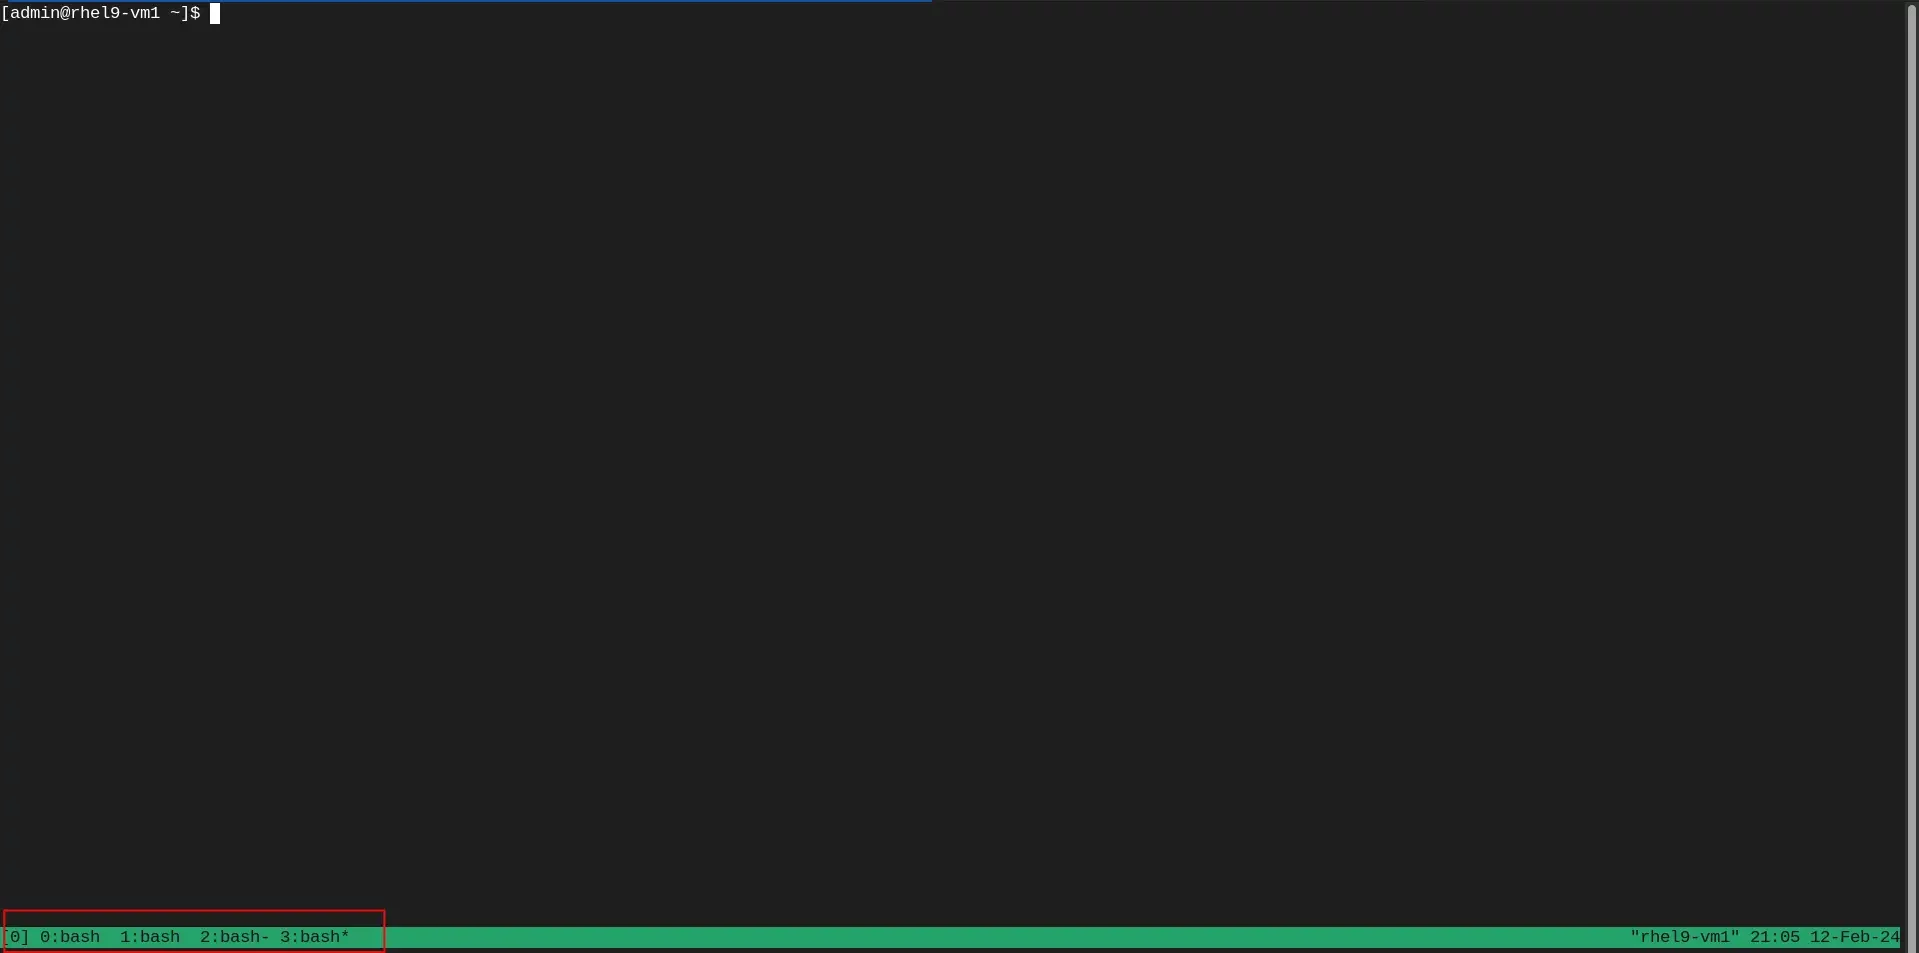
Photo by admingeek from Infotechys
Detaching and Attaching Sessions
To detach from a Tmux session without closing it, type the Ctrl + b and then, press the d key.
$ [admin@rhel9-vm1 ~]$ tmux
[detached (from session 0)]To attach to the tmux session again, simply type the following command:
$ tmux attachThis command will attach our most recent session.
Installing and Using Tmux: Advanced Usage
Named Sessions
$ tmux new -s mysessionThis will create a new tmux session window named mysession.
Customizing Tmux
Tmux configurations can be customized to suit your preferences. The configuration file is located at ~/.tmux.conf (if one doesn’t exist, just create it using your preferred text editor). Here’s an example of customizing the status bar (copy and paste the entries below into your ~/.tmux.conf file):
set -g status-bg blue
set -g status-fg whiteNow exit your session and re-enter. Notice the change in colors (image below)?
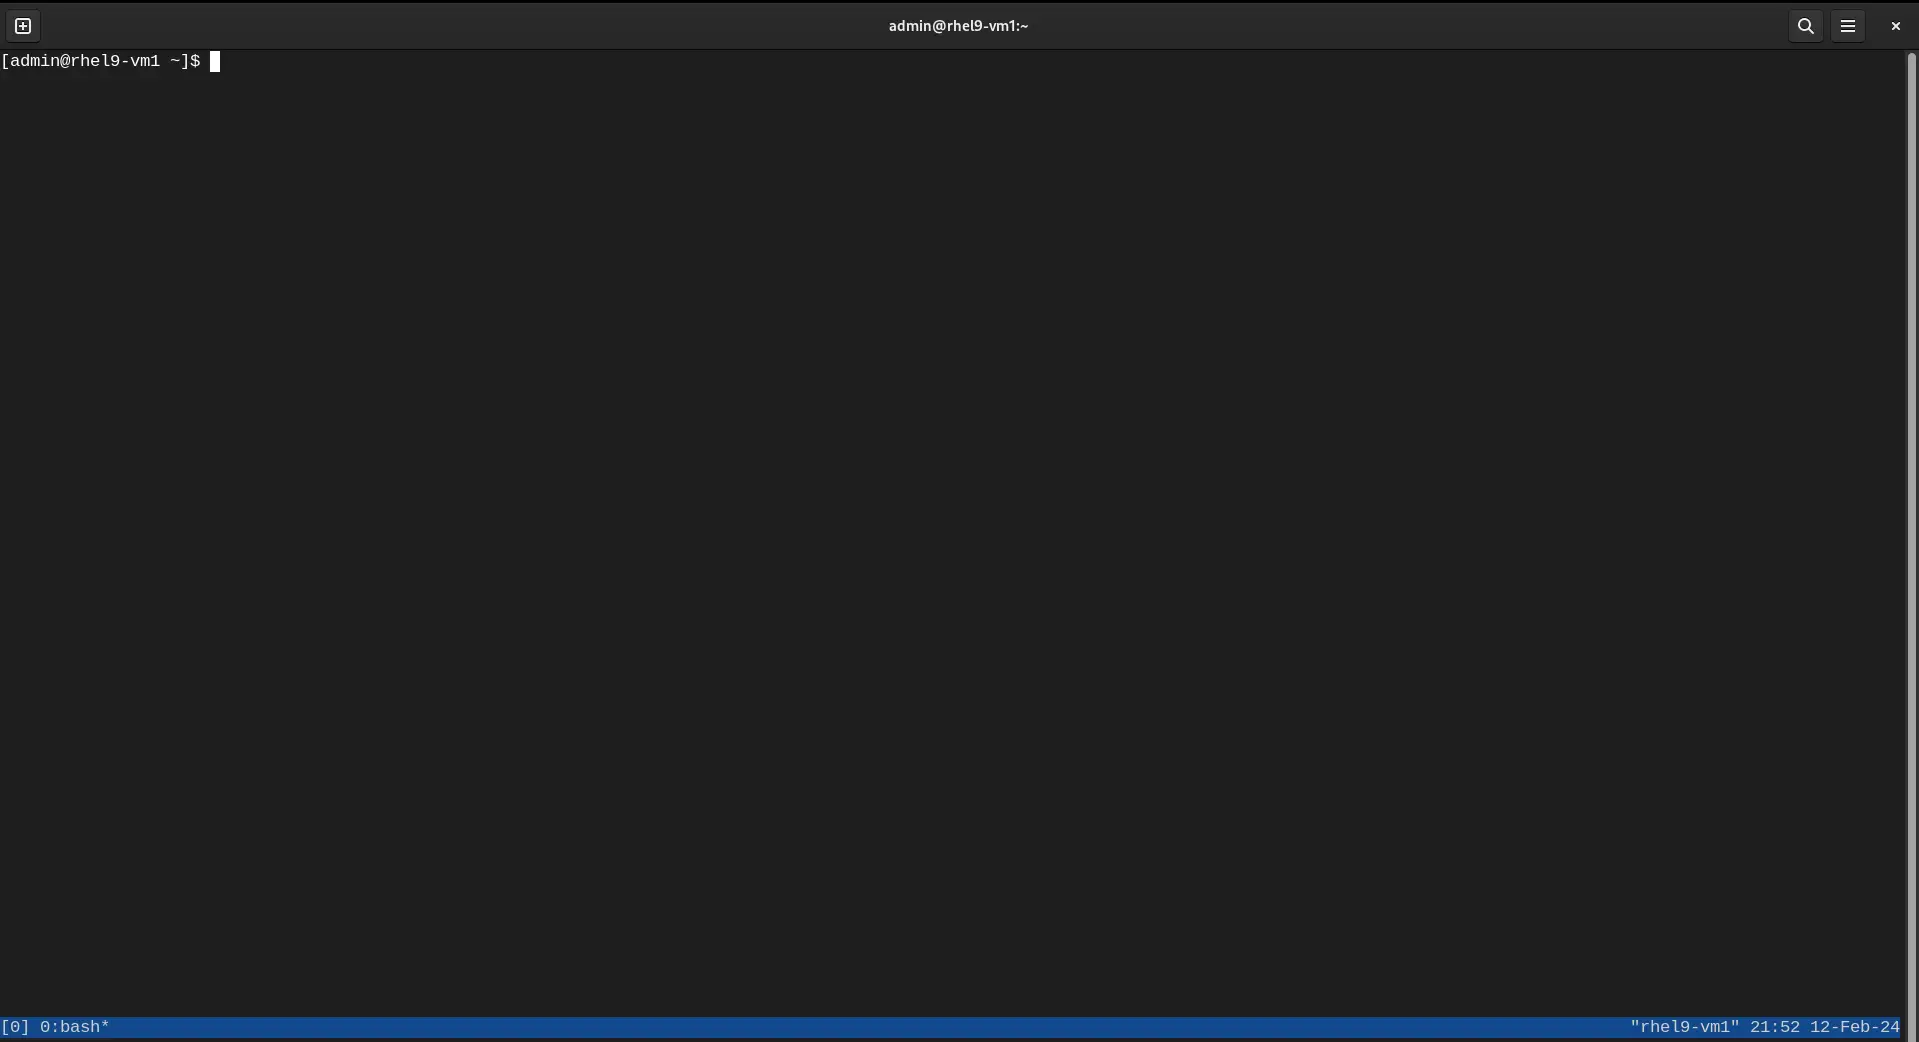
Photo by admingeek from Infotechys
Scripting with Tmux
You can automate Tmux tasks using shell scripts. For example, you can create a script to automatically set up your development environment:
#!/bin/bash
tmux new-session -d -s mysession
tmux send-keys -t mysession 'cd ~/projects' C-m
tmux send-keys -t mysession 'vim' C-mIn summary, this script creates a Tmux session named “mysession”, changes the directory to “~/projects (provided the directory exists)” within that session, and then launches the Vim editor, all in an automated manner. The following command will list all of your sessions.
$ tmux lsTo kill all tmux sessions at once, run the following command:
$ tmux kill-server

No comments:
Post a Comment