Introduction
Amidst the dynamic realm of web hosting, prioritizing security is fundamental. With a growing focus on protecting user data and establishing secure connections, the adoption of HTTPS has become indispensable for website owners. Podman, a powerful containerization tool, provides an efficient and secure environment for running applications, including HTTP servers.
Why HTTPS & Podman?
HTTPS (Hypertext Transfer Protocol Secure) encrypts data exchanged between a web server and a client, providing confidentiality and integrity. It prevents eavesdropping, data tampering, and impersonation, ensuring a secure browsing experience for users. Moreover, HTTPS is now a ranking factor in search engine algorithms, boosting your website’s visibility and trustworthiness.
Podman is a containerization tool that enables you to manage containers and pods (groups of containers) without requiring a daemon, making it lightweight and suitable for various use cases, including web hosting. It provides a secure and isolated environment for running applications, facilitating easy deployment and management.
Prerequisites
Before we dive into setting up our HTTPS server, let’s ensure we have the necessary prerequisites:
- A Linux server with Podman installed.
- If your server will be accessible on the internet, ensure you have a domain name configured to resolve to your server’s IP address.
- Basic knowledge of working with the command-line interface.
We’ve configured our Linux server with the following settings:
| Hostname | localhost.localdomain |
| IP address | 192.168.1.199 |
| RAM | 4 |
| Cores | 2 |
Podman HTTPS Server Setup: Prepare Your Server Environment
Ensure your server environment is up-to-date and secure by installing necessary updates and configuring firewall rules to allow traffic on ports 80 (HTTP) and 443 (HTTPS). In addition, create a directory called certs that will house your certificates and keys. Then, create another directory called nginx-config where your modified default.conf file will reside. We’ll revisit these directories in the later sections.
$ mkdir -p certsOn Linux-Based Systems (RHEL/CentOS/Fedora)
$ sudo dnf update -y$ sudo firewall-cmd --zone=public --add-port=80/tcp --permanent ; sudo firewall-cmd --zone=public --add-port=443/tcp --permanent$ sudo firewall-cmd --reloadOn Debian-Based Systems (Ubuntu/Debian)
$ sudo apt update -y ; sudo apt upgrade -y$ sudo ufw allow 80/tcp ; sudo ufw allow 443/tcp$ sudo ufw enableChoose Your HTTP Server Image
Select an HTTP server image from a trusted source. Common choices include NGINX, Apache HTTP Server, or Caddy. For this guide, we’ll use NGINX.
$ podman pull docker.io/nginxRun Your HTTP Server Container
Run a container using the NGINX image and expose ports 80 and 443.
$ podman run -d --name my-nginx-container -p 8080:80 -p 4430:443 nginxThe command you provided will run a Docker container named “my-nginx-container” based on the NGINX image, mapping host ports 8080 and 4430 to container ports 80 and 443 respectively.
Podman HTTPS Server Setup: Obtain SSL/TLS Certificates
To enable HTTPS, you need SSL/TLS certificates. There are several methods available, and the most suitable approach depends entirely on your specific objectives for your environment.
Method #1: Generate a Self-Signed Certificate
You can create a self-signed certificate using OpenSSL. Navigate to the certs directory and run the following command:
$ cd certs$ openssl req -x509 -nodes -newkey rsa:2048 -keyout key.pem -out cert.pem -days 365.+..........+++++++++++++++++++++++++++++++++++++++++++++++++++++++++++++++++*..+............+......+......+...+...........+.+...............+........+......+.+........+...+....+...+..+..........+...+..+....+..+...+.......+++++++++++++++++++++++++++++++++++++++++++++++++++++++++++++++++*............+.....+...+....+...+......+......+......+..+...+.........+.........+++++++++++++++++++++++++++++++++++++++++++++++++++++++++++++++++
..............+..+....+...........+....+......+...+...........+.+........+...+....+...+...+..+.......+++++++++++++++++++++++++++++++++++++++++++++++++++++++++++++++++*.........+....+++++++++++++++++++++++++++++++++++++++++++++++++++++++++++++++++*...+.+......+.....+...+......+.+...+...........+.+.....+.+.........+........+.+..+.......+...+.....+...+..........+..+...+...................+..+...+.......+...+...........+......+.+...+++++++++++++++++++++++++++++++++++++++++++++++++++++++++++++++++
-----
You are about to be asked to enter information that will be incorporated
into your certificate request.
What you are about to enter is what is called a Distinguished Name or a DN.
There are quite a few fields but you can leave some blank
For some fields there will be a default value,
If you enter '.', the field will be left blank.
-----
Country Name (2 letter code) [AU]:US
State or Province Name (full name) [Some-State]:Maryland
Locality Name (eg, city) []:Laurel
Organization Name (eg, company) [Internet Widgits Pty Ltd]:Infotechys LLC
Organizational Unit Name (eg, section) []:NGINX Test Web Server
Common Name (e.g. server FQDN or YOUR name) []:localhost.localdomain
Email Address []:infotechystaff@gmail.comThis command generates a private key (key.pem) and a self-signed certificate (cert.pem) valid for 365 days. Remember to replace localhost.localdomain with your actual domain name.
$ ls -lh ~/certs
total 8.0K
-rw-rw-r-- 1 admin admin 1.5K Feb 18 01:57 cert.pem
-rw------- 1 admin admin 1.7K Feb 18 01:56 key.pemMethod #2: Using Letsencrypt
To enable HTTPS, you need SSL/TLS certificates. Let’s Encrypt offers free SSL certificates, which we’ll obtain using Certbot.
On Linux-Based Systems (RHEL/CentOS/Fedora):
$ sudo dnf install certbot$ sudo certbot certonly --standalone -d yourdomain.comOn Debian-Based Systems (Ubuntu/Debian):
$ sudo apt install certbot$ sudo certbot certonly --standalone -d yourdomain.comReplace yourdomain.com with your actual domain name. Certbot will automatically obtain and install the certificates.
Configure NGINX for HTTPS
Modify the NGINX configuration to enable HTTPS. Navigate to the nginx-config directory and create a file called default.conf.
$ cd ~/nginx-config ; vim default.confThen, copy and paste the following entries (below) into the file.
server {
    listen       80;
    listen  [::]:80;
    server_name  localhost;

    #access_log  /var/log/nginx/host.access.log  main;

    location / {
        root   /usr/share/nginx/html;
        index  index.html index.htm;
    }

    #error_page  404              /404.html;

    # redirect server error pages to the static page /50x.html
    #
    error_page   500 502 503 504  /50x.html;
    location = /50x.html {
        root   /usr/share/nginx/html;
    }

    # proxy the PHP scripts to Apache listening on 127.0.0.1:80
    #
    #location ~ \.php$ {
    #    proxy_pass   http://127.0.0.1;
    #}

    # pass the PHP scripts to FastCGI server listening on 127.0.0.1:9000
    #
    #location ~ \.php$ {
    #    root           html;
    #    fastcgi_pass   127.0.0.1:9000;
    #    fastcgi_index  index.php;
    #    fastcgi_param  SCRIPT_FILENAME  /scripts$fastcgi_script_name;
    #    include        fastcgi_params;
    #}

    # deny access to .htaccess files, if Apache's document root
    # concurs with nginx's one
    #
    #location ~ /\.ht {
    #    deny  all;
    #}
}Next, update the server block to include SSL directives. For the purposes of this demonstration, we’ve chosen the self-signed certificate section for our entry.
LetsEncrypt Entry:
server {
    listen 443 ssl;
    listen [::]:443;
    server_name yourdomain.com;

    ssl_certificate /etc/letsencrypt/live/yourdomain.com/fullchain.pem;
    ssl_certificate_key /etc/letsencrypt/live/yourdomain.com/privkey.pem;

    # Other SSL configurations...
}For self-signed certificates, the server block should look like the following:
Self-Signed Certificate Entry:
server {
    listen 443 ssl;
    listen [::]:443;
    server_name yourdomain.com;

    ssl_certificate /path/to/your/cert.pem;
    ssl_certificate_key /path/to/your/key.pem;

    # Other SSL configurations...
}Finally, your default.conf file should look like this (below). Save and quit out of the file.
server {
    listen       80;
    listen  [::]:80;
    listen  [::]:443;
    listen   443 ssl;
    server_name  localhost;

    # Self-Signed Entries
    ssl_certificate     /etc/ssl/cert.pem;
    ssl_certificate_key /etc/ssl/key.pem;

    # LetsEncrypt (Uncomment if applicable)
    # ssl_certificate /etc/letsencrypt/live/yourdomain.com/fullchain.pem;
    # ssl_certificate_key /etc/letsencrypt/live/yourdomain.com/privkey.pem;

    #access_log  /var/log/nginx/host.access.log  main;

    location / {
        root   /usr/share/nginx/html;
        index  index.html index.htm;
    }

    #error_page  404              /404.html;

    # redirect server error pages to the static page /50x.html
    #
    error_page   500 502 503 504  /50x.html;
    location = /50x.html {
        root   /usr/share/nginx/html;
    }

    # proxy the PHP scripts to Apache listening on 127.0.0.1:80
    #
    #location ~ \.php$ {
    #    proxy_pass   http://127.0.0.1;
    #}

    # pass the PHP scripts to FastCGI server listening on 127.0.0.1:9000
    #
    #location ~ \.php$ {
    #    root           html;
    #    fastcgi_pass   127.0.0.1:9000;
    #    fastcgi_index  index.php;
    #    fastcgi_param  SCRIPT_FILENAME  /scripts$fastcgi_script_name;
    #    include        fastcgi_params;
    #}

    # deny access to .htaccess files, if Apache's document root
    # concurs with nginx's one
    #
    #location ~ /\.ht {
    #    deny  all;
    #}
}Restart NGINX Container
Run the following commands to map your container to the locations where your certificates and keys reside as well as, apply the configuration changes.
$ podman stop my-nginx-container
my-nginx-container$ podman rm my-nginx-container
b859bb4785d328aedeafe8b4af457ca17234bc849458c4d59b00a630d7ec71f0$ podman run -d --name my-nginx-container -p 8080:80 -p 4430:443 -v ~/nginx-config:/etc/nginx/conf.d -v ~/certs:/etc/ssl nginx
ddc748efd431bf112b8c81ab8d982a7015110cfaf3d71622dbb9a35ba40525aeBreaking down the command:
-d: Detached mode, meaning the container will run in the background.--name my-nginx-container: Assigns the name “my-nginx-container” to the container.-p 8080:80: Maps port 8080 on the host to port 80 in the container, allowing access to the NGINX web server on port 8080 of the host.-p 4430:443: Maps port 4430 on the host to port 443 in the container, enabling HTTPS access to the NGINX server on port 4430 of the host.-v ~/nginx-config:/etc/nginx/conf.d: Mounts thenginx-configdirectory from the host to/etc/nginx/conf.din the container. This allows you to provide custom NGINX configuration files.-v ~/certs:/etc/ssl: Mounts thecertsdirectory from the host to/etc/sslin the container. This is typically used for SSL/TLS certificates.
Finally, nginx specifies the NGINX image to use for creating the container. The command returns a container ID (ddc...), indicating that the container has been successfully created and started. You can use this ID to manage the container, such as stopping or removing it.
Test Your HTTPS Server
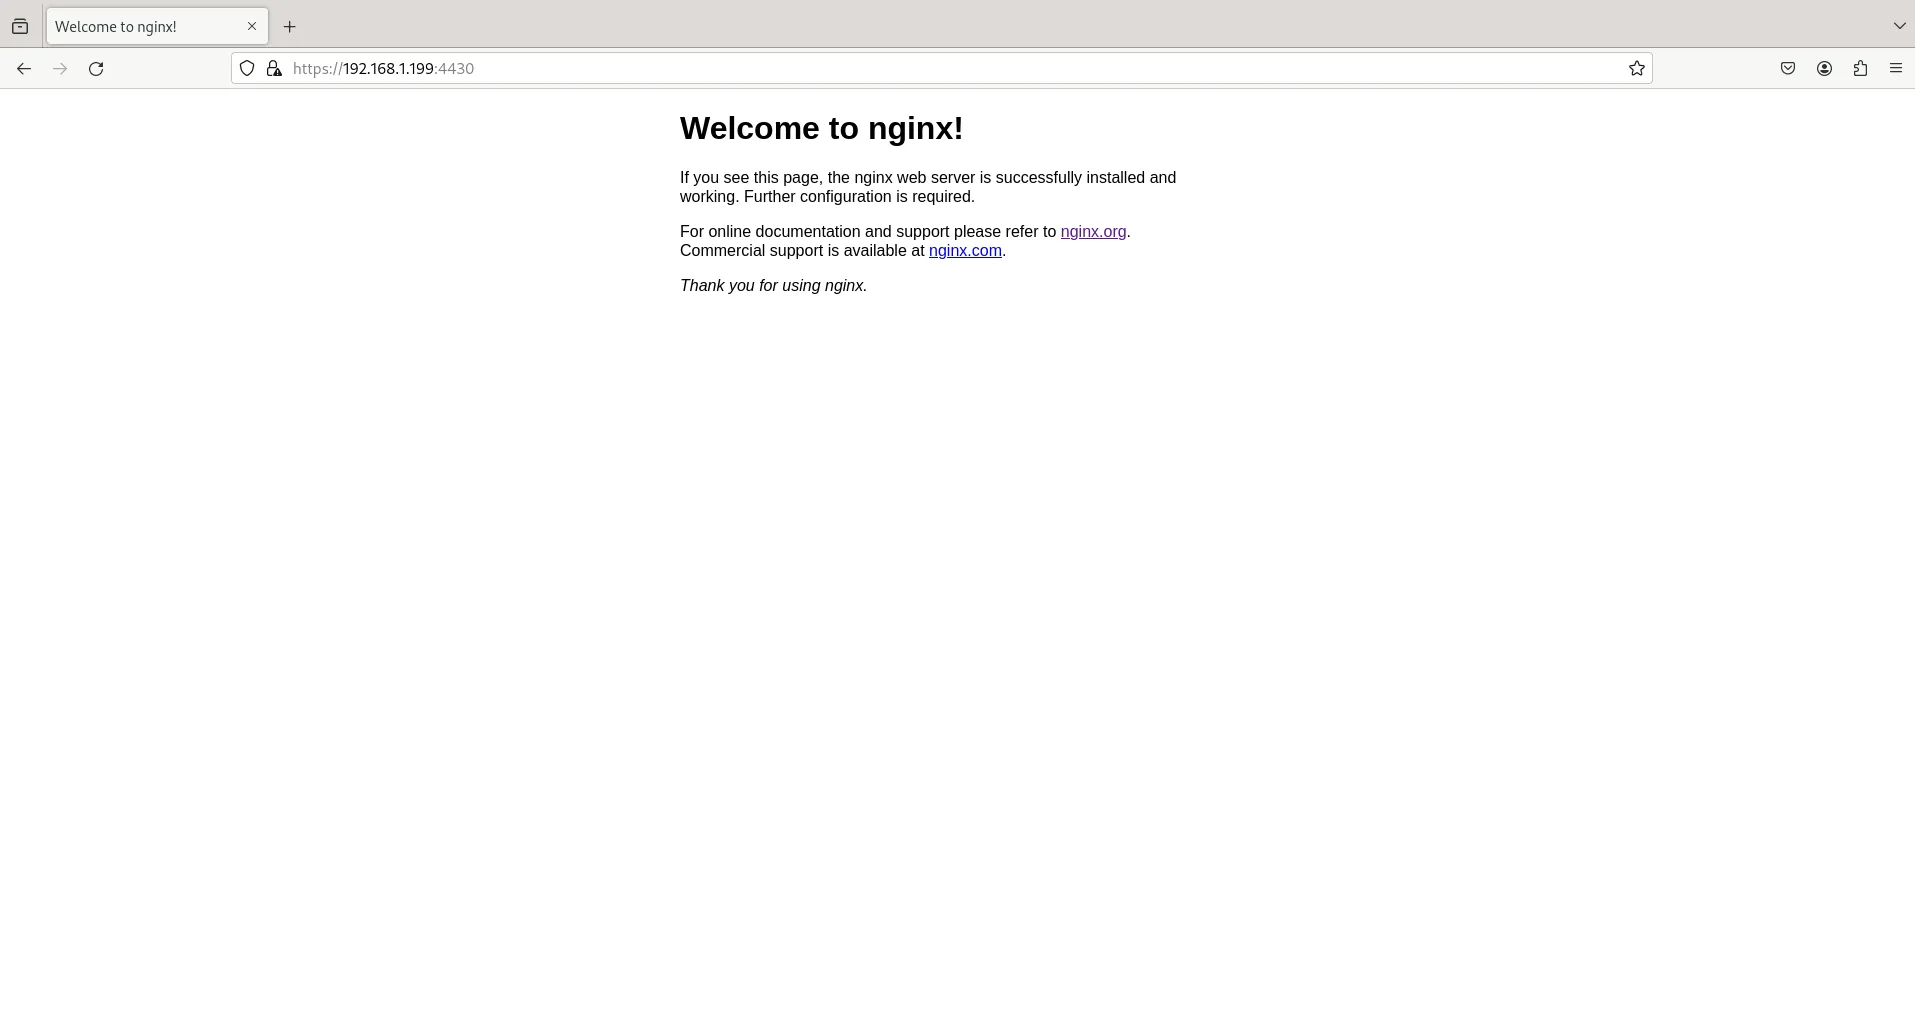
Visit your website using the HTTPS protocol (https://yourdomain.com:4430 or https://ip-address:4430) to ensure that the SSL certificate is properly configured and the connection is secure.
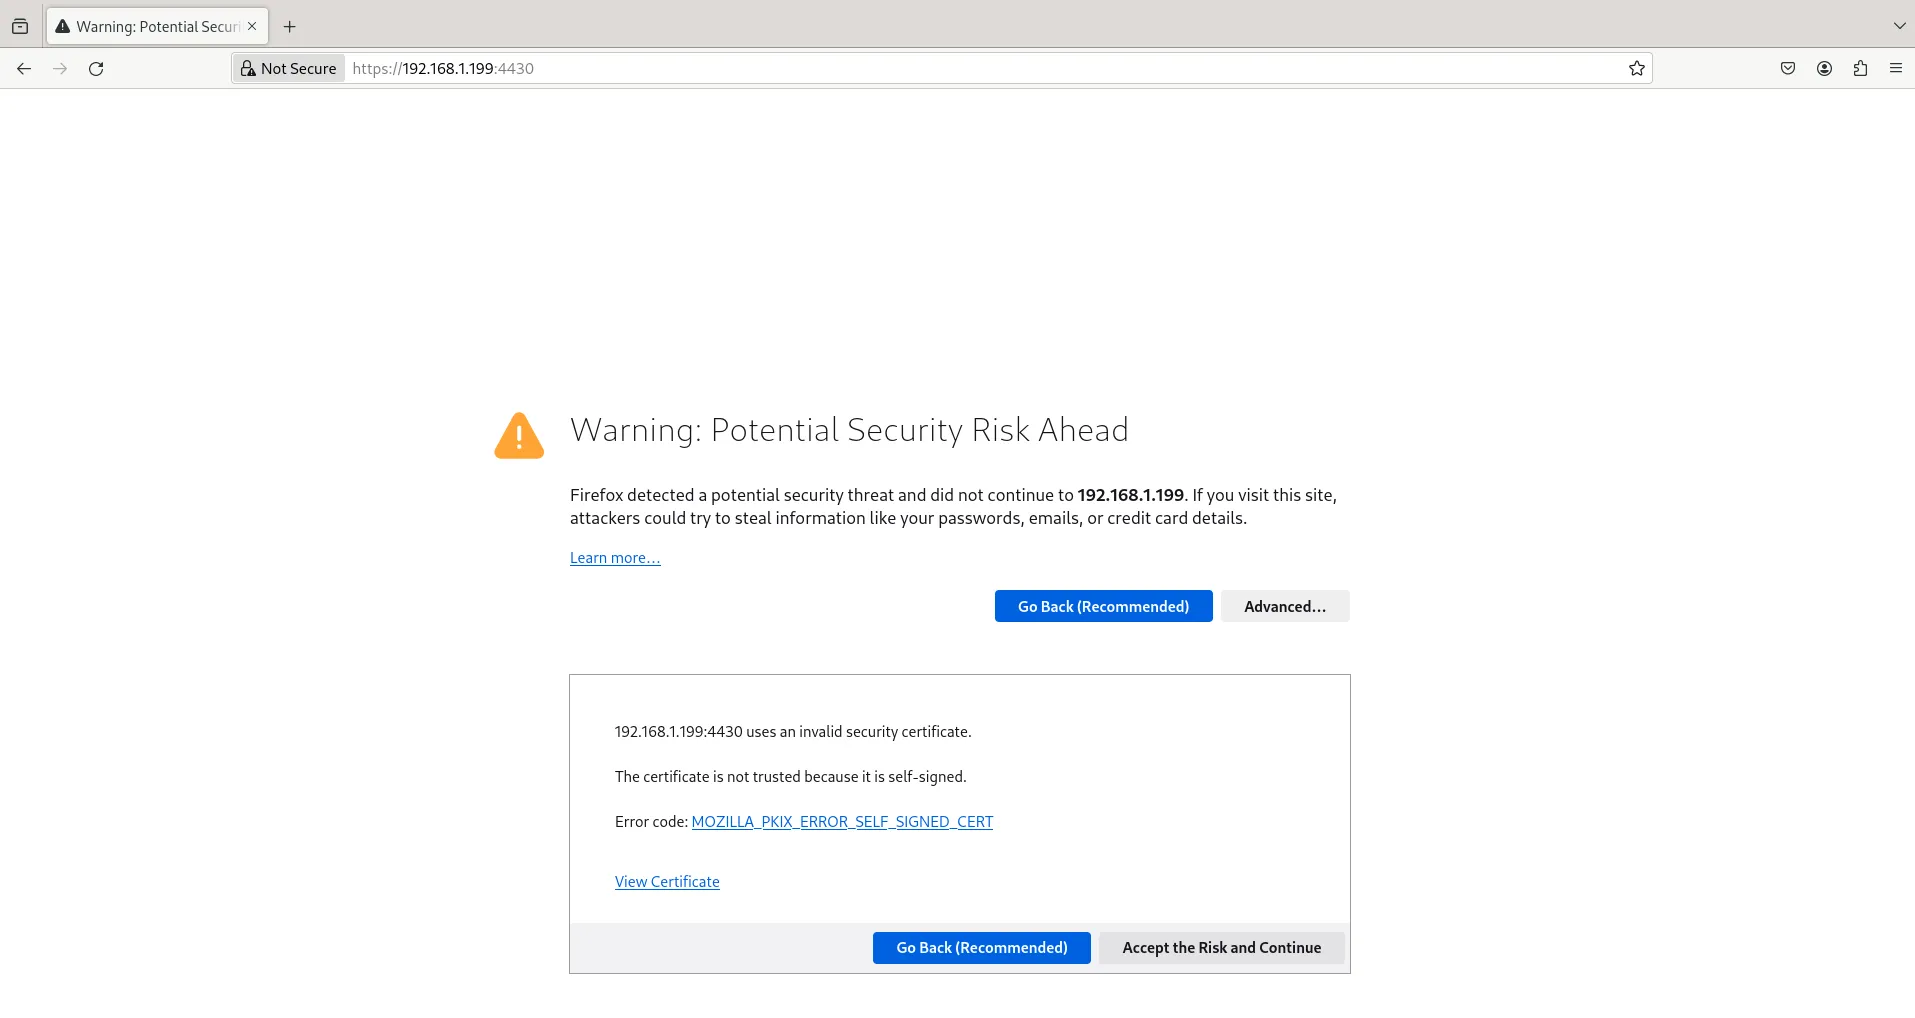
Photo by admingeek from Infotechys
Initially, we can anticipate encountering a warning page indicating the use of a self-signed certificate. As this setup is intended for testing purposes, we will proceed by clicking the ‘Advanced‘ and ‘Accept the Risk and Continue‘ buttons.


No comments:
Post a Comment