Introduction
Welcome to our step-by-step guide on installing VirtualBox, the versatile virtualization platform, on Red Hat Enterprise Linux 9 (RHEL 9). Whether you’re a developer, sysadmin, or a tech enthusiast, this blog post will walk you through the installation process, ensuring a smooth setup for your virtual environments.
Understanding VirtualBox and Its Benefits
VirtualBox, developed by Oracle, is a powerful open-source virtualization platform that allows users to run multiple operating systems on a single physical machine. As we delve into its role in the context of Red Hat Enterprise Linux 9 (RHEL 9), let’s explore the key features and advantages that make VirtualBox a preferred choice for virtualization.
Cross-Platform Compatibility | VirtualBox supports a wide range of host operating systems, including Windows, macOS, Linux, and more. This cross-platform compatibility enables seamless integration into diverse environments, making it a versatile solution for users with varied system setups. |
Open Source and Free | One of the standout features of VirtualBox is its open-source nature. Being free to use, it provides an accessible and cost-effective solution for creating, managing, and testing virtual environments. The open-source community actively contributes to its development, ensuring continuous improvements and updates. |
Powerful Networking Options | VirtualBox provides a range of networking options, including NAT, bridged, internal, and host-only networking. This versatility empowers users to design complex network setups within the virtual environment, making it ideal for testing networking configurations or simulating networked environments. |
User-Friendly Interface | The VirtualBox graphical user interface (GUI) is intuitive and user-friendly, making it accessible to both beginners and experienced users. Advanced users can also leverage the command-line interface for more granular control. |
Snapshot and Cloning Capabilities | VirtualBox excels in its ability to capture and restore the state of virtual machines through snapshots. This feature is invaluable for creating backups, testing configurations, and experimenting without the fear of irreversibly impacting the system. Additionally, cloning functionality streamlines the process of duplicating virtual machines for scalability. |
Extensible through Extensions | VirtualBox can be enhanced with extensions that add features like USB 2.0/3.0 support, VirtualBox Remote Desktop Protocol (VRDP), and more. This extensibility ensures adaptability to varying user requirements. |
Active Community and Documentation | With a thriving community and comprehensive documentation, VirtualBox users have access to a wealth of knowledge, tutorials, and forums. This supportive ecosystem facilitates learning, troubleshooting, and sharing experiences. |
Install VirtualBox on RHEL9 or CentOS9: Step-by-step Instructions
Before we proceed with the installation of Vagrant on your RHEL 9 or CentOS 9 machine, let’s first ensure a smooth installation by reviewing the following prerequisites.
Prerequisites
Red Hat Enterprise Linux 9 Installation:
- Ensure that you have successfully installed Red Hat Enterprise Linux 9 on your system. The installation should be up-to-date with the latest packages and updates.
User with Administrative Privileges:
- To install software and manage system configurations, ensure that you have a user account with administrative privileges (sudo or root access). This will enable you to execute commands required for VirtualBox installation.
Adequate System Resources:
- Verify that your system meets the hardware requirements for VirtualBox. While VirtualBox is relatively lightweight, having sufficient RAM, CPU, and disk space is crucial for optimal virtual machine performance. A minimum of 4GB RAM is recommended.
Internet Connection:
- Ensure that your system has an active internet connection. This is essential for downloading the VirtualBox software, dependencies, and updates during the installation process.
Package Manager (DNF):
- RHEL 9 uses the DNF (Dandified YUM) package manager. Ensure that DNF is installed and functioning properly. You can use it to manage packages and dependencies required for VirtualBox.
Compiler and Build Tools:
- VirtualBox may require compiler tools and build dependencies during installation. Make sure that essential tools, such as GCC (GNU Compiler Collection) and make, are available on your system.
Kernel Headers and Development Packages:
- Install the kernel headers and development packages for your RHEL 9 system. These are crucial for building kernel modules during the VirtualBox installation process.
Secure Boot Configuration (Optional):
- If your system has Secure Boot enabled, be aware that it may affect the loading of kernel modules. Consider disabling Secure Boot or configuring it to allow third-party kernel modules.
By ensuring that these prerequisites are met, you lay the groundwork for a successful VirtualBox installation on your RHEL9 system. Once these components are in place, you can proceed with the subsequent steps, confident that your system is ready for the virtualization journey ahead.
Step 1. Update your System
Before you begin the installation process, ensure your system is up-to-date. Run the following command:
$ sudo dnf updateStep 2. Add the VirtualBox Repository
Next, add the VirtualBox repository to your system.
$ sudo dnf config-manager --add-repo=https://download.virtualbox.org/virtualbox/rpm/el/virtualbox.repoStep 3. Install Required Dependencies
Install the necessary dependencies for VirtualBox:
$ sudo dnf install -y binutils gcc make patch perl libgomp glibc-headers glibc-devel kernel-headers kernel-devel dkmsNOTE: Depending on whether you install VirtualBox on a virtual machine or physical host, one or two the above packages may not install and that’s fine. Proceed to the next step.
Step 4. Install Virtualbox
In the repository, various versions of VirtualBox are available. However, for the sake of this tutorial and considering the installation on a RHEL 9 machine, we will opt for the VirtualBox-7.0 version. Run the following command(s):
$ sudo dnf search virtualbox
[sudo] password for admin:
Updating Subscription Management repositories.
Unable to read consumer identity

This system is not registered with an entitlement server. You can use subscription-manager to register.

Last metadata expiration check: 0:47:04 ago on Tue 16 Jan 2024 02:58:24 AM EST.
================================================================ Name & Summary Matched: virtualbox ================================================================
VirtualBox-6.1.x86_64 : Oracle VM VirtualBox
VirtualBox-7.0.x86_64 : Oracle VM VirtualBox


$ sudo dnf install -y VirtualBox-7.0Step 5. Load the VirtualBox Kernel Module
Load the VirtualBox kernel module using the following command:
$ sudo modprobe vboxdrvStep 6. Launch VirtualBox
Launch Virtualbox from your applications menu or from the command-line (CLI) by entering the following command:
$ virtualboxIf you encounter any issues related to kernel modules or VirtualBox service, refer to the VirtualBox documentation or troubleshoot based on the error messages.
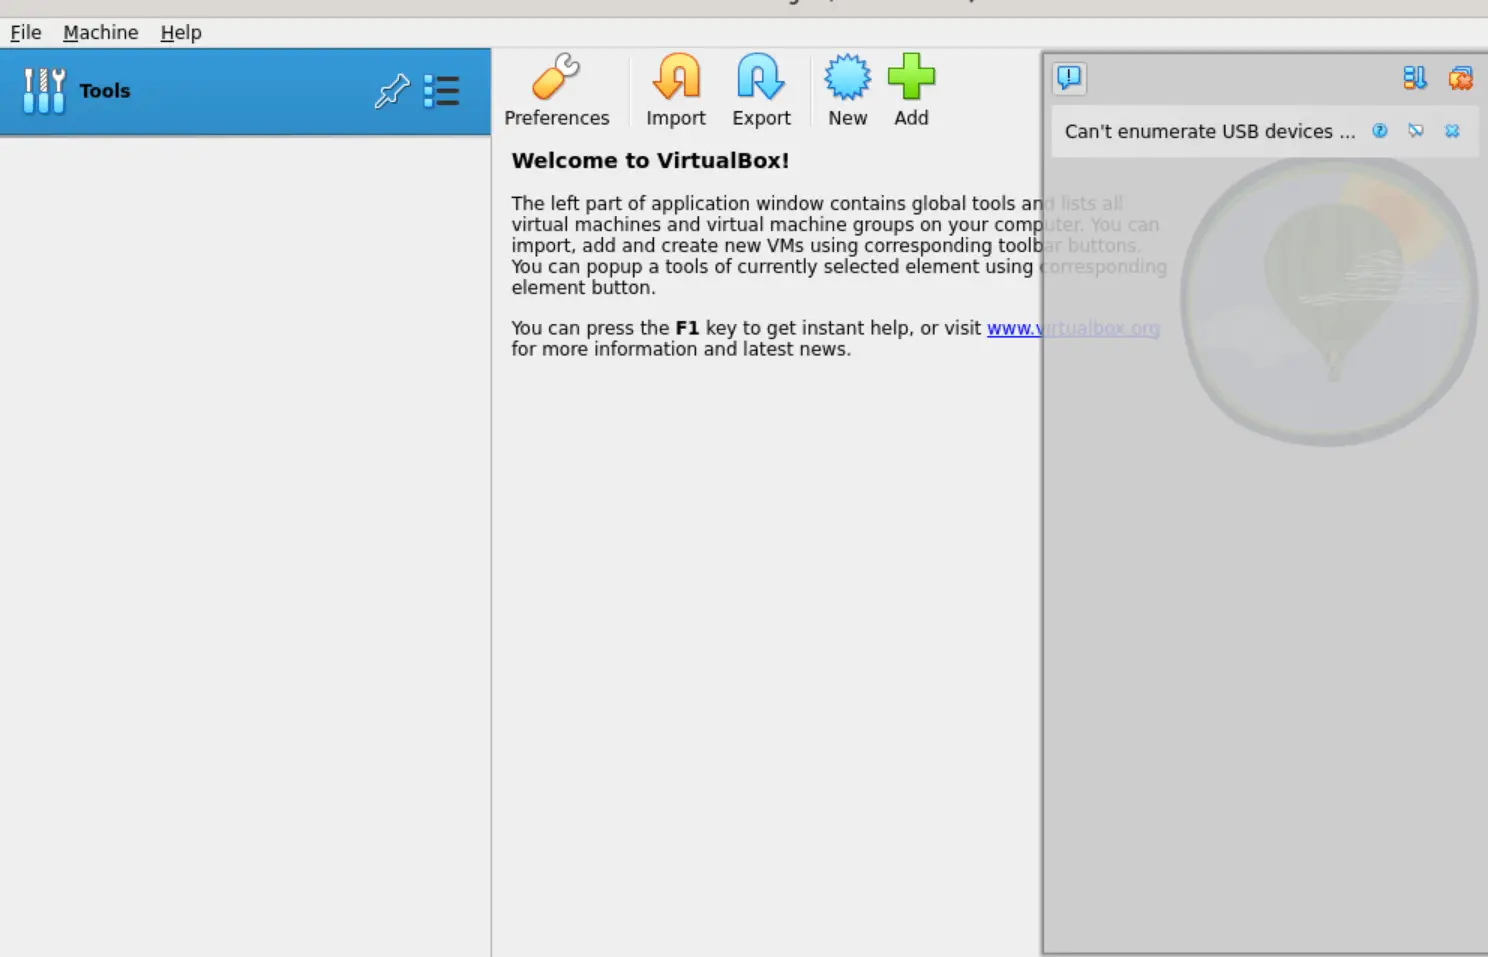
Photo by admingeek from Infotechys
Step 7. Grant User Permissions (Optional)
To use VirtualBox without root privileges, add your user to the vboxusers group:
$ sudo usermod -aG vboxusers your_usernameReplace your_username with your actual username. In our case, we are using the admin user for privileged access. So, the command will look like this:
$ sudo usermod -aG vboxusers adminStep 8. Reboot (Optional)
In some cases, you may need to reboot your system to ensure the newly installed kernel modules are loaded correctly.
$ sudo /sbin/shutdown -r now

No comments:
Post a Comment