Introduction
Zabbix is a powerful open-source monitoring solution that provides extensive capabilities for monitoring servers, networks, and applications. It offers real-time monitoring, alerting, and performance metrics, making it a popular choice for IT infrastructure management. This guide will walk you through the steps to install and configure Zabbix on RHEL 9.
Prerequisites
Before you start, ensure you have the following:
- A fresh installation of RHEL 9.
- Root or sudo access to the server.
- Basic knowledge of command-line operations.
Here’s our system configuration (used for this demonstration):
| Hostname | node1.naijalabs.net |
| IP address | 192.168.1.219 |
| RAM | 8 GB |
| Cores | 4 |
| Operating System | Red Hat Enterprise Linux release 9.4 (Plow) |
| Zabbix Release Version | 7.0-2 |
Install and Configure Zabbix on RHEL 9: Step-by-Step Instructions
First, ensure your system is up-to-date:
$ sudo dnf update -yInstall Zabbix Repository
To install Zabbix, you need to add the Zabbix repository to your system. Download and install the repository package using the following command:
sudo rpm -Uvh https://repo.zabbix.com/zabbix/7.0/rhel/9/x86_64/zabbix-release-latest.el9.noarch.rpmRetrieving https://repo.zabbix.com/zabbix/7.0/rhel/9/x86_64/zabbix-release-latest.el9.noarch.rpm
warning: /var/tmp/rpm-tmp.w31pic: Header V4 RSA/SHA512 Signature, key ID b5333005: NOKEY
Verifying... ################################# [100%]
Preparing... ################################# [100%]
Updating / installing...
1:zabbix-release-7.0-2.el9 ################################# [100%]Run this command to update your system’s repository:
sudo dnf clean allInstall Zabbix Server, Frontend, and Agent
Now, install the Zabbix server, web frontend, and Zabbix agent:
sudo dnf install zabbix-server-mysql zabbix-sql-scripts zabbix-web-mysql zabbix-apache-conf zabbix-agent -yNOTE: Make sure EPEL is not enabled on your machine. Installing Zabbix with EPEL enabled can cause multiple package conflicts.
Install and Configure MySQL Database
Zabbix requires a database to store its data. Install MySQL (or MariaDB) and set it up:
sudo dnf -y install mysql-serversudo systemctl enable --now mysqldCreated symlink /etc/systemd/system/multi-user.target.wants/mysqld.service → /usr/lib/systemd/system/mysqld.service.Secure the MySQL installation: MySQL comes with a script that helps secure your installation. Run it and follow the on-screen instructions.
sudo mysql_secure_installationSecuring the MySQL server deployment.
Connecting to MySQL using a blank password.
VALIDATE PASSWORD COMPONENT can be used to test passwords
and improve security. It checks the strength of password
and allows the users to set only those passwords which are
secure enough. Would you like to setup VALIDATE PASSWORD component?
Press y|Y for Yes, any other key for No: [Press Enter]
Please set the password for root here.
New password:
Re-enter new password:
By default, a MySQL installation has an anonymous user,
allowing anyone to log into MySQL without having to have
a user account created for them. This is intended only for
testing, and to make the installation go a bit smoother.
You should remove them before moving into a production
environment.
Remove anonymous users? (Press y|Y for Yes, any other key for No) : Y
Success.
Normally, root should only be allowed to connect from
'localhost'. This ensures that someone cannot guess at
the root password from the network.
Disallow root login remotely? (Press y|Y for Yes, any other key for No) : Y
Success.
By default, MySQL comes with a database named 'test' that
anyone can access. This is also intended only for testing,
and should be removed before moving into a production
environment.
Remove test database and access to it? (Press y|Y for Yes, any other key for No) : Y
- Dropping test database...
Success.
- Removing privileges on test database...
Success.
Reloading the privilege tables will ensure that all changes
made so far will take effect immediately.
Reload privilege tables now? (Press y|Y for Yes, any other key for No) : Y
Success.
All done!Create a database and user for Zabbix: Run the following command to log into MySQL.
sudo mysql -u root -pWelcome to the MySQL monitor. Commands end with ; or \g.
Your MySQL connection id is 10
Server version: 8.0.36 Source distribution
Copyright (c) 2000, 2024, Oracle and/or its affiliates.
Oracle is a registered trademark of Oracle Corporation and/or its
affiliates. Other names may be trademarks of their respective
owners.
Type 'help;' or '\h' for help. Type '\c' to clear the current input statement.
mysql>Inside the MySQL shell, run the following commands:
CREATE DATABASE zabbix CHARACTER SET utf8mb4 COLLATE utf8mb4_bin;Replace 'your_actual_password' with your preferred password for the zabbix user.
CREATE USER 'zabbix'@'localhost' IDENTIFIED BY 'your_actual_password';GRANT ALL PRIVILEGES ON zabbix.* TO 'zabbix'@'localhost';FLUSH PRIVILEGES;Temporarily set the log_bin_trust_function_creators variable to 1 for the current session:
SET GLOBAL log_bin_trust_function_creators = 1;
EXIT;Import Initial Schema and Data
Import the initial schema and data for Zabbix server to the database (as the root user):
sudo -izcat /usr/share/zabbix-sql-scripts/mysql/server.sql.gz | mysql -u zabbix -p zabbixEnter Password:Enter your Zabbix user password and press the [Enter] key to continue. Allow a few minutes for the import process to complete.
Configure Zabbix Server
Using your preferred text editor, modify the Zabbix server configuration file to set the database connection details:
sudo vim /etc/zabbix/zabbix_server.confUpdate the following parameters:
DBHost=localhost
DBName=zabbix
DBUser=zabbix
DBPassword=your_actual_password
NodeAddress=localhost:10051Configure PHP for Zabbix Frontend
Edit the Zabbix Apache configuration file to set the correct timezone:
sudo nano /etc/zabbix/zabbix.conf.phpUncomment and set your timezone. Here’s an example:
php_value date.timezone America/New_YorkStart and Enable Apache to apply the changes:
sudo systemctl enable --now httpdStart Zabbix Server and Agent
Enable and start the Zabbix server and agent services:
sudo systemctl enable --now zabbix-server zabbix-agentConfigure Firewall
Ensure the firewall allows traffic on HTTP and Zabbix ports:
sudo firewall-cmd --permanent --add-port=10051/tcp
sudo firewall-cmd --permanent --add-service=http
sudo firewall-cmd --reloadConfigure SELinux for the Zabbix Frontend
If SELinux is enabled (it should be btw), enter the following command to allow the Zabbix frontend to connect to the server:
sudo setsebool -P httpd_can_network_connect onAccess Zabbix Web Interface
Open a web browser and navigate to http://your_server_ip/zabbix. Follow the on-screen instructions to complete the installation. You will need to enter the database details you configured earlier.
Database details example:
| Parameter | Value |
|---|---|
| Database type | MySQL |
| Database host | localhost |
| Database name | zabbix |
| User | zabbix |
| Password | your_actual_password (or zabbix for this demonstration) |
Zabbix Frontend Setup
Click the [Next Step] button to proceed.
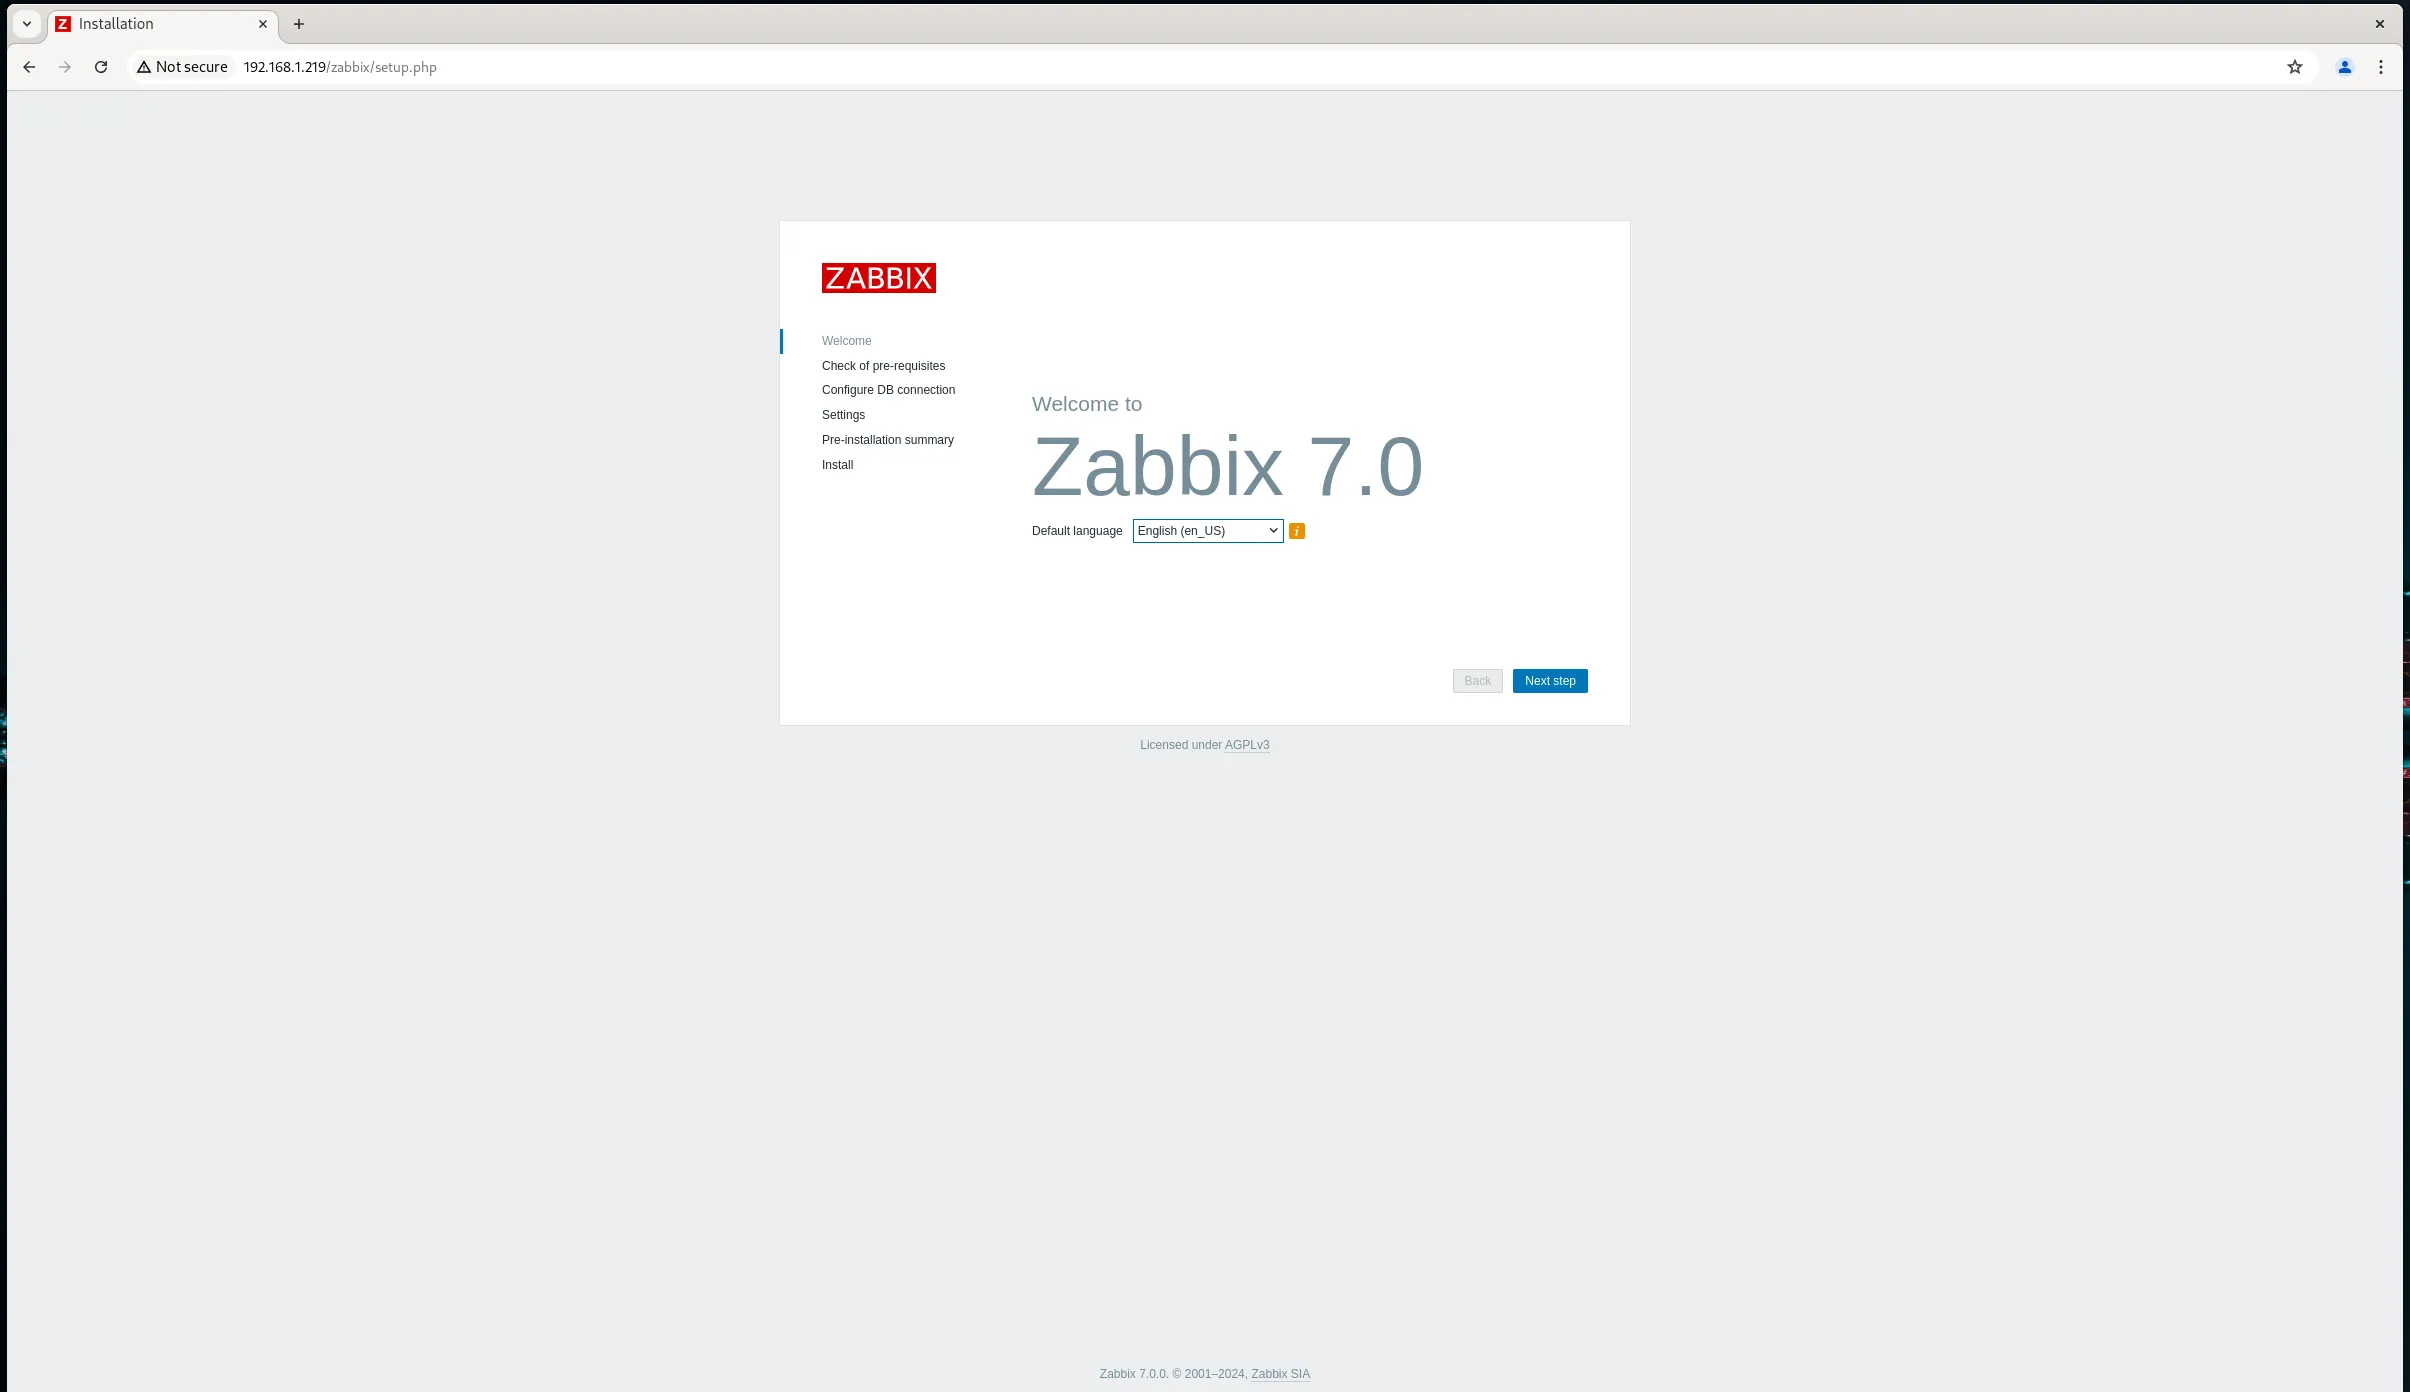
Photo by admingeek from Infotechys.com
Verify preliminary checks and click the [Next Step] button to proceed.
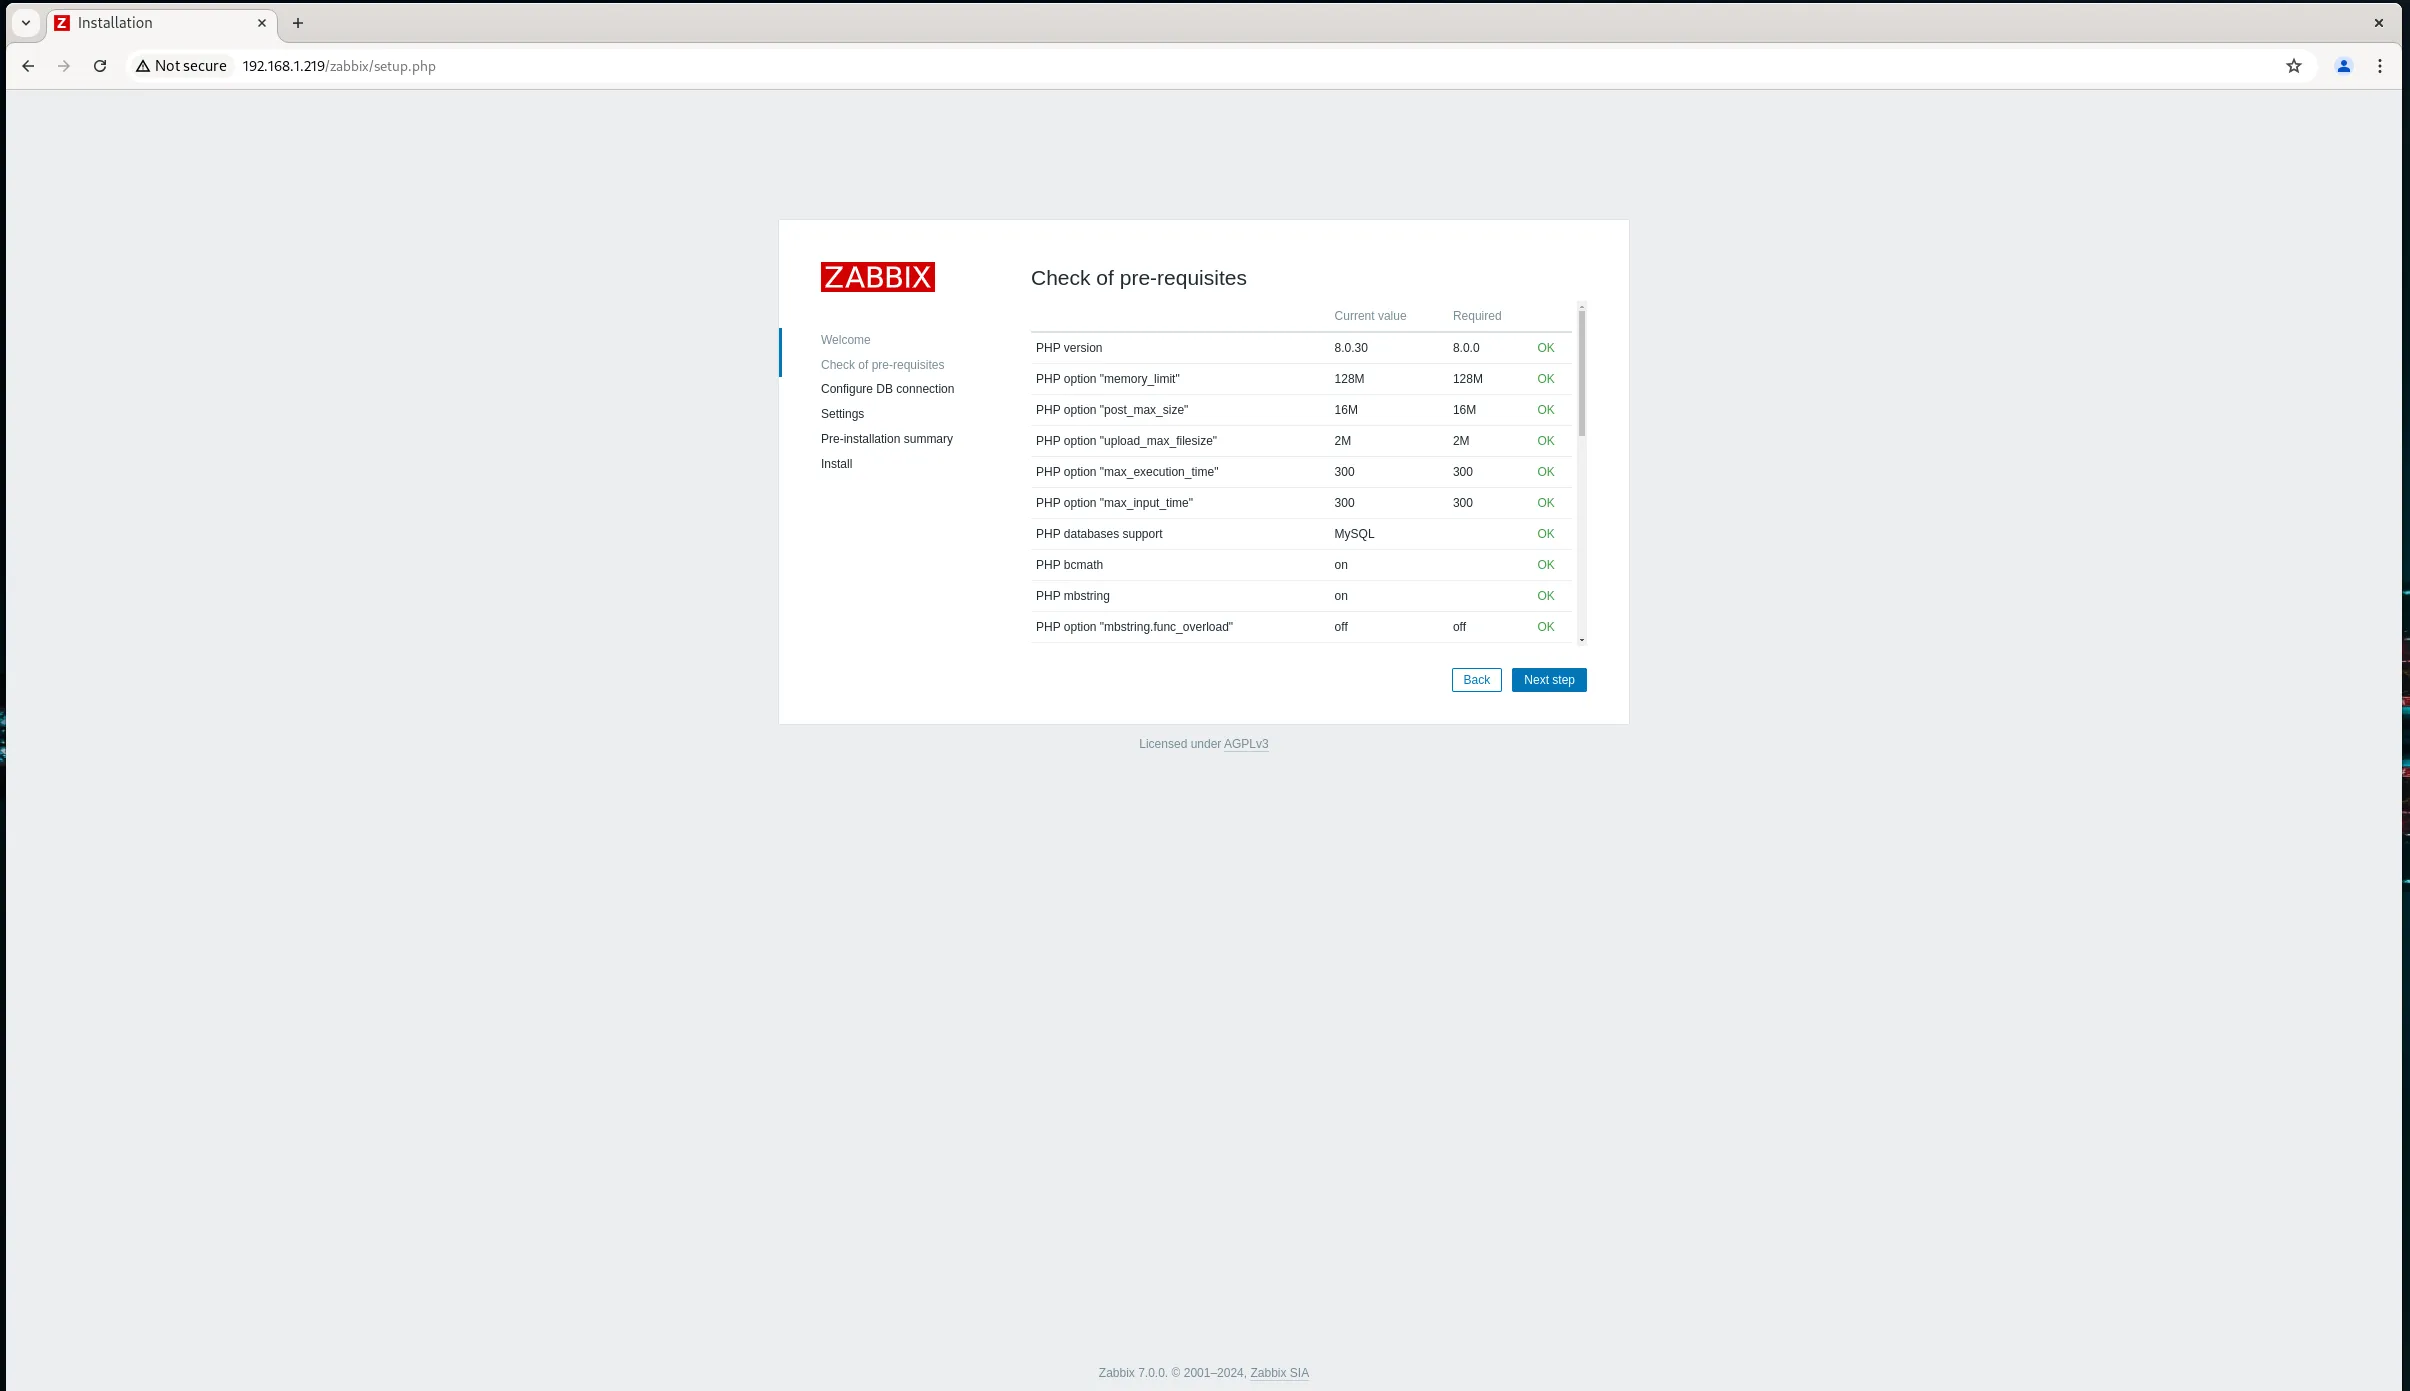
Photo by admingeek from Infotechys.com
Enter your Zabbix user password and click the [Next Step] button to proceed.
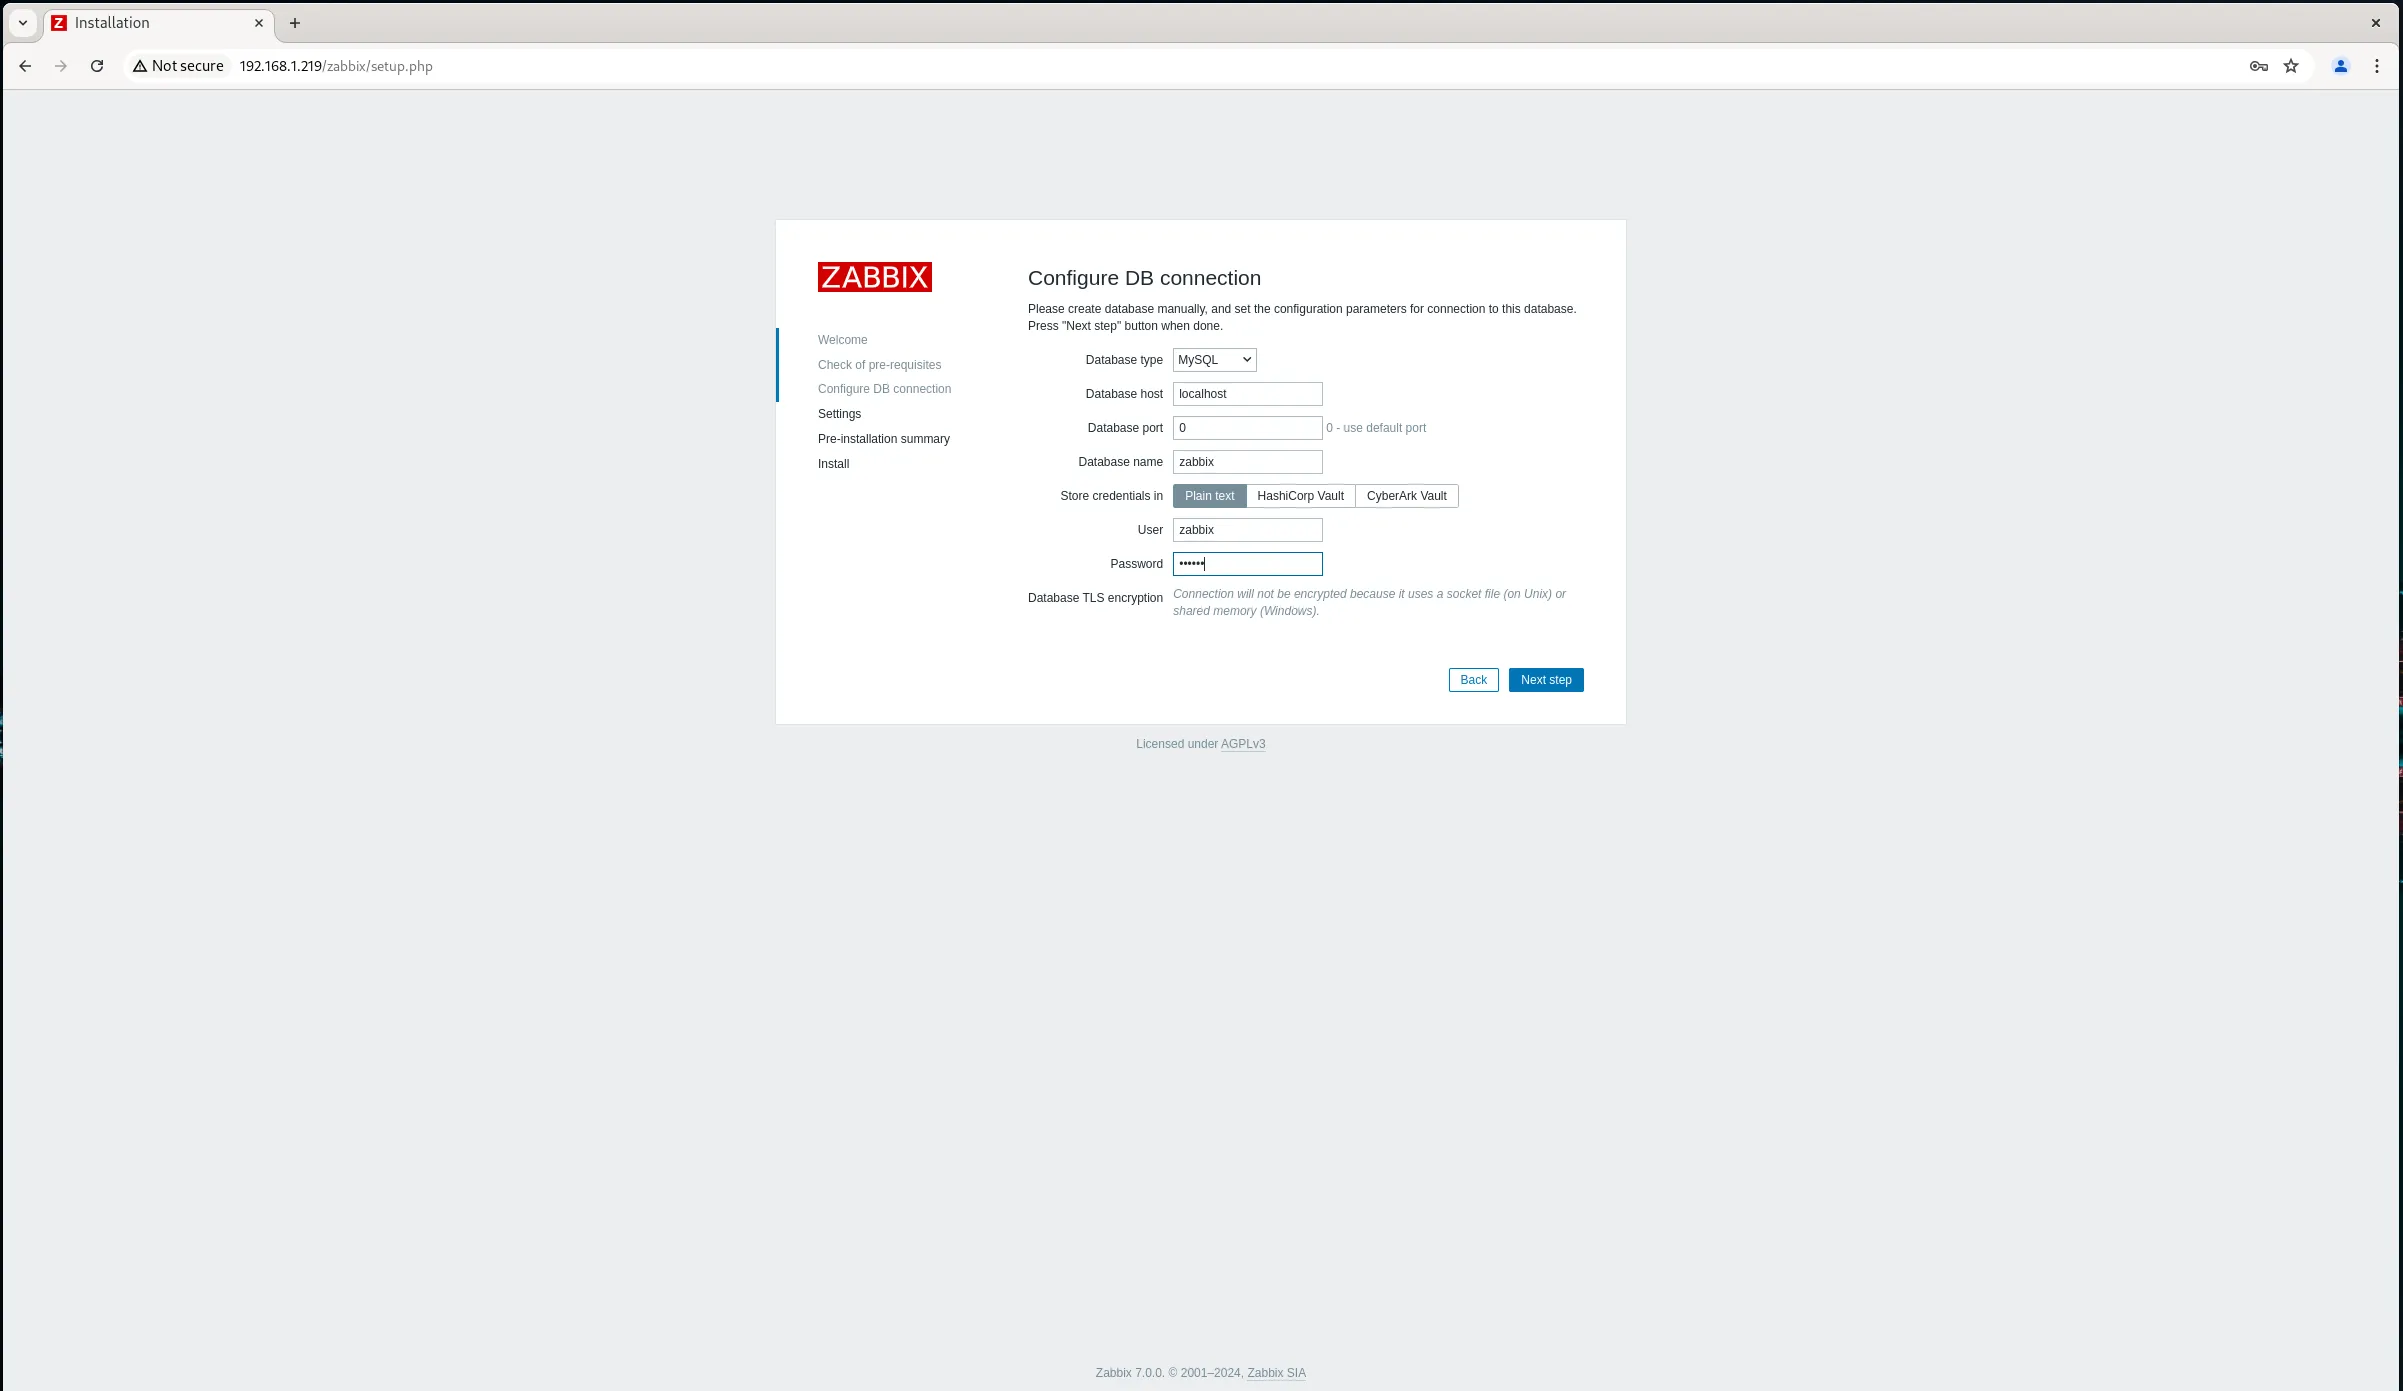
Photo by admingeek from Infotechys.com
Enter your Zabbix server name. You may also modify the default timezone and theme to your preference. Then, click the [Next Step] button to proceed.
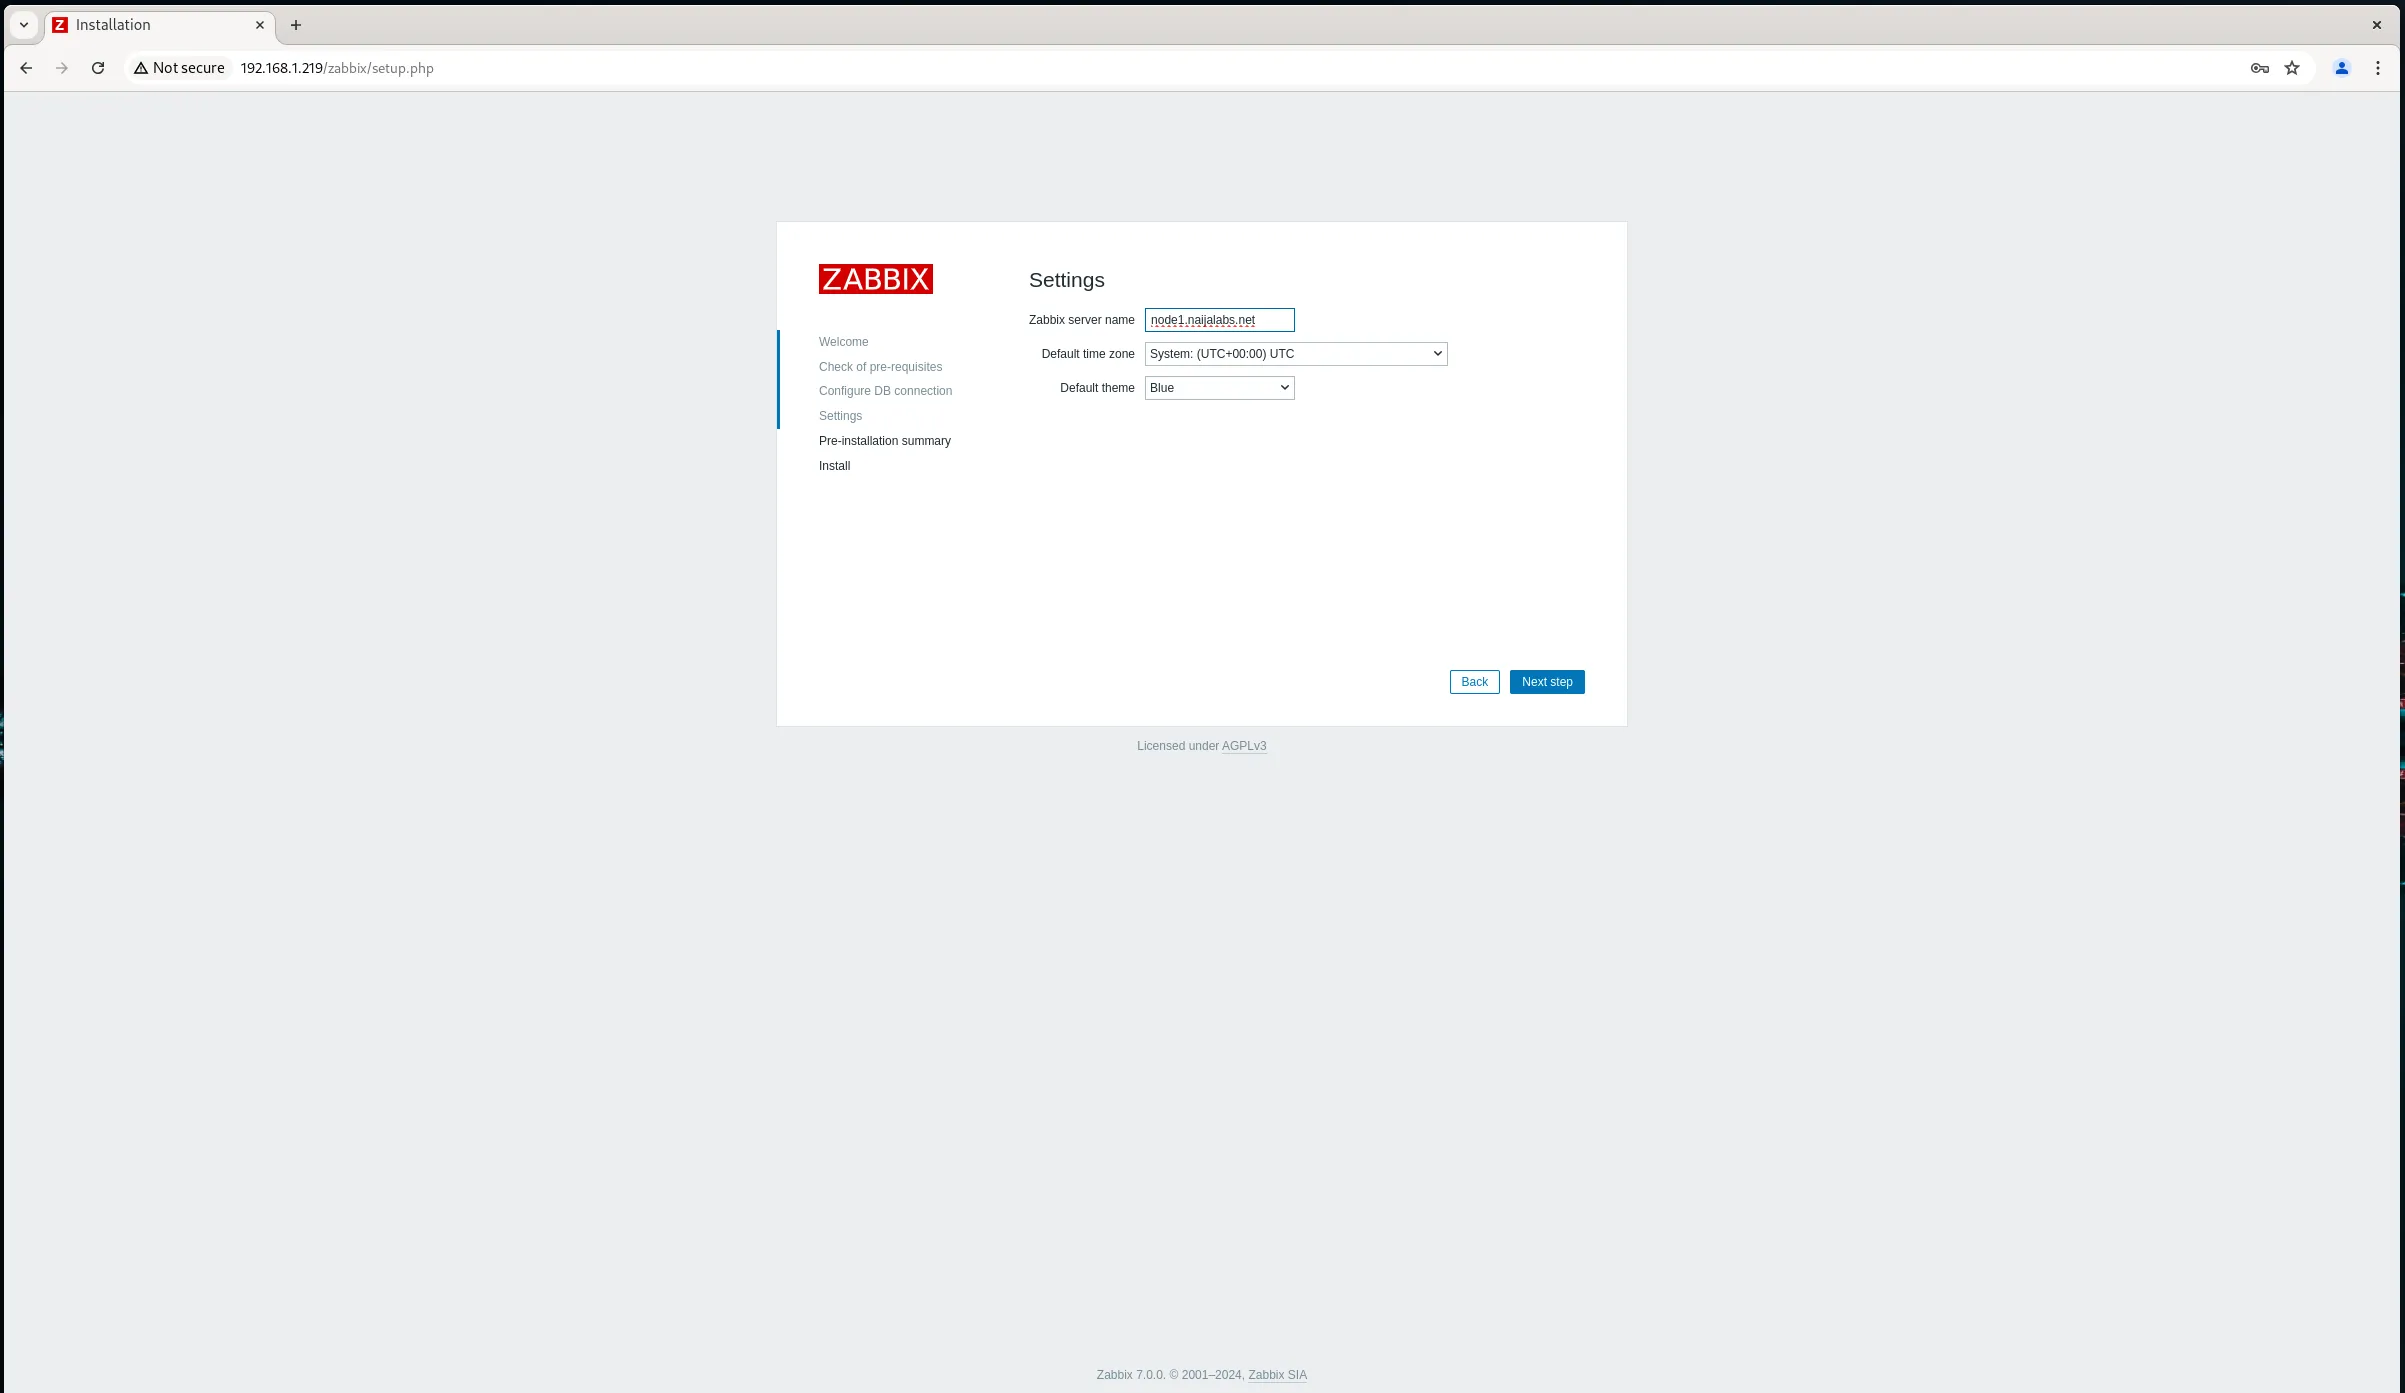
Photo by admingeek from Infotechys.com
Congratulations on completing the Zabbix frontend setup! You will now see a summary page. Click the [Next Step] button to finalize the installation. This will generate a configuration file located at /etc/zabbix/web/zabbix.conf.php, which you can modify as needed to suit your environment.
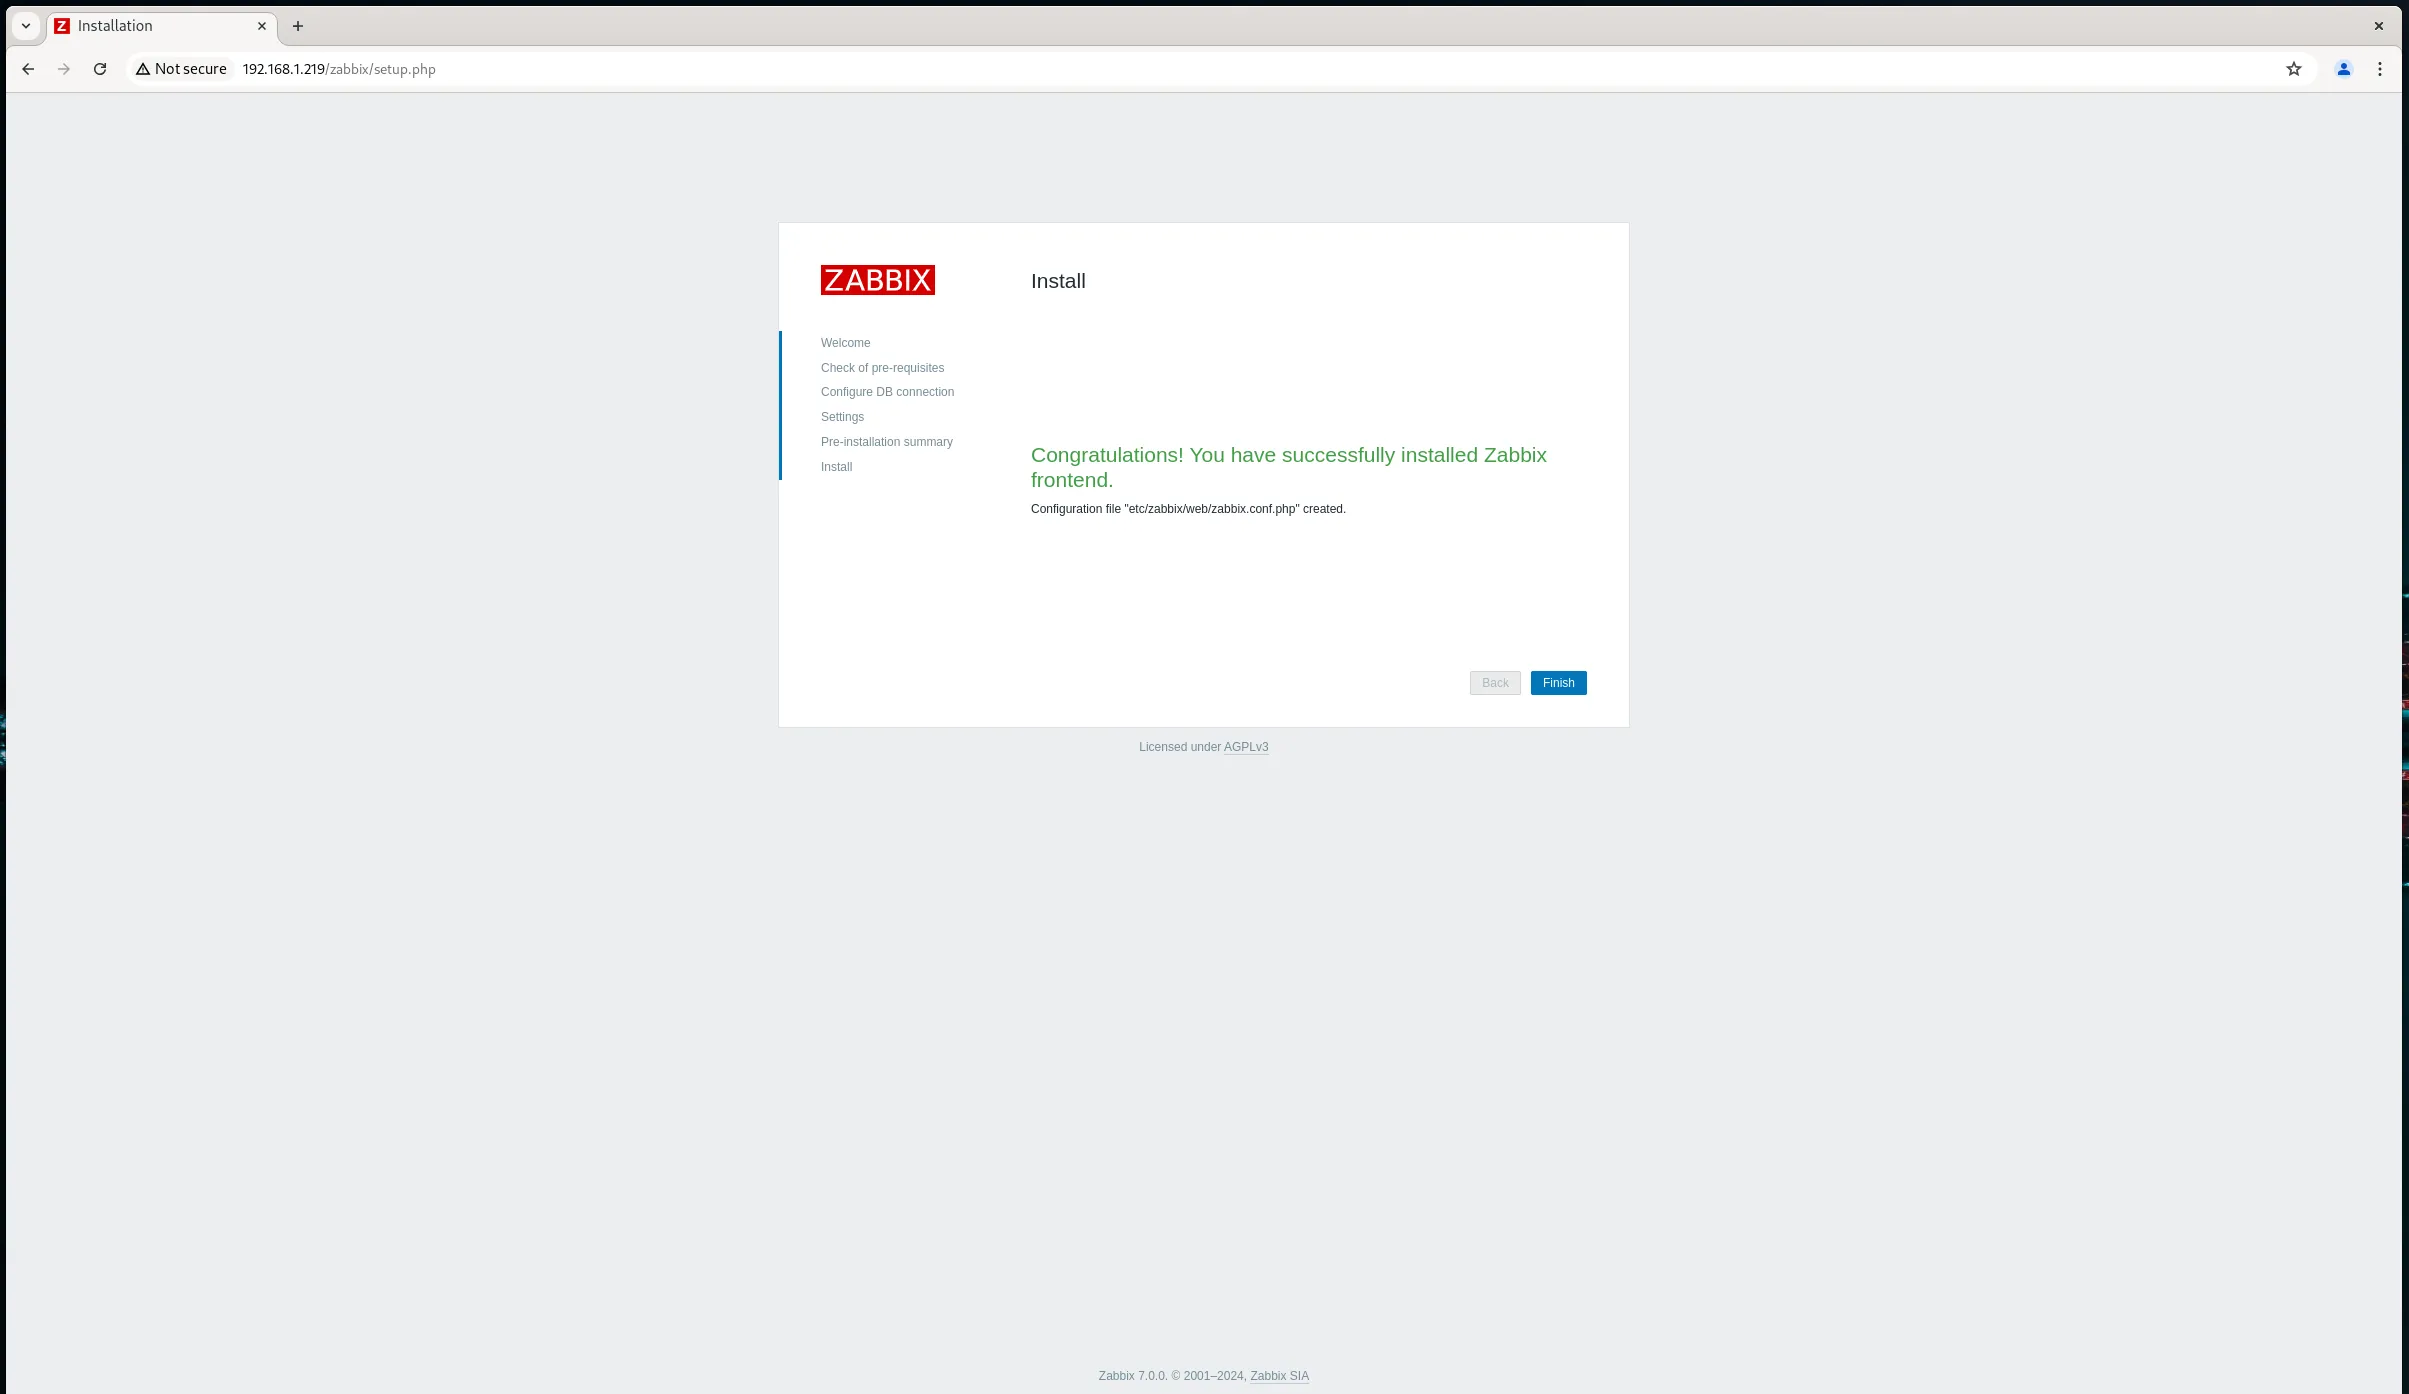
Photo by admingeek from Infotechys.com
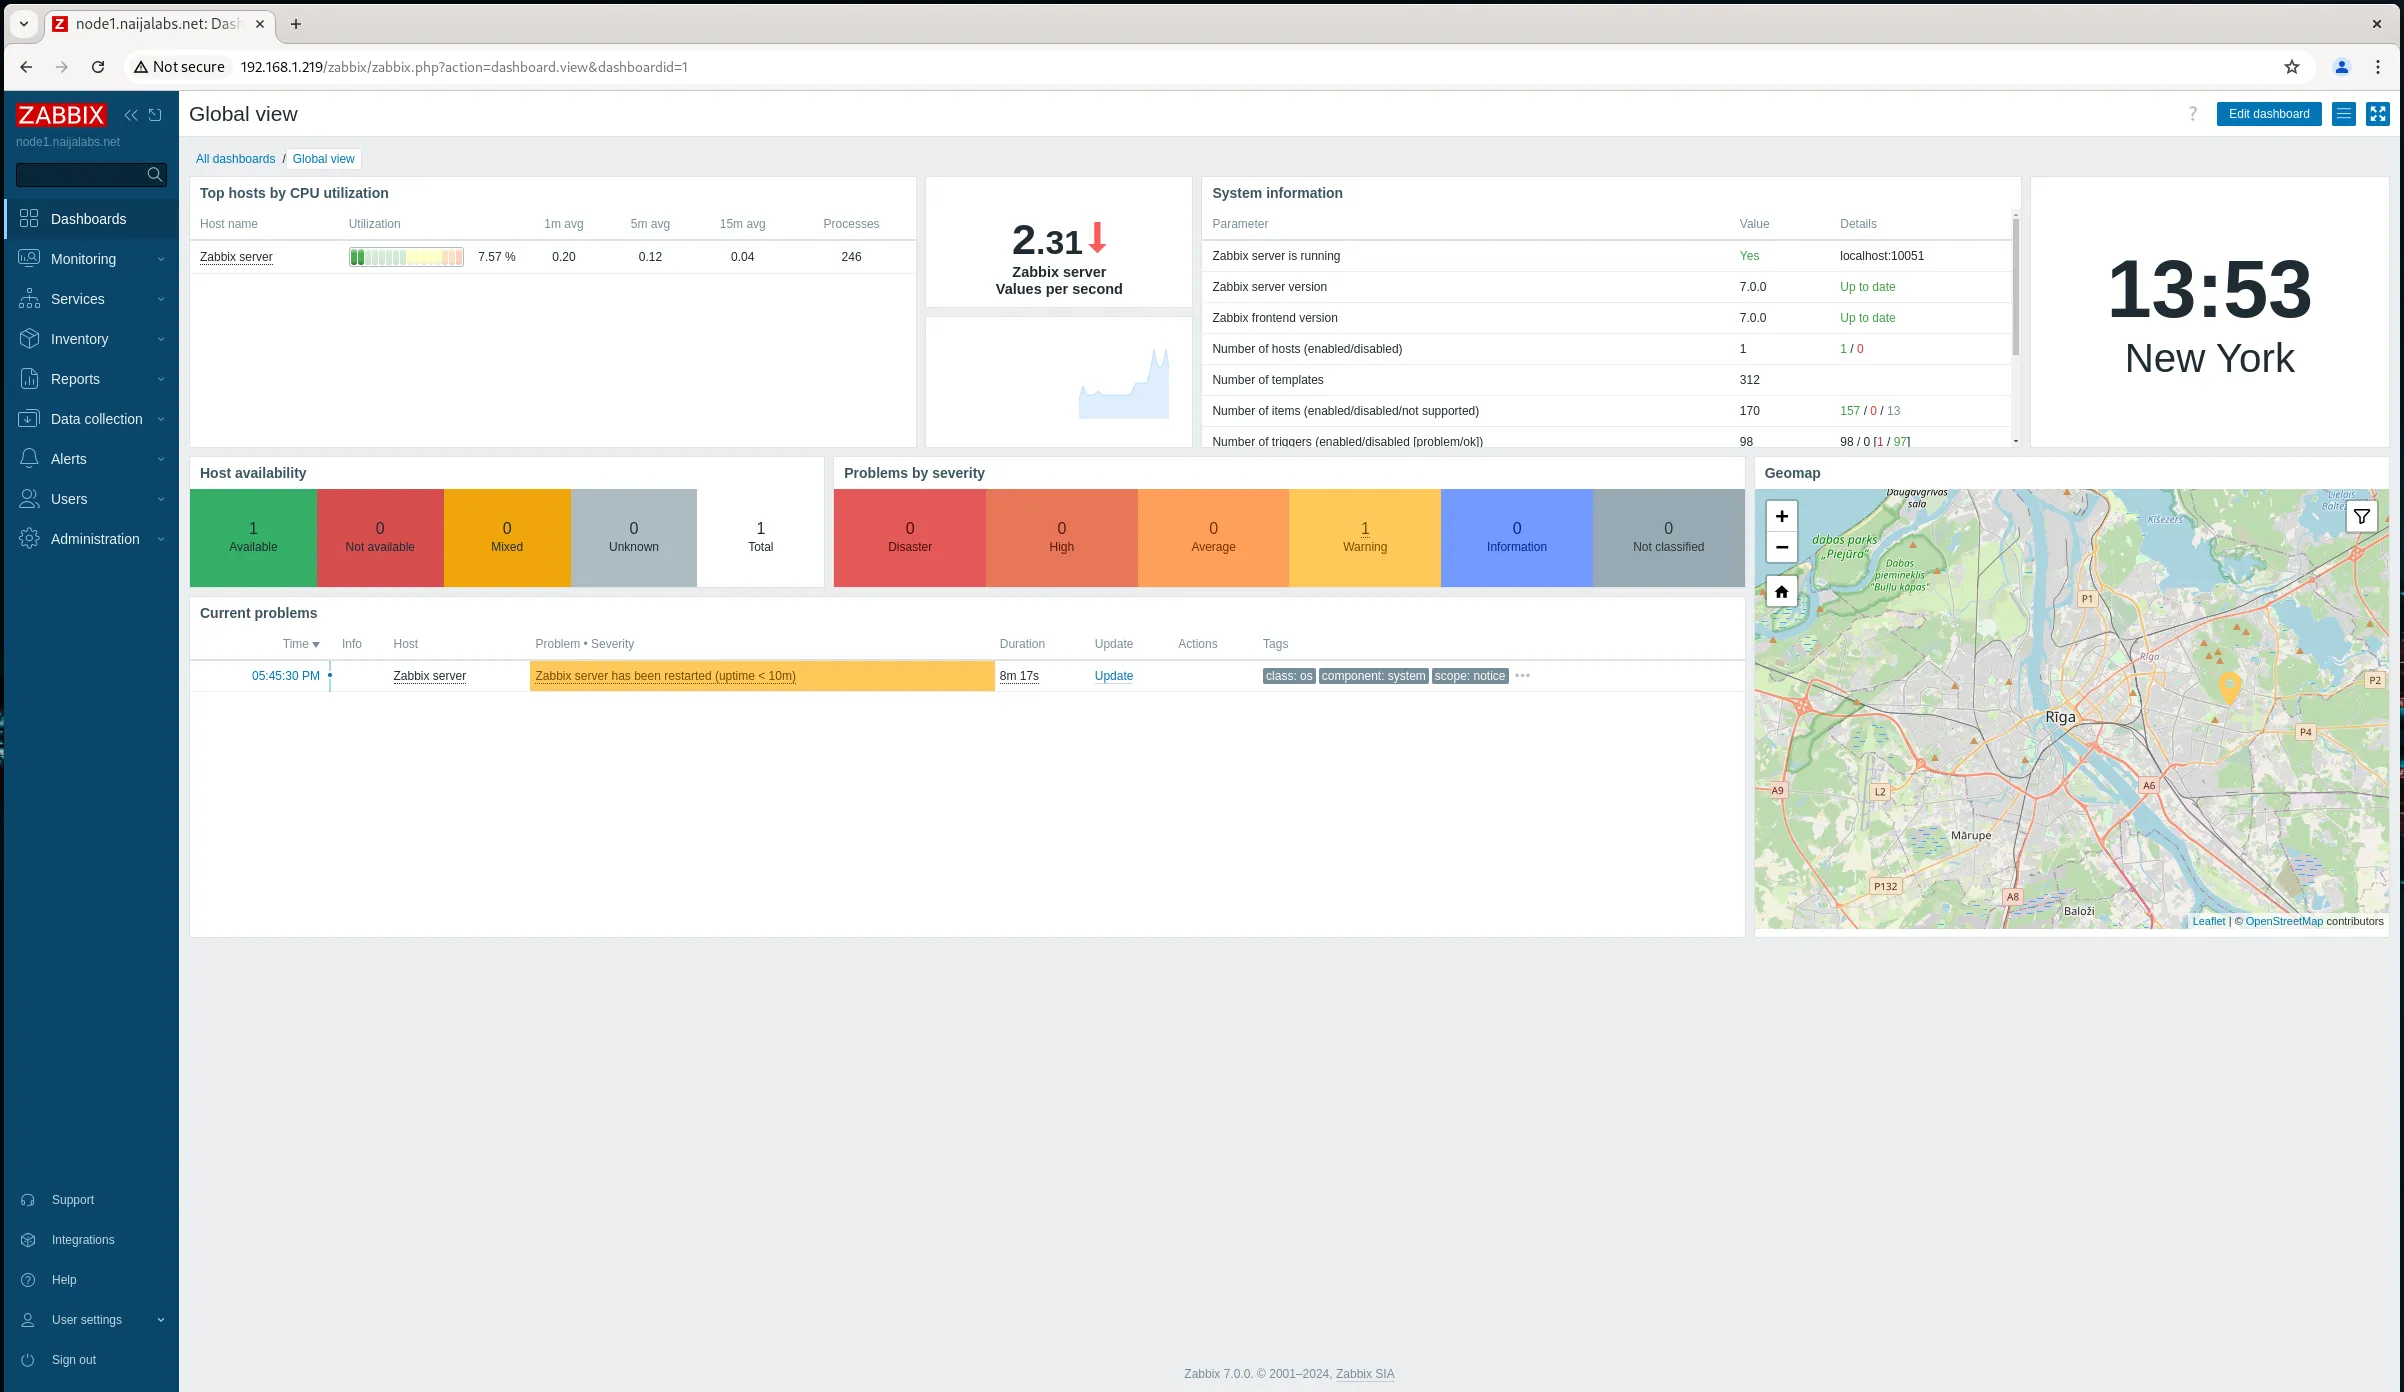
Finally, log into the Zabbix frontend using the default credentials:
- Username: Admin
- Password: zabbix
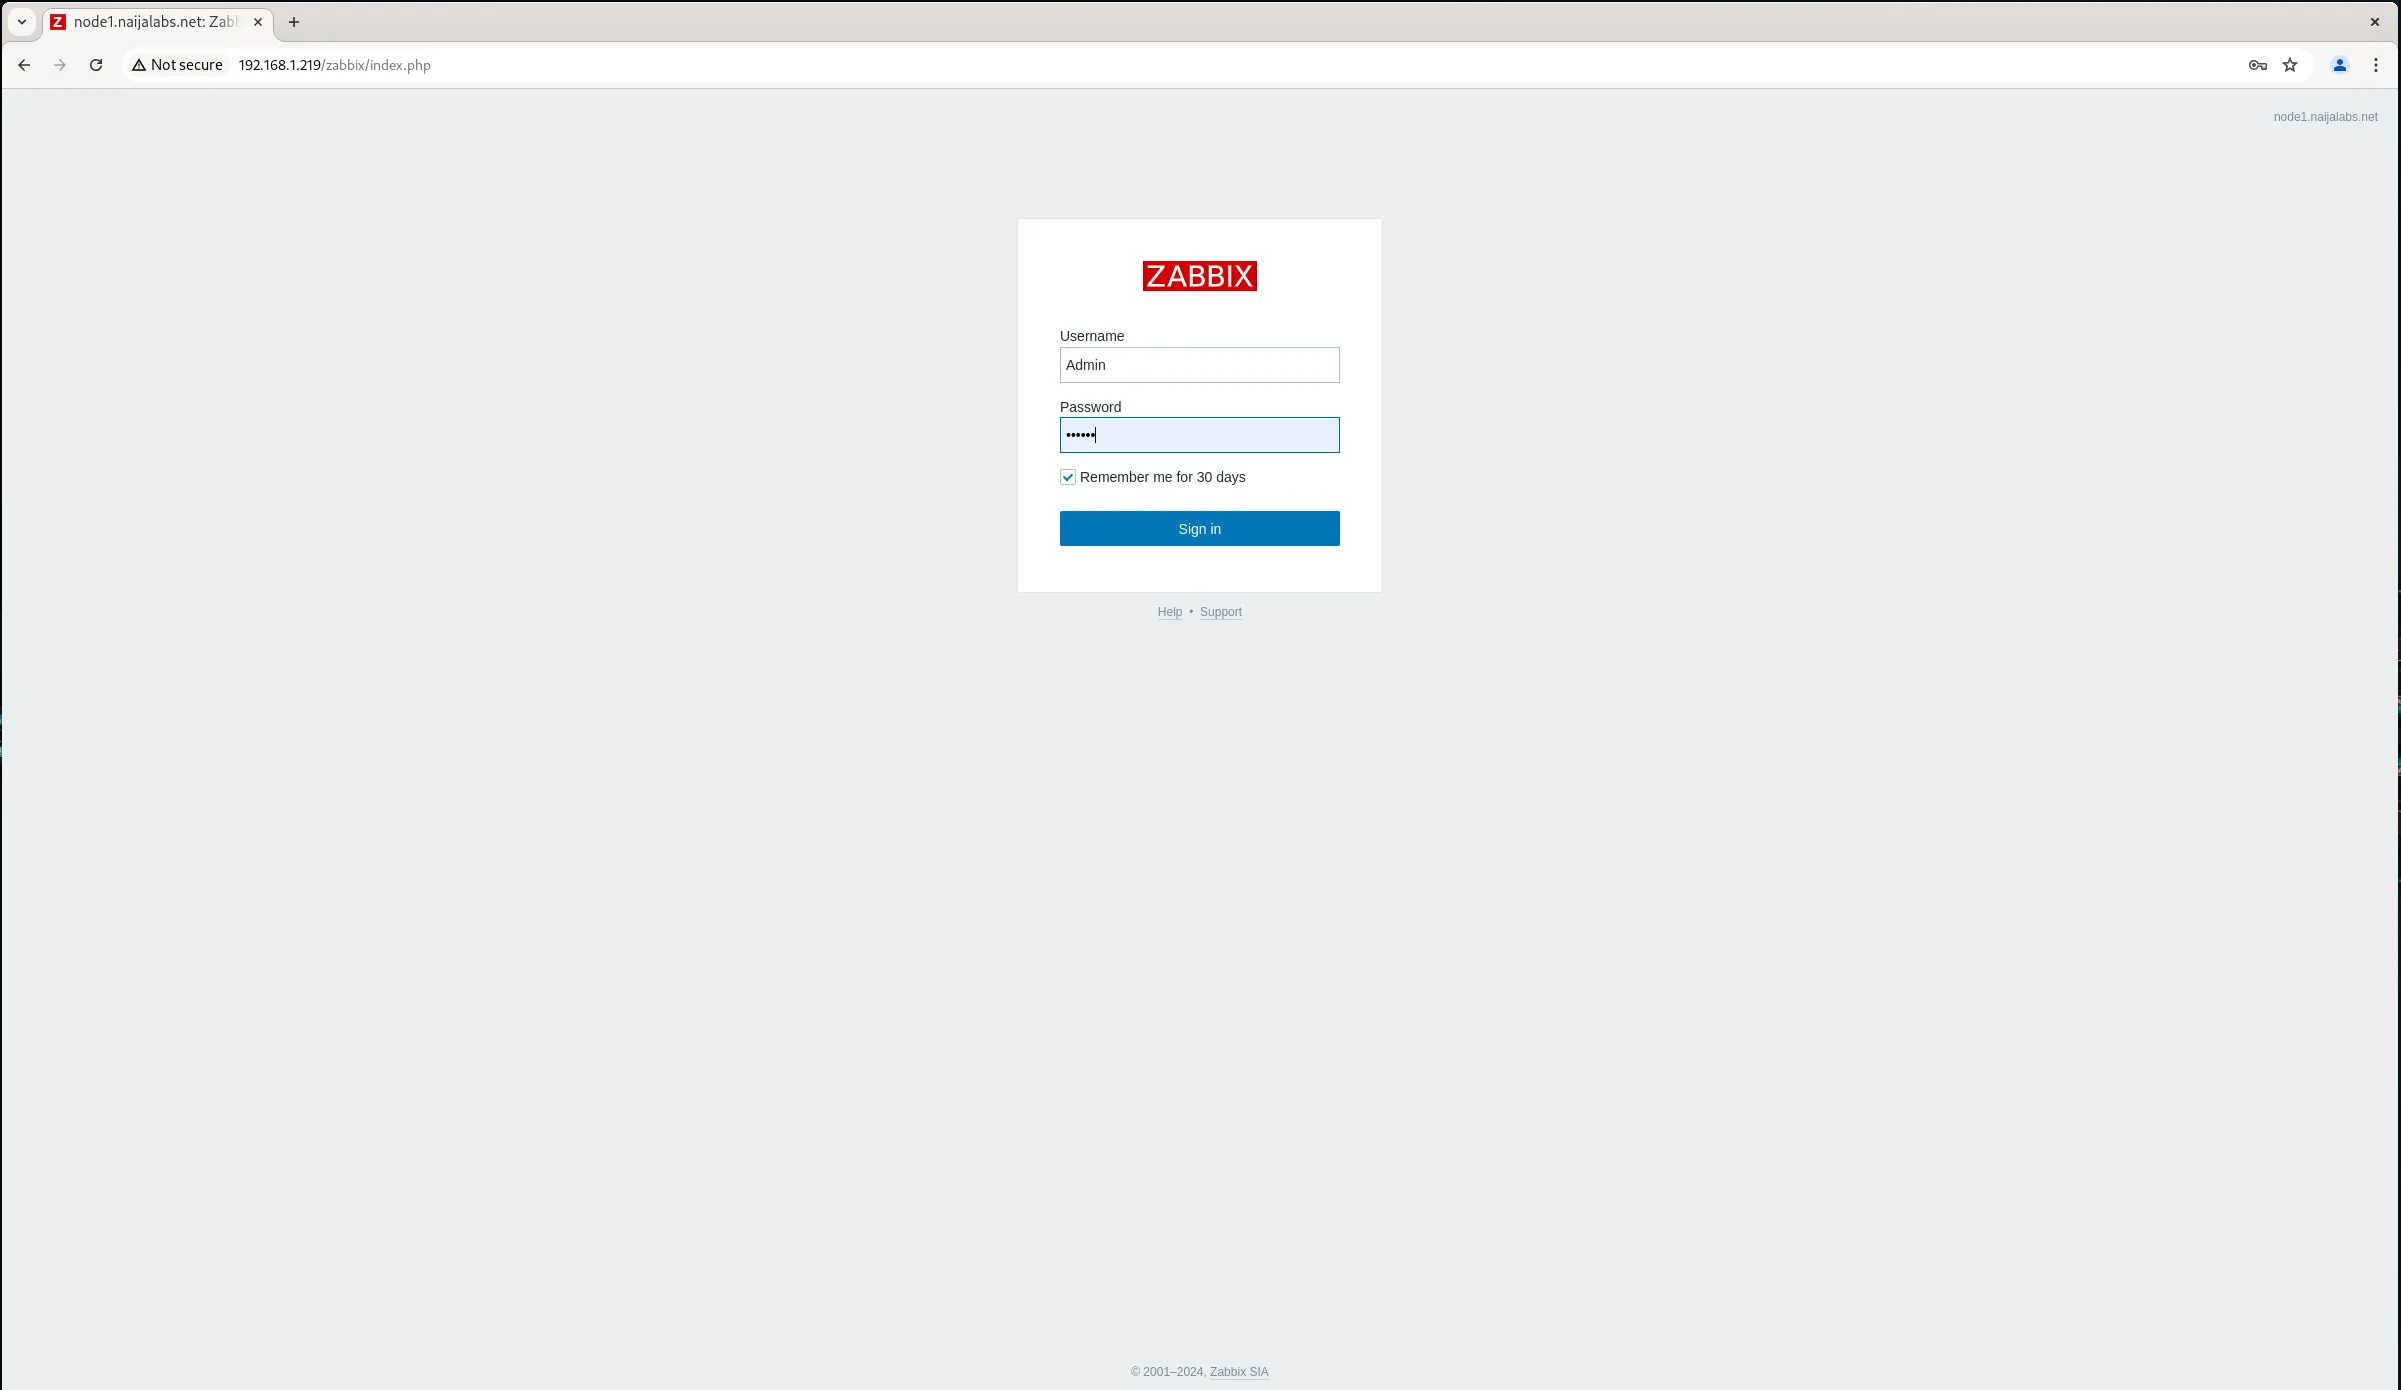
Photo by admingeek from Infotechys.com
Troubleshooting
If you encounter any issues during installation, check the Zabbix server and agent logs for detailed error messages:
- Zabbix server log:
/var/log/zabbix/zabbix_server.log - Zabbix agent log:
/var/log/zabbix/zabbix_agentd.log
Make sure all services are running correctly:
sudo systemctl status zabbix-server zabbix-agent httpd mysqldBy following these steps, you ensure a robust setup for your monitoring needs. Zabbix is a versatile tool that, once configured correctly, can provide invaluable insights into your IT infrastructure. The Zabbix documentation is also a great resource to reference for troubleshooting.


No comments:
Post a Comment